Blog
Tutorials
How to Build a Marketplace App without coding in 2026
Learn how to build a marketplace app without code. A step-by-step guide to listings, payments, and launch using an AI app builder. Start building free today.

Nafis Amiri
Co-Founder of CatDoes

TL;DR: To build a marketplace app without code, you need five core pieces: user accounts, listings, search, payments, and a trust layer (reviews and messaging). The fastest way to ship all five is an AI app builder. You describe your marketplace in plain English, the AI builds the screens and backend, and you publish to the App Store, Google Play, or the web. This guide walks through the whole process end to end, then covers features, cost, and monetization.
Marketplace apps look simple from the outside. A buyer searches, finds a seller, pays, and leaves a review. Under the hood, though, a marketplace is one of the harder things to build: you are running two products at once, one for buyers and one for sellers, plus payments, search, and a reputation system that keeps both sides honest.
That complexity is exactly why most people stall before they start. The good news: you no longer need a development team to learn how to build a marketplace app. With an AI app builder, you can go from idea to a working two-sided marketplace in an afternoon. This guide shows you each step, the features you cannot skip, and what it actually costs.
Table of Contents
What Is a Marketplace App?
Why Build a Marketplace App Without Code
How to Build a Marketplace App in 7 Steps
Must-Have Marketplace App Features
How Much Does It Cost to Build a Marketplace App?
How to Monetize Your Marketplace App
Common Mistakes to Avoid
Frequently Asked Questions
What Is a Marketplace App?
A marketplace app connects two groups of people and lets them transact: buyers and sellers, hosts and guests, clients and freelancers. Unlike a regular store app, you do not own the inventory. Your job is to match supply with demand and take a cut of each transaction.
Think Airbnb (hosts and travelers), Etsy (makers and shoppers), or Uber (drivers and riders). Every one of them runs on the same five building blocks:
Accounts and profiles: separate experiences for buyers and sellers.
Listings: the products, services, or spaces sellers post.
Search and filters: how buyers find the right listing fast.
Payments and payouts: collecting from buyers, paying out sellers, keeping your fee.
Trust layer: reviews, ratings, and messaging so strangers feel safe transacting.
Get those five right and you have a marketplace. Everything else, from wishlists to push notifications, is a feature on top of that foundation.
Why Build a Marketplace App Without Code
Hiring a development agency to build a two-sided marketplace from scratch typically runs into the tens of thousands of dollars and takes months before you have anything a real user can touch. For an unproven idea, that is a huge bet to place before you know whether people actually want it.
No-code and AI app builders flip that math. Instead of writing every screen and database table by hand, you describe what you want and the tool generates it. You can test a real marketplace with real users in days, learn what works, and only invest more once you see traction.
No-code tools like Bubble and FlutterFlow proved this approach works, but they still ask you to assemble screens, wire up logic, and design data models yourself. AI app builders go a step further: you write a prompt, and the agent builds the app, the backend, and the deployment for you. That is the workflow we will use below. If you want the wider landscape first, see our roundup of the best AI app builders.
How to Build a Marketplace App in 7 Steps
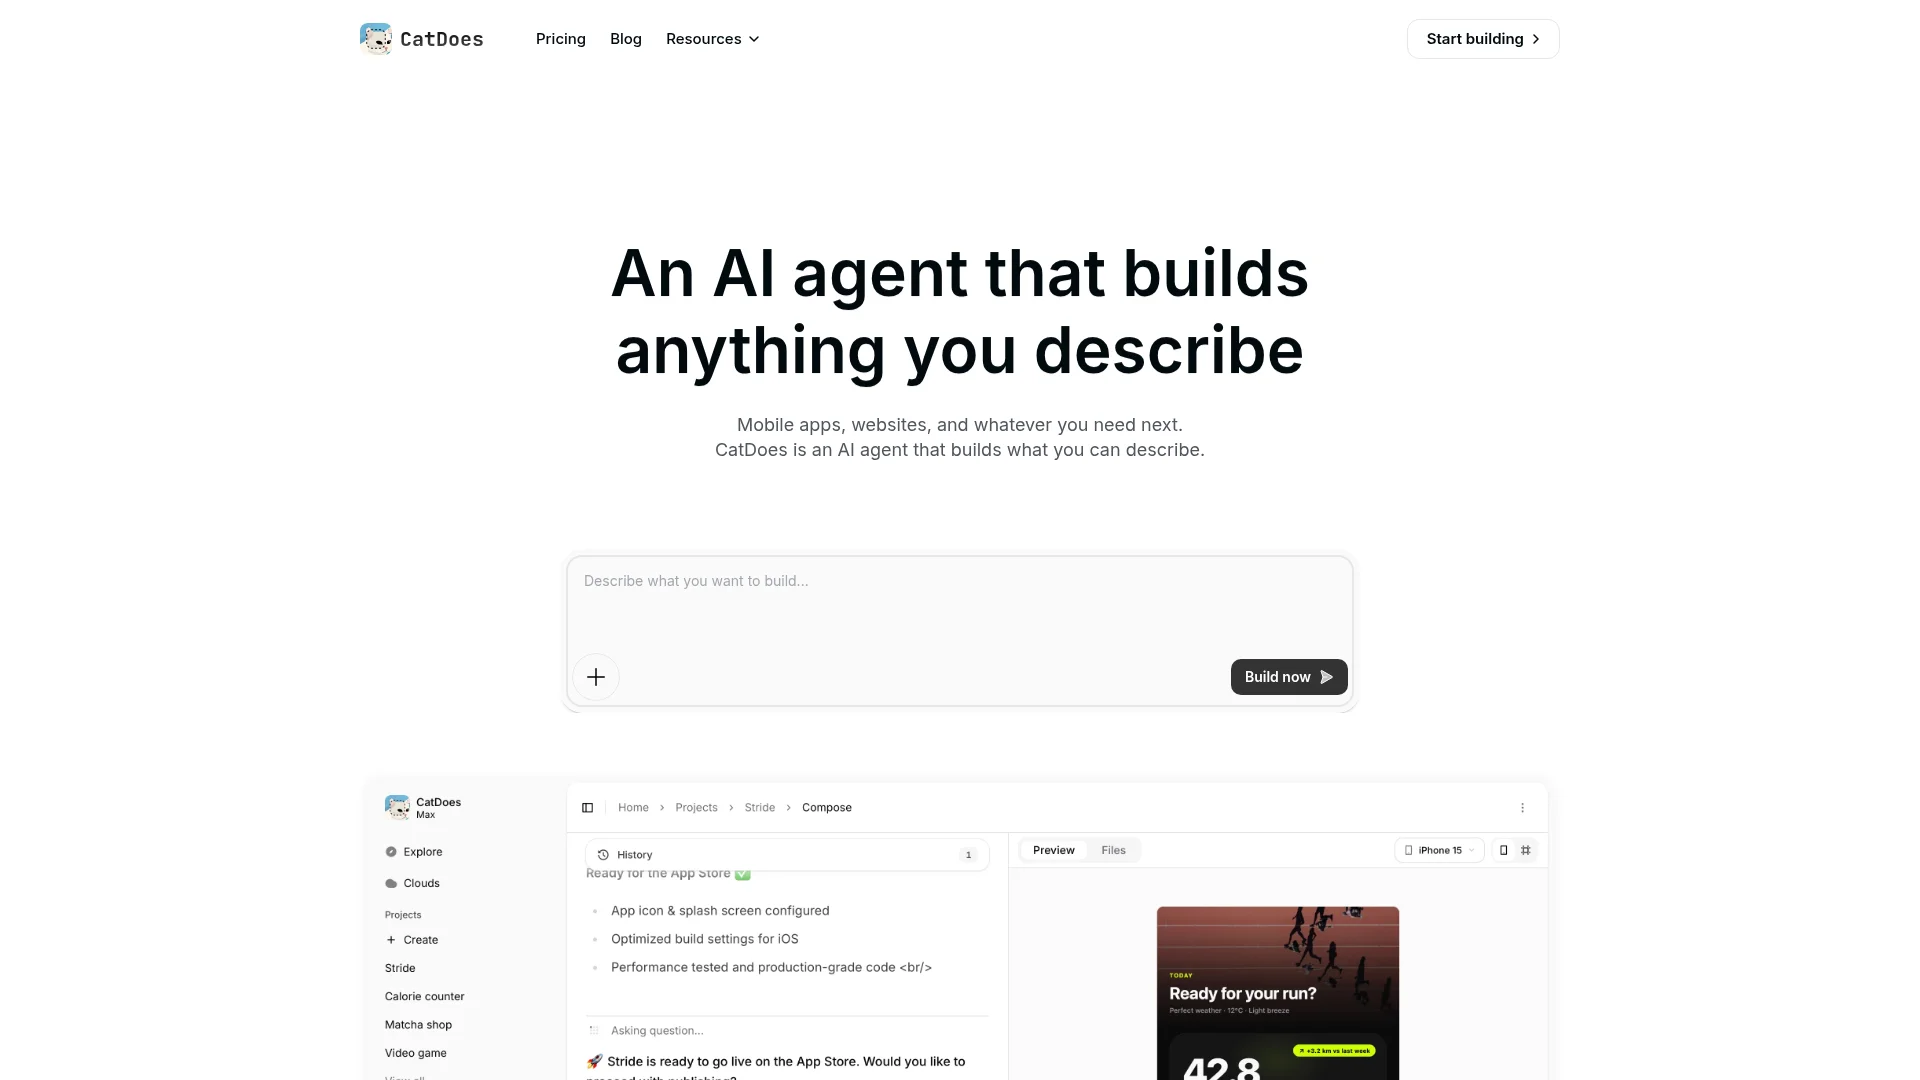
Here is the full process, from a blank idea to a published app. We will use CatDoes, an AI agent that builds and deploys mobile apps and websites, as the example, but the steps map to any modern AI builder.
Step 1: Map Your Two-Sided Marketplace
Before you touch a builder, answer three questions on paper. Who is the seller, and what do they list? Who is the buyer, and what are they looking for? How do you make money on each transaction? A vintage-furniture marketplace, a tutoring marketplace, and a local services marketplace all use the same engine but need different fields, filters, and payment flows.
Write a one-sentence description you can hand to the AI. For example: "A marketplace where local bakers list homemade cakes and customers in their city browse, order, and pay, with bakers getting paid out after delivery."

Step 2: Describe Your App to the AI Builder
Open the builder and paste in your description, then add the specifics. List the buyer and seller roles, the key screens (browse, listing detail, profile, checkout), and the must-have features. The more precise your prompt, the closer the first build lands.
The agent reads your prompt, scaffolds the screens, sets up the data model for users and listings, and connects a backend so the data actually persists. Within a few minutes you have a clickable app, not a mockup. From there you refine by chatting: "add a filter for price range," "let sellers upload up to five photos," "show a map of nearby listings."
Step 3: Build Listings, Search, and Filters
Listings are the heart of your marketplace, so get the fields right. A good listing has a title, description, price, photos, category, and location. Ask the builder to create a "post a listing" form for sellers and a browse feed for buyers.
Then add discovery. Buyers should be able to search by keyword and filter by category, price, and location. On a hosted backend, this is a database query behind the scenes, but with an AI builder you just ask for it: "add search and let buyers filter by category and maximum price." Good search is what separates a marketplace people use from one they bounce off.
Step 4: Add Accounts, Profiles, and Messaging
Both sides need accounts. Sellers need a profile to build reputation; buyers need one to track orders and save favorites. Add sign-up and login, then a profile screen that shows a seller's listings and ratings.
Messaging is what turns a listing into a deal. Let buyers ask questions before they commit, "is this still available?", "can you deliver Saturday?". Built-in chat keeps that conversation inside your app instead of pushing it to email, which means you keep the relationship and the data. The same building blocks power a social app's profiles and feeds, so this pattern is well worn.
Step 5: Set Up Payments and Payouts
Payments are where marketplaces differ from a normal store. You collect money from the buyer, take your fee, and pay out the seller. This is called split payments, and platforms like Stripe Connect handle the heavy lifting, including seller onboarding, tax forms, and compliance.
Ask your builder to integrate payments with a platform fee. A typical setup: the buyer pays $100, your marketplace keeps a 10% commission, and $90 routes to the seller automatically. Decide early whether you charge the buyer, the seller, or both, because it shapes your whole economy. One note for mobile: Apple and Google have specific rules about what must use in-app purchase versus an outside processor, so check the App Store Review Guidelines before you launch physical-goods or services payments.
Step 6: Add Reviews, Ratings, and Trust
Strangers will only transact if they feel safe. Reviews and ratings are the cheapest, most powerful trust signal you can add. After each completed transaction, prompt the buyer to rate the seller and leave a short review, then show that score on the seller's profile and listings.
Layer in other trust signals as you grow: verified badges, response times, and clear policies. A working trust layer is often the difference between a marketplace that compounds and one that leaks users after the first bad experience.
Step 7: Test, Then Publish to the App Store and Web
Before you launch, run the full loop yourself: create a seller account, post a listing, switch to a buyer account, search, message, and pay. Fix anything that feels clunky. Then invite ten real people and watch where they get stuck.
When it holds up, publish. A good AI builder deploys for you, shipping to the Apple App Store, Google Play, or the web with a custom domain, and handling the backend, database, and auth that keep your marketplace running. That removes the last wall most first-time founders hit: getting the thing into real users' hands.
Must-Have Marketplace App Features
Not every feature is essential for launch. Here is what to build first versus what can wait until you have traction.
Feature | Priority | Why It Matters |
|---|---|---|
User accounts (buyer and seller) | Launch | No transactions happen without identities. |
Listing creation and feed | Launch | Your supply side. The core of the product. |
Search and filters | Launch | Buyers leave if they cannot find anything. |
Payments with platform fee | Launch | How you make money and how sellers get paid. |
Reviews and ratings | Launch | The trust layer that makes strangers transact. |
In-app messaging | Launch | Closes deals and keeps relationships in your app. |
Push notifications | Phase 2 | Brings users back: new messages, sales, listings. |
Maps and location | Phase 2 | Essential for local marketplaces, optional otherwise. |
Wishlists and favorites | Phase 2 | Boosts return visits and conversion. |
Admin dashboard | Phase 2 | Moderate listings, resolve disputes, view metrics. |
Ship the launch tier, get real users, then add Phase 2 features based on what they actually ask for. Building everything up front is the fastest way to waste weeks on features nobody uses.
How Much Does It Cost to Build a Marketplace App?
Costs swing wildly depending on how you build. A development agency building a custom two-sided marketplace can charge anywhere from $30,000 to well over $100,000, and that is before ongoing maintenance. Hiring freelancers is cheaper but slower to coordinate, and you still own the technical risk.
Building with an AI app builder changes the equation. Most charge a monthly subscription in the range of $20 to $200, plus payment-processing fees on transactions (commonly around 2.9% plus a fixed fee per charge). For a founder validating an idea, that is the difference between risking a year of savings and risking a single month's subscription. You can always rebuild on custom code later, once the model is proven and the revenue justifies it.
How to Monetize Your Marketplace App
A marketplace makes money by taking a slice of the value it creates. The most common models:
Commission: take a percentage of each transaction (most common, 5-20%). Aligns your revenue with seller success.
Subscription: charge sellers a monthly fee to list or to unlock premium tools.
Listing fees: charge per listing posted, like Etsy's small per-item fee.
Featured placement: sellers pay to appear at the top of search results.
Most successful marketplaces blend two or three of these. Commission funds the core business while featured placement and subscriptions add high-margin upsells. For a deeper look at pricing and revenue models, read our guide on how to monetize an app.
Common Mistakes to Avoid
A few predictable mistakes sink first-time marketplace builders:
Building both sides before you have either: a marketplace with listings but no buyers, or buyers but no listings, is dead on arrival. Seed one side manually first, usually supply.
Skipping the trust layer: without reviews and messaging, the first bad transaction scares everyone off.
Over-building before launch: shipping ten features when five would prove the idea. Validate, then expand.
Ignoring the backend: listings, accounts, and payments all need a database and auth that scale. Choosing a builder with a built-in backend saves you a painful migration. See our guide on how to choose a mobile app backend.
Frequently Asked Questions
Can I really build a marketplace app without coding?
Yes. Modern AI app builders generate the screens, database, and payment flows from a plain-English description, so you can ship a working two-sided marketplace without writing code. You will still make product decisions, but you do not need to be a developer.
How long does it take to build a marketplace app?
With an AI builder, a basic marketplace with listings, search, accounts, and payments can come together in a single day. A polished, launch-ready version with messaging and reviews usually takes a few days to a couple of weeks, mostly spent testing and refining.
How do payments work in a marketplace app?
Marketplaces use split payments: the buyer pays, the platform keeps a commission, and the rest routes to the seller. Services like Stripe Connect handle the routing, seller onboarding, and compliance, so you set your fee and the platform does the rest.
Is FlutterFlow or Bubble better for a marketplace app?
Both can build marketplaces, but they ask you to assemble screens and wire up logic yourself. An AI app builder that generates the app from a prompt and deploys it for you is faster for non-technical founders who want to validate an idea quickly.
Start Building Your Marketplace App
A marketplace app is really five systems working together: accounts, listings, search, payments, and trust. The hard part was never understanding them, it was building all five without a developer. AI app builders remove that wall, letting you ship a real, transactable marketplace in days and improve it from real user feedback.
Start by mapping your two sides and writing that one-sentence description. Then let an AI agent turn it into a working app. Build your marketplace app with CatDoes and go from idea to the App Store without writing a line of code.
Nafis Amiri
Co-Founder of CatDoes


