Blog
Tutorials
How to Create a Social Media App in 2026
Learn how to create a social media app in 2026. This guide covers planning, MVP features, UI design, tech stack, costs, testing, and app store launch.

Nafis Amiri
Co-Founder of CatDoes

How to Create a Social Media App From Scratch
TL;DR: A social media app MVP takes 4–6 months and costs $25K–$75K when hiring developers. You can cut that timeline to days with an AI app builder. This guide covers the full process — planning, features, design, development, testing, and app store launch.
Table of Contents
Plan Your Social Media App
Features Every Social Media App Needs
Design Your App's User Experience
Choose Your Tech Stack and Build
Test and Deploy to App Stores
Grow Your App After Launch
How to Make a Social Media App Without Coding
FAQ
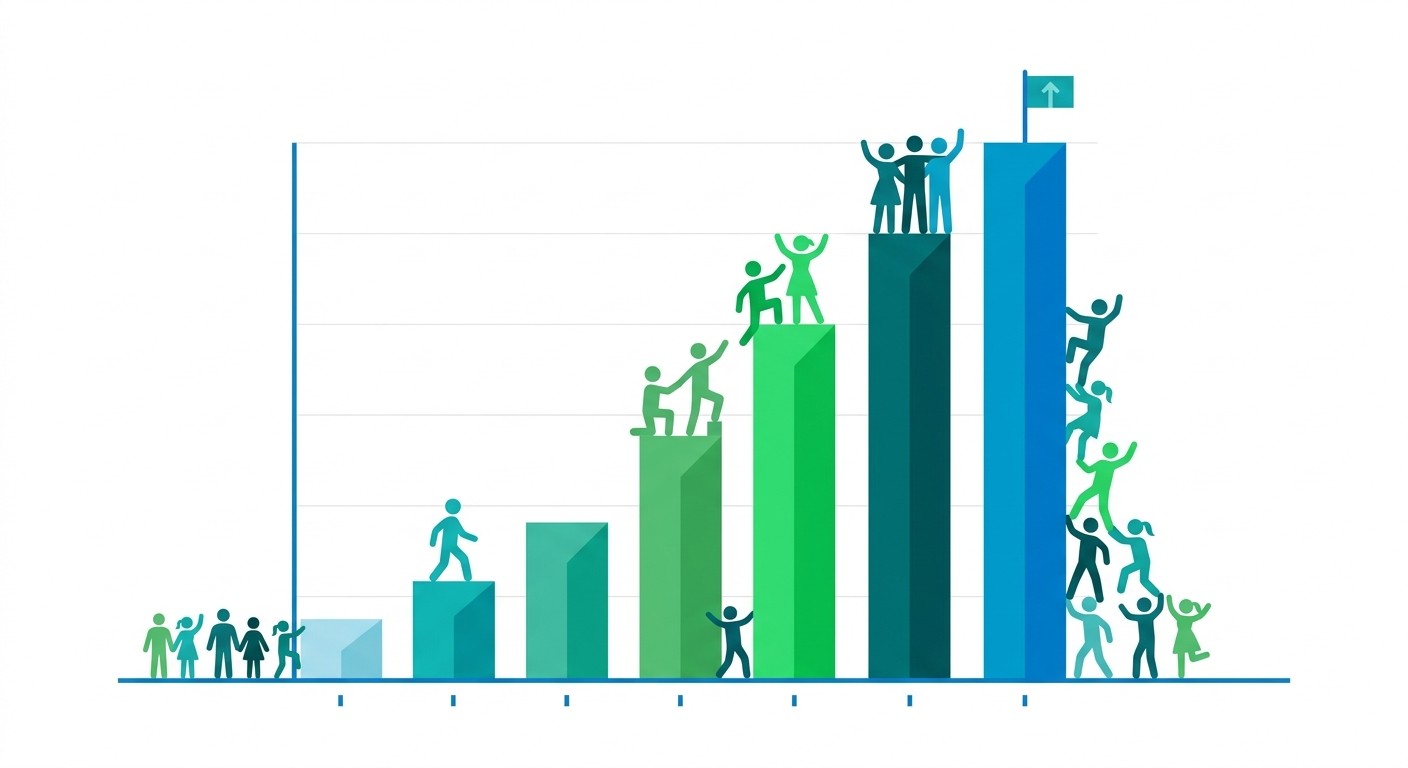
The social media app market hit $210 billion in 2024 and is on track to reach $960 billion by 2034 — a 16.4% annual growth rate. That means there's still room for new apps that solve specific problems for specific audiences. But most people who want to create a social media app get stuck before they even start.
This guide breaks the full process into clear steps. Whether you plan to code it yourself or use an AI builder, you'll know exactly what to plan, what to build, and how to get your app into the App Store and Google Play.
Plan Your Social Media App
Skip planning and you'll waste months building something nobody downloads. Before writing any code, answer two questions: What makes your app different? Who is it for?
Define Your Unique Value Proposition
A generic photo-sharing app won't survive against Instagram and TikTok. Your unique value proposition (UVP) is the specific reason someone would choose your app over what they already use.
The strongest social apps solve a focused problem for a focused group. Instead of building another general-purpose platform, target an underserved community.
Think niche: a social app for urban gardeners sharing growing tips, a platform for amateur astronomers logging sky photos, or a network for local restaurant owners swapping supplier contacts.
Your UVP guides every decision from here — which features make the cut, how you market the app, and what to drop when time or budget runs thin.
Identify Your Target Audience
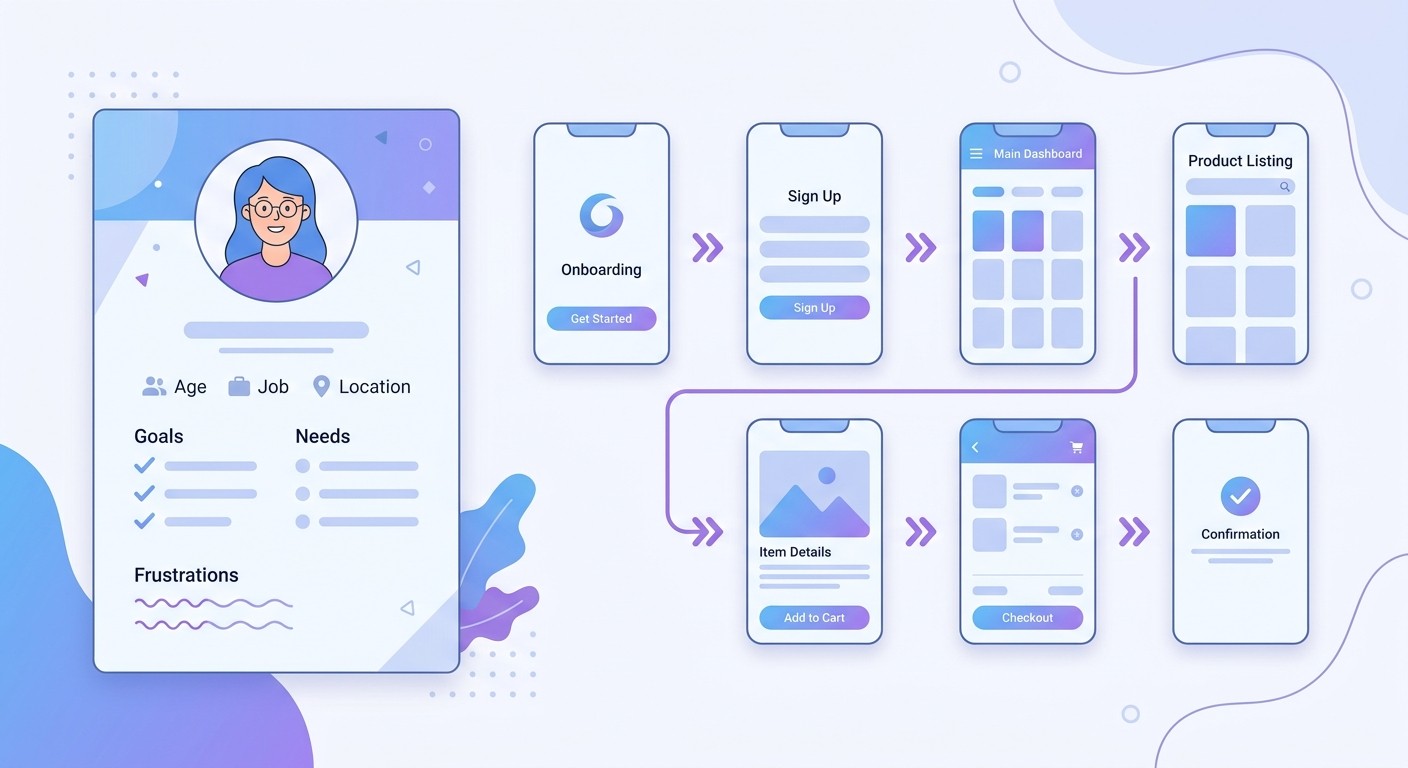
Write a one-paragraph user persona. Give them a name, age, and a specific frustration your app fixes. "Maria, 28, lives in a studio apartment and can't find reliable advice for growing herbs on a tiny balcony." Now every feature decision gets filtered through Maria's needs.
Map out user flows too — the exact steps someone takes to sign up, create a post, or follow another user. Sketching these on paper takes 30 minutes and saves weeks of rework down the line.
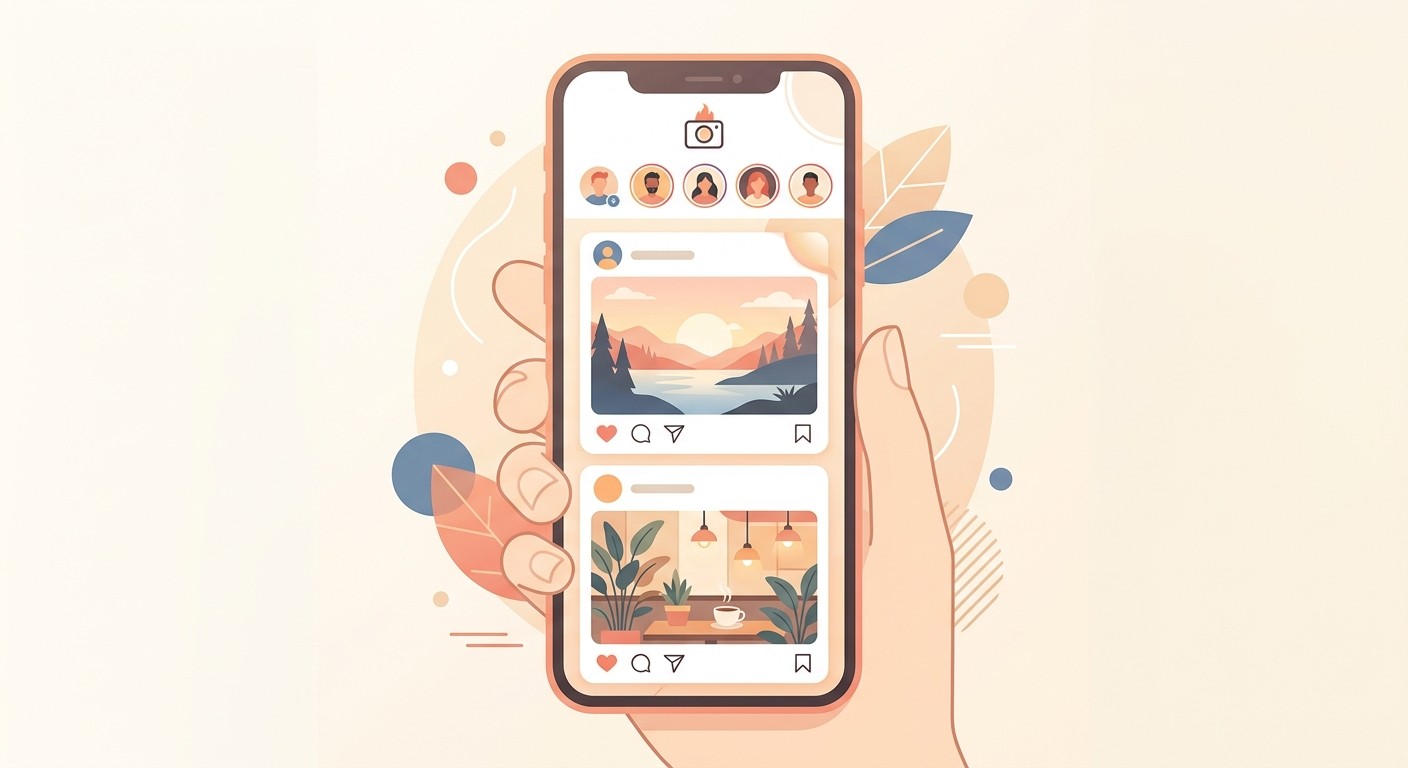
Features Every Social Media App Needs
The biggest mistake in social media app development is cramming too many features into the first version. Focus your MVP on the features that deliver your UVP. Everything else waits for v2.
Here's a practical split between what to launch with and what to add later:
Category | MVP (Launch With) | Add Later |
|---|---|---|
User Accounts | Email and social sign-up, basic profile | Profile customization, badges |
Content | Text and image posts | Video, stories, polls, live streaming |
Social | Like, comment, follow | Direct messages, groups, events |
Discovery | Chronological feed, basic search | Algorithm-driven feed, hashtags, explore page |
Notifications | Push notifications for key actions | In-app notification center, email digests |
Ship the left column. Get real users. Collect feedback. Then build from the right column based on what people actually ask for — not what you assume they want.
Design Your App's User Experience
Good UX keeps users around. Bad UX sends them straight to the app store to leave a 1-star review. Start with wireframes, then move to polished mockups.
Start With Wireframes
Wireframes are simple black-and-white layouts — no colors, no fonts, just boxes and lines showing where elements go. They force you to focus on how people move through the app before visual details become a distraction.
Sketch your core screens: feed, profile page, post creation, and settings. Walk through a task like "new user signs up and makes their first post." If it takes more than 3 taps, simplify.
Move to High-Fidelity Mockups
Once the layout works, layer in your visual identity. Pick a color palette that fits your audience — bright and energetic for a younger crowd, clean and minimal for professionals.
Choose readable fonts with clear hierarchy. Design reusable components (buttons, cards, nav bars) so the app looks consistent across every screen.
If you're building for both iOS and Android, respect each platform's patterns. iOS users expect bottom tab bars, while Android users expect a navigation drawer.
These details determine whether your app feels native or foreign. See our app design best practices guide for a deeper walkthrough.

Choose Your Tech Stack and Build
Your tech stack determines how fast you ship, what it costs, and how well the app scales. For most people looking to build a social media app, a cross-platform framework paired with a managed backend gives the best tradeoff between speed and flexibility.
Frontend: React Native
React Native lets you write one codebase that runs on both iOS and Android. Performance is near-native, and the ecosystem is mature — you'll find well-maintained libraries for navigation, image handling, state management, and animations.
Pair it with Expo to speed things up further. Expo handles build configuration, signing certificates, and over-the-air updates so you spend your time on features, not infrastructure. Our guide on how to create an app with React Native covers the hands-on setup.
Backend: Supabase
Supabase provides a PostgreSQL database, authentication, file storage, and real-time subscriptions in one package. It's an open-source Firebase alternative that scales well and won't lock you into a proprietary ecosystem.
For your social media app, set up tables for users, posts, likes, comments, and followers. Supabase Auth handles email/password and social logins (Google, Apple) with minimal code. Photo and video uploads go to Supabase Storage, which returns a URL you reference in your posts table.
The core data operations are simple. A user creates a post — insert a row. Someone opens the feed — query posts by date. A user taps "like" — write to a likes table linking their ID to the post ID.
These four operations (create, read, update, delete) are the backbone of every social app's data layer.
Watch a Full Build in Action
This tutorial from JavaScript Mastery walks through building and deploying a complete social media app from scratch — 1M+ views:
Test and Deploy to App Stores
Building the app is half the work. You still need to test it on real devices and survive Apple and Google's review processes.
Test on Real Devices
Simulators are fine for quick checks, but they can't replicate spotty Wi-Fi, low battery behavior, or an incoming phone call interrupting a task. Test on physical iPhones and Android devices. Focus on three areas:
Core flows: Sign up, post content, like, comment, follow. If any of these break, nothing else matters.
Performance: Does the feed scroll smoothly? Do images load within 2 seconds? Slow apps get deleted fast.
Edge cases: No internet connection. A 50MB image upload. An empty profile. These are where crashes hide.
Submit to App Stores
Both Apple and Google require screenshots, a description, and a privacy policy. Prepare these before you submit:
5–6 high-quality screenshots showing your app's key features in action
A clear app description with relevant keywords
A privacy policy explaining how you handle user data
Age rating and content declarations
Apple reviews typically take 24–48 hours. Google Play is usually faster. Read both platforms' guidelines before you submit — a rejection can set your launch back by a week.
Grow Your App After Launch
Getting your social media app into the app stores is a milestone, not the finish line. The hard part is attracting your first 1,000 users and keeping them active.
Start with the community you built your app for. If you made a gardening social app, post in gardening subreddits, Facebook groups, and forums. Give early users a reason to invite friends — maybe they get access to a feature or earn a badge after their first referral.
Track two metrics from day one: daily active users (DAU) and retention rate. If people download your app but don't come back after a week, you have a product problem, not a marketing problem. Fix that before spending money on ads.
How to Make a Social Media App Without Coding
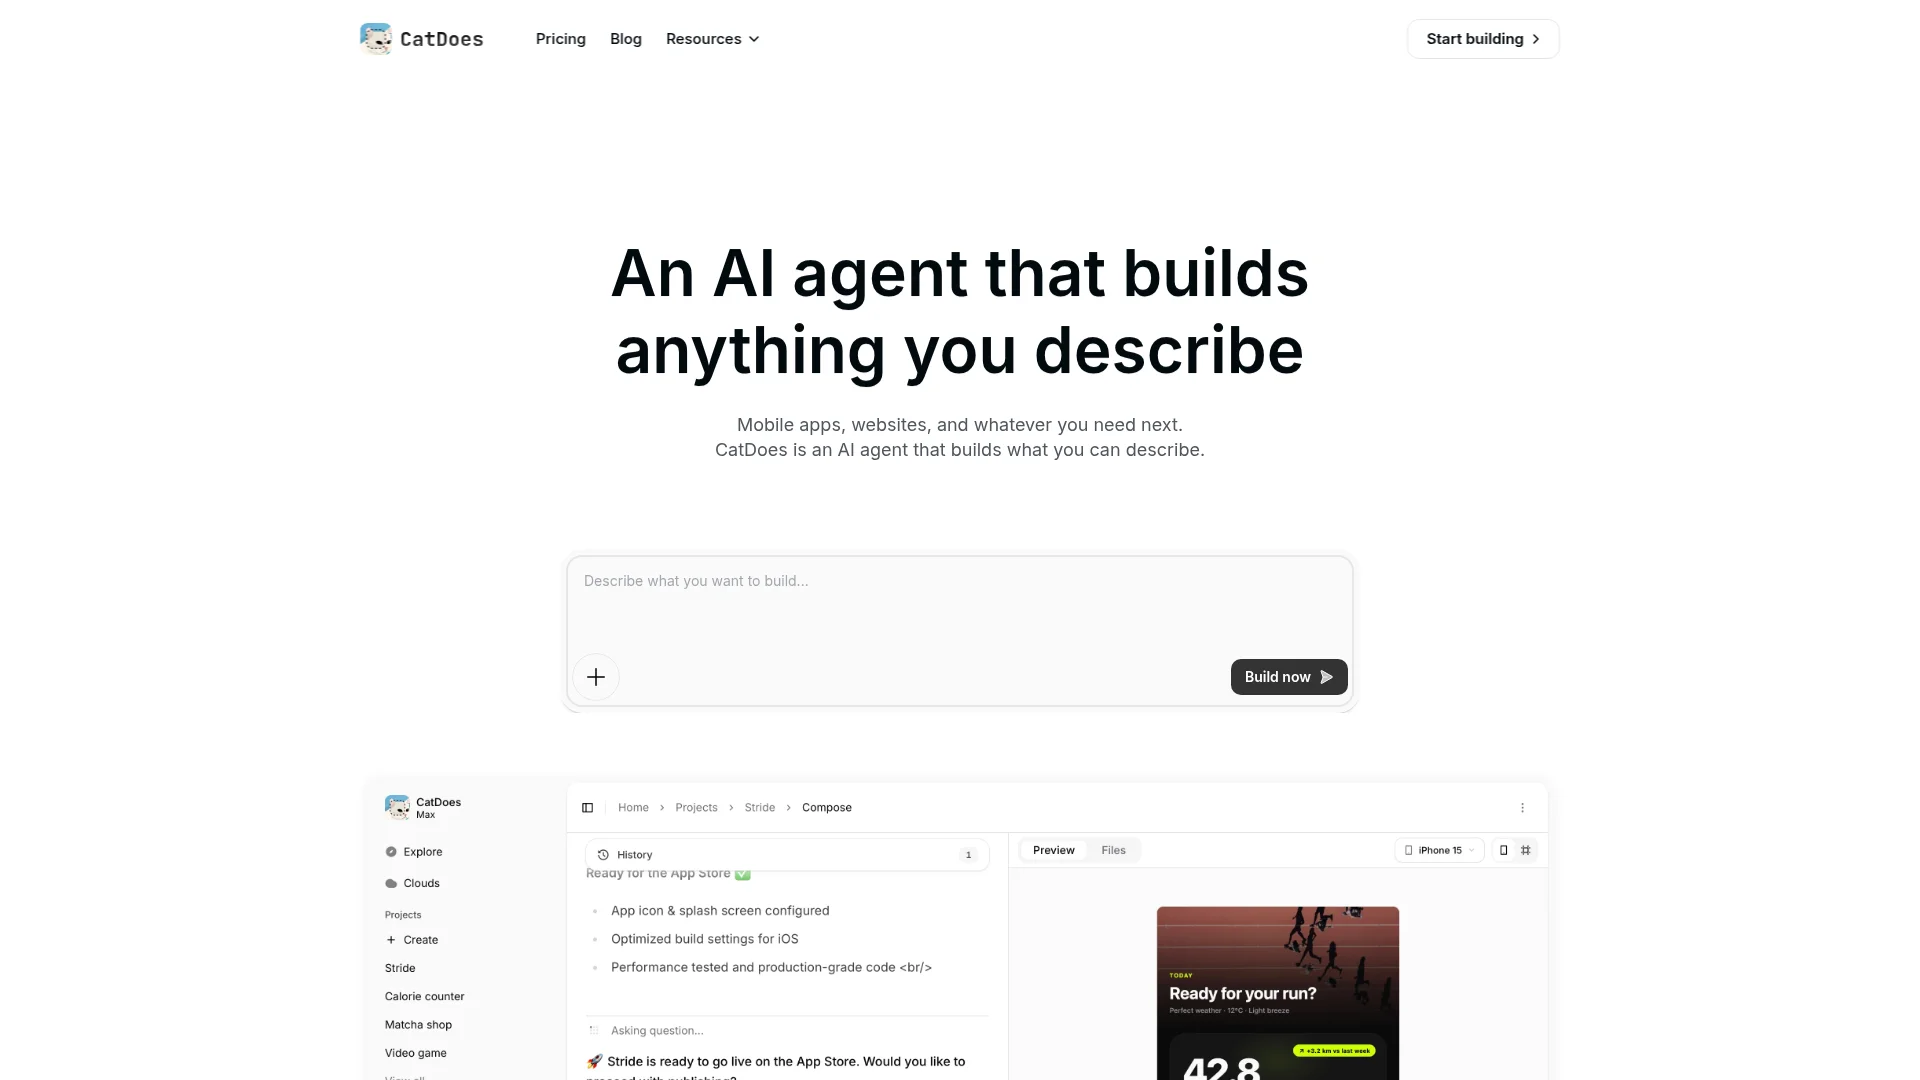
You don't need to learn React Native and SQL to build a social media app. AI app builders now handle the technical work so you can focus on your idea and your users.
CatDoes is an AI agent that builds production-ready mobile apps from natural language. Describe what you want — a social media app for pet owners with photo sharing, profiles, and a discovery feed — and the AI generates the code, provisions the backend (database, auth, storage), and deploys to both the App Store and Google Play.
You can also import an existing GitHub repo if you've already started coding. The AI works with what you have and fills in the gaps. Start building your social media app for free at CatDoes.
FAQ
How Much Does It Cost to Build a Social Media App?
A basic MVP with user profiles, a feed, and social interactions typically runs $25,000 to $75,000 with a development team.
Advanced features like real-time chat, video streaming, or recommendation algorithms push costs above $200,000. Using React Native (one codebase for both platforms) and a managed backend like Supabase cuts costs compared to building separate native apps.
How Long Does It Take to Develop a Social Media App?
Plan for 4 to 6 months for an MVP. That covers planning, design, development, testing, and app store submission.
Apps with live video or algorithmic feeds can take 9–12 months. AI app builders can produce a working prototype in days, though you'll still spend time on testing and refinement.
Can You Build a Social Media App Without Coding?
Yes. AI app builders like CatDoes and no-code platforms make it possible to create a social media app without writing code. These tools work best for MVPs and market validation.
If your app eventually needs custom performance tuning or unusual features, you may need a developer at that stage.
What Features Does a Social Media App Need?
At minimum: user registration, profiles, content creation (text and images), a content feed, social interactions (likes, comments, follows), push notifications, and search. Launch with these core features, then add video support, messaging, stories, and algorithmic recommendations based on what your users actually request.
How Do Social Media Apps Make Money?
Five common revenue models: advertising (display ads and sponsored posts), premium subscriptions (extra features or ad removal), in-app purchases (stickers, badges, virtual gifts), transaction fees (marketplace cuts or tipping), and data licensing (anonymized trend data).
Most successful apps combine 2–3 of these. Start with one model and expand after you've found product-market fit.
Want to explore your options for building without code? Check out our comparison of the best AI app builders to find the right tool for your project.
Nafis Amiri
Co-Founder of CatDoes


