Blog
Insights
Expo Go QR Code: How to Scan It and Fix It (2026)
How to scan the Expo Go QR code on iPhone and Android with npx expo start, plus fixes for when the QR code is not working. Updated for Expo SDK 55.

Nafis Amiri
Co-Founder of CatDoes

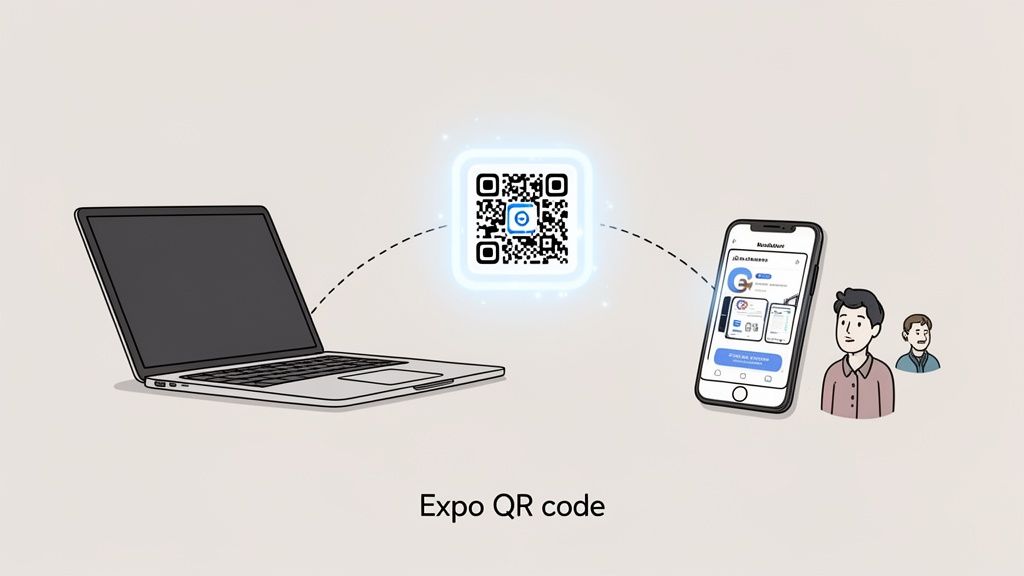
The Expo QR code connects your development machine to a live app preview on your phone. Run npx expo start, scan the code with Expo Go, and your React Native app appears on-device in seconds. No cables, no native build tools, no waiting.
This guide covers everything you need: setup, scanning, choosing between LAN and Tunnel connections, fixing common errors, and testing best practices. Updated for Expo SDK 55 (February 2026).
TL;DR: Run
npx expo start, scan the QR code with Expo Go (or a development build), and your app appears on your phone with live reloading. Use LAN for local testing, Tunnel for remote sharing. For production apps, Expo now recommends development builds over Expo Go.
Table of Contents
Why Use the Expo QR Code for App Testing
Setting Up Expo Go on Your Phone
Expo Go vs Development Builds
Generating and Scanning Your First QR Code
LAN vs Tunnel: Choosing the Right Connection
Troubleshooting: Expo Go QR Code Not Working
Best Practices for a Smooth Testing Workflow
Frequently Asked Questions
Why Use the Expo QR Code for App Testing
Getting an app from your local machine onto a physical phone used to mean wrestling with Xcode, Android Studio, or USB debugging. The Expo QR code skips all of that. It creates a direct link between the code on your computer and a live preview on your device.
The practical benefits are straightforward:
Feature | What It Does | Best For |
|---|---|---|
Instant Previews | See code changes on-device without rebuilding. | UI tweaks, feature testing, bug fixes. |
Real-Device Testing | Test on actual hardware instead of a simulator. | Touch gestures, screen sizes, platform-specific behavior. |
Easy Sharing | Anyone on the same Wi-Fi can scan and preview. | Quick feedback from designers, PMs, or clients. |
Zero-Config Setup | Run | Early development, hackathons, onboarding. |
The Feedback Loop Advantage
The biggest advantage is the feedback loop. Save a file, and the app on your phone updates within a second. You can check pixel alignment on a real screen, test touch interactions, and catch platform-specific bugs that simulators miss.
This makes testing accessible to non-developers too. A founder can scan the code to check progress. A designer can validate a layout on their own device without waiting for a build.
If you're new to Expo as a framework, our guide on how to create an Expo app covers the basics of getting a project started.
Setting Up Expo Go on Your Phone
Before scanning, you need one free app on your phone: Expo Go. It acts as a runtime that loads and runs your React Native project directly on-device, without requiring Xcode or Android Studio.
Install Expo Go
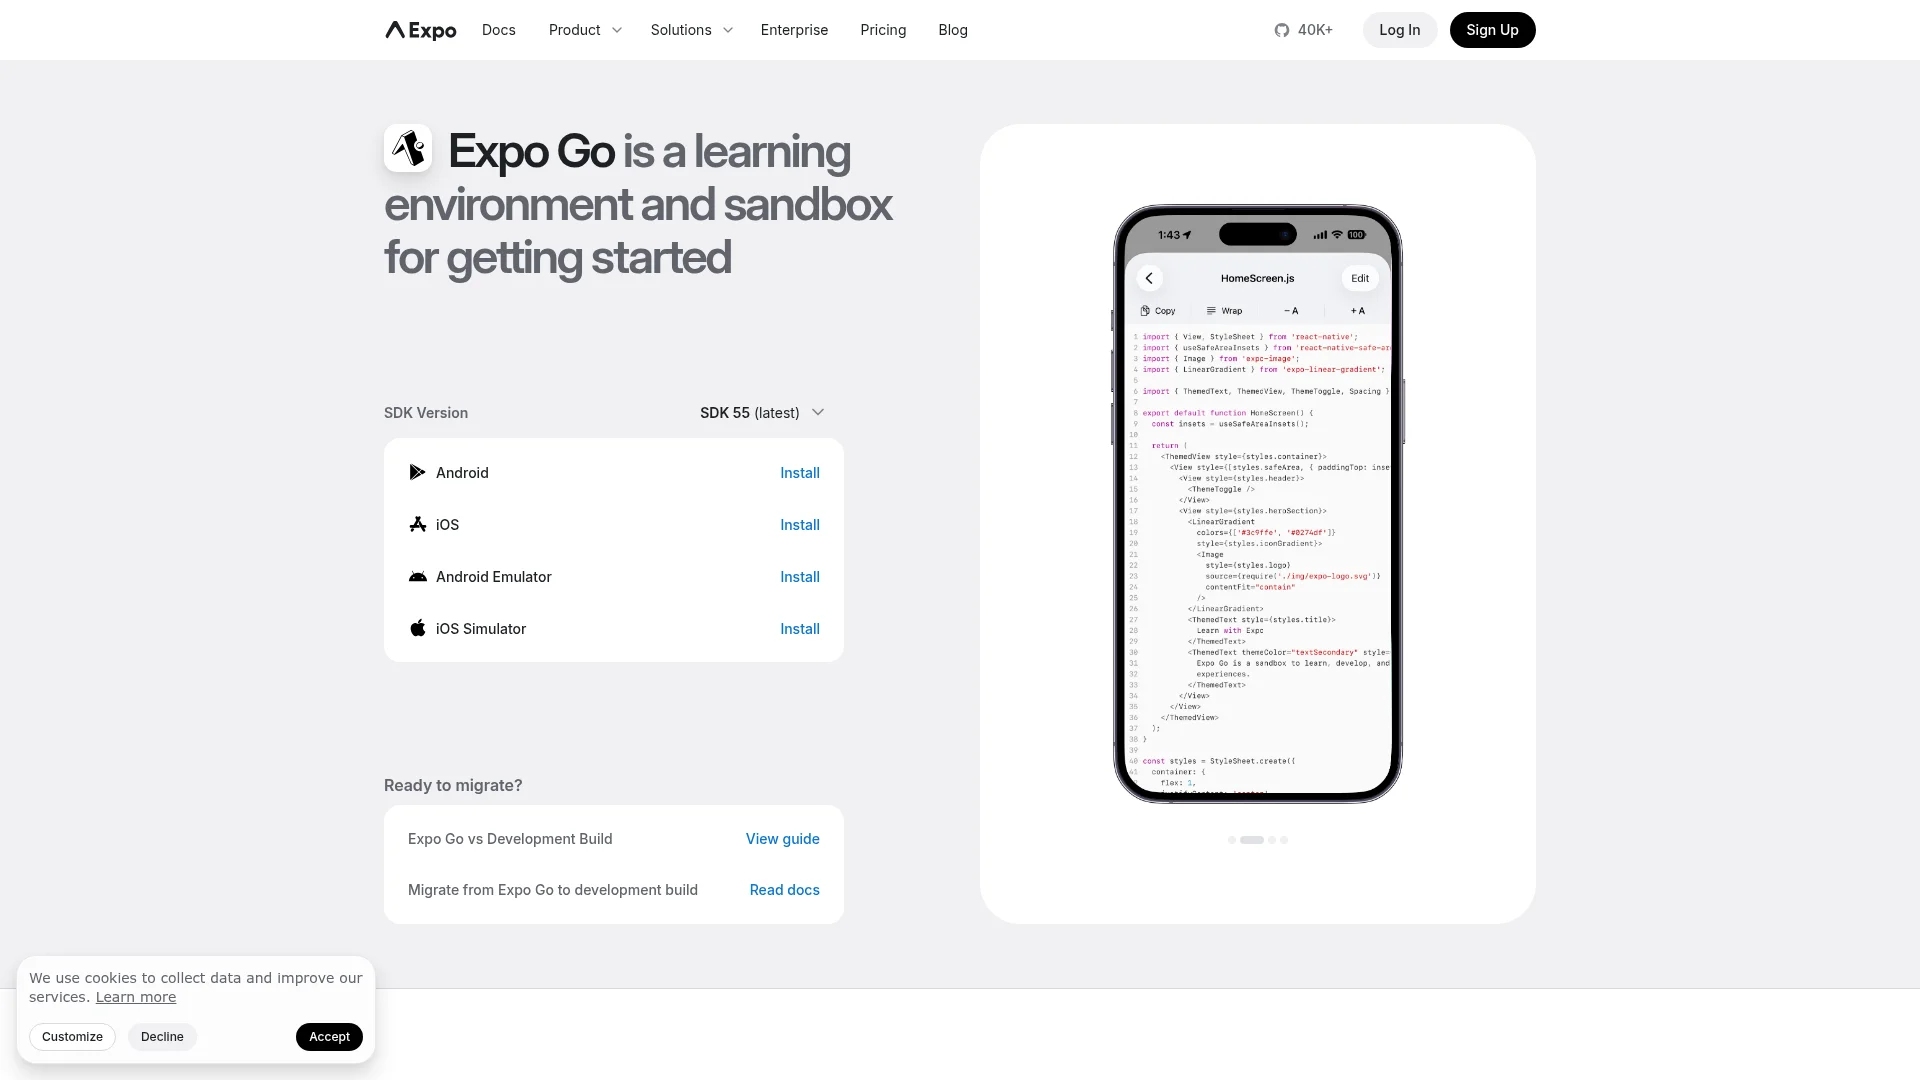
How you install Expo Go depends on which Expo SDK version your project uses.
For SDK 54 and earlier: Search for "Expo Go" in the App Store (iOS) or Google Play Store (Android) and install it. The app store version currently runs SDK 54.
For SDK 55 (latest): The app store version does not support SDK 55 projects yet. On Android, run npx expo start and the CLI will prompt you to install the SDK 55 version directly. On iOS, join the Expo Go TestFlight beta or use the eas go command to build a custom Expo Go and upload it to your own TestFlight team.
Once installed, open Expo Go once to confirm it launches. No login or configuration is needed. For a broader look at mobile testing workflows, check out our guide on how to test an app on iPhone.
Connect to the Same Wi-Fi Network
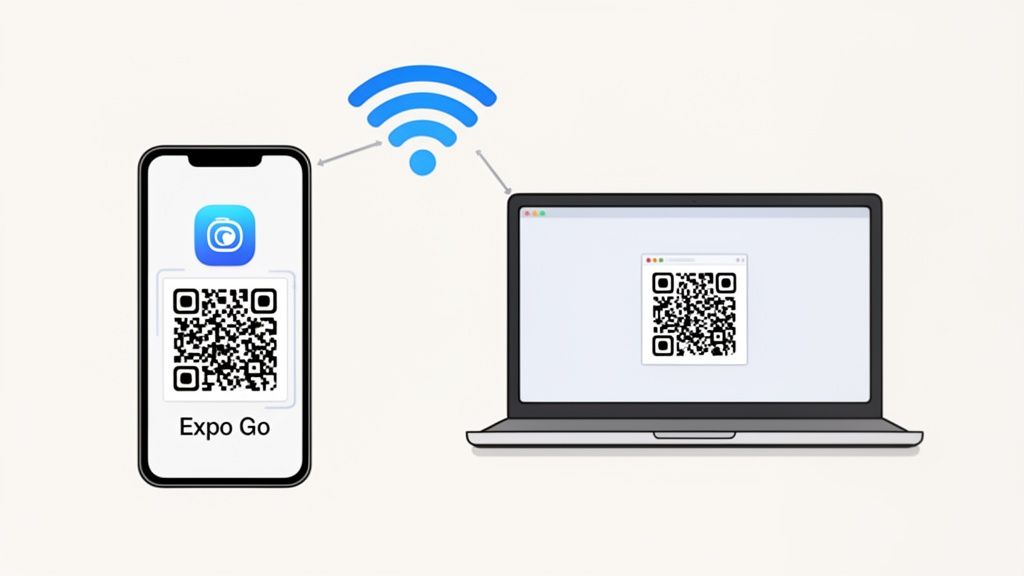
Your computer and phone must be on the same Wi-Fi network. This is the single most common source of connection problems. The QR code creates a local network connection, so both devices need to be able to reach each other directly.
Watch out for dual-band routers. If your laptop is on the 5GHz band and your phone is on 2.4GHz, some routers treat these as separate networks. Confirm both devices show the same network name in their Wi-Fi settings before you scan.
Expo Go vs Development Builds
Expo Go is the fastest way to start testing, but it has limitations. Since SDK 54, Expo officially recommends development builds for production apps. A development build is a custom-compiled version of your app that includes the expo-dev-client library. It works just like Expo Go (QR code scanning, live reloading, switching dev servers) but runs your actual native configuration.
Feature | Expo Go | Development Build |
|---|---|---|
Setup time | Instant (download and scan) | 5-10 minutes (one-time build) |
Third-party native libraries | Not supported | Fully supported |
Push notifications | Removed on Android (SDK 53+) | Fully supported |
Custom native code | Cannot modify | Full control |
App icon and splash screen | Uses Expo Go's branding | Uses your actual config |
QR code scanning | Yes | Yes |
Live reloading | Yes | Yes |
When to Switch to a Development Build
Start with Expo Go for prototyping and learning. Switch to a development build when you add a native library that Expo Go does not include, need push notifications on Android, or want to test your actual app icon and splash screen. The Expo development builds guide walks through the migration in detail.
Both approaches use the same QR code workflow described in the sections below.
Generating and Scanning Your First QR Code
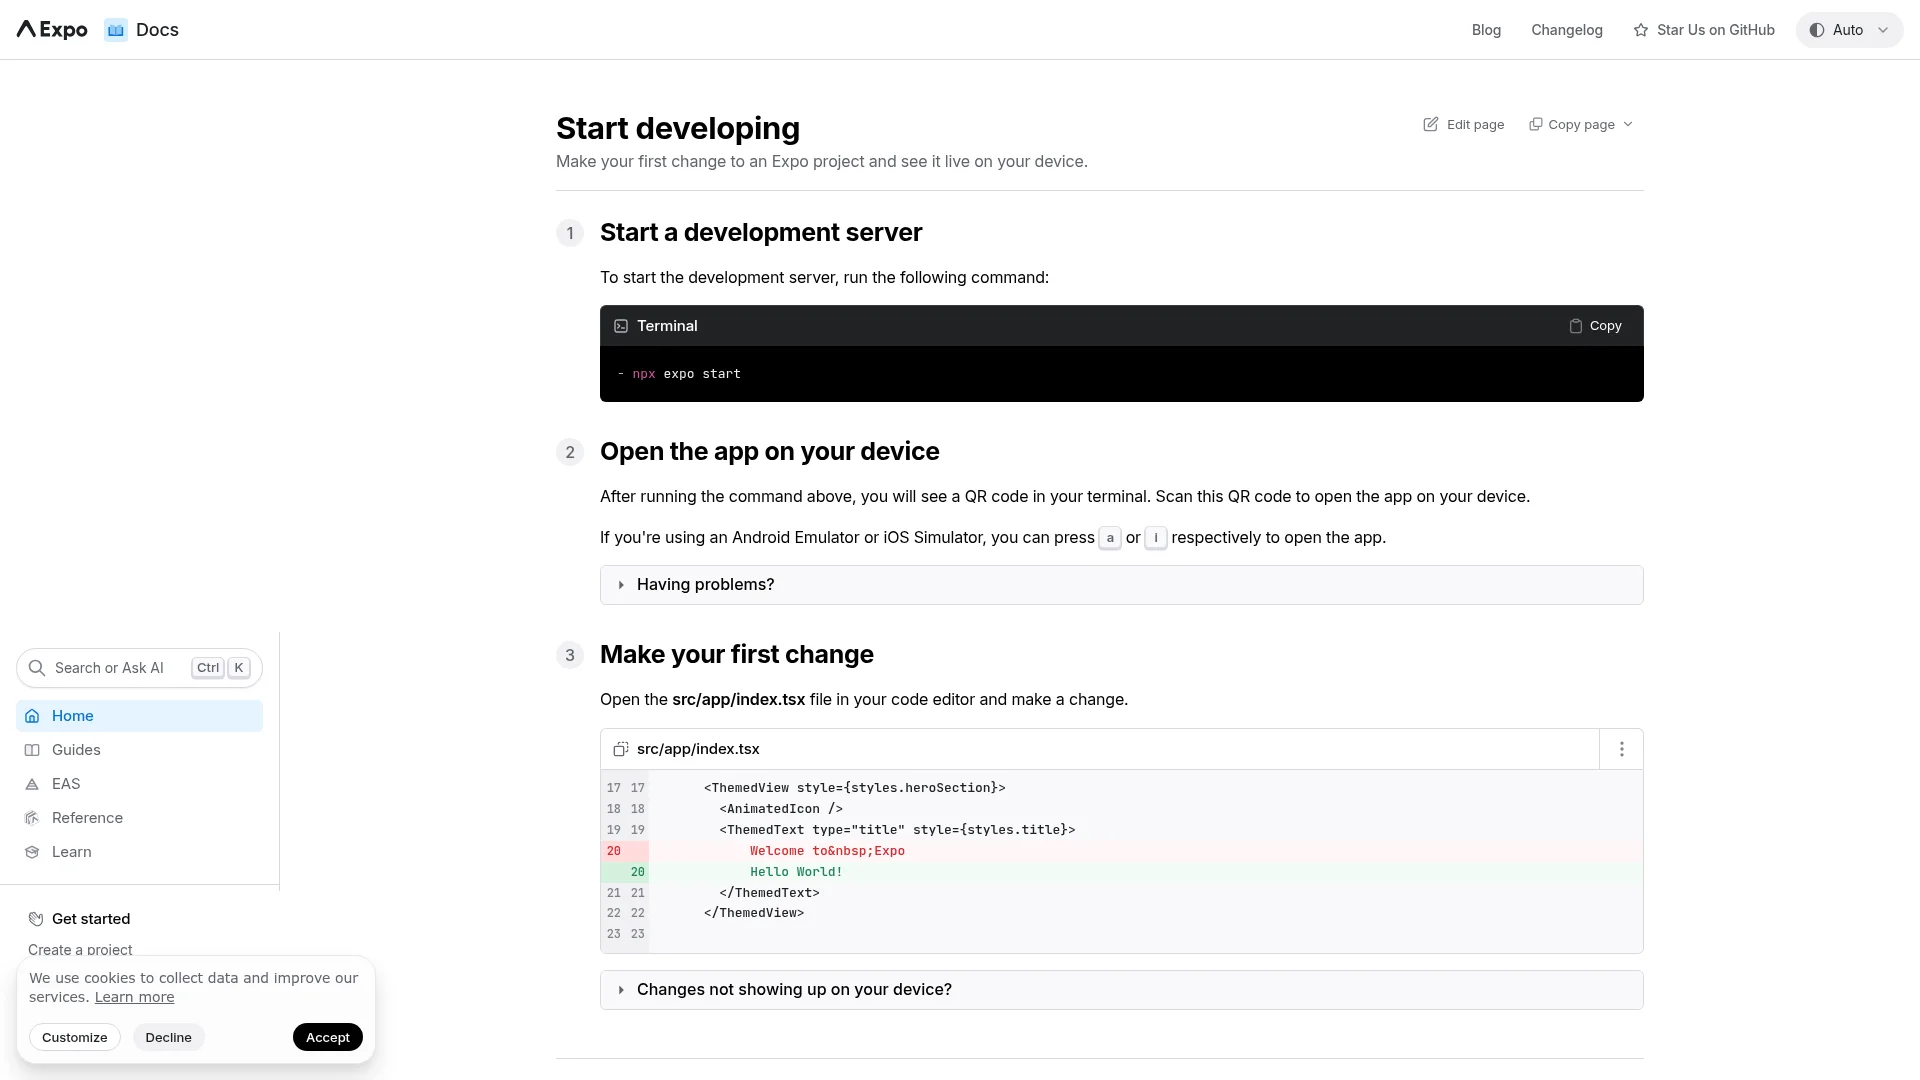
Open your terminal, navigate to your project directory, and run:
npx expo start
The Metro bundler starts up and prints a QR code directly in your terminal window. This code is unique to your current dev session and encodes the URL of your local dev server, including its IP address and port number.
Your terminal will also display the server URL and connection mode. You can press s to switch between Expo Go and development build mode without restarting.
SDK 55 improvement: QR codes now render smaller and cleaner in modern terminals like Alacritty, Ghostty, Kitty, and Windows Terminal. A bug that caused QR codes to get clipped in narrow terminal windows has also been fixed.
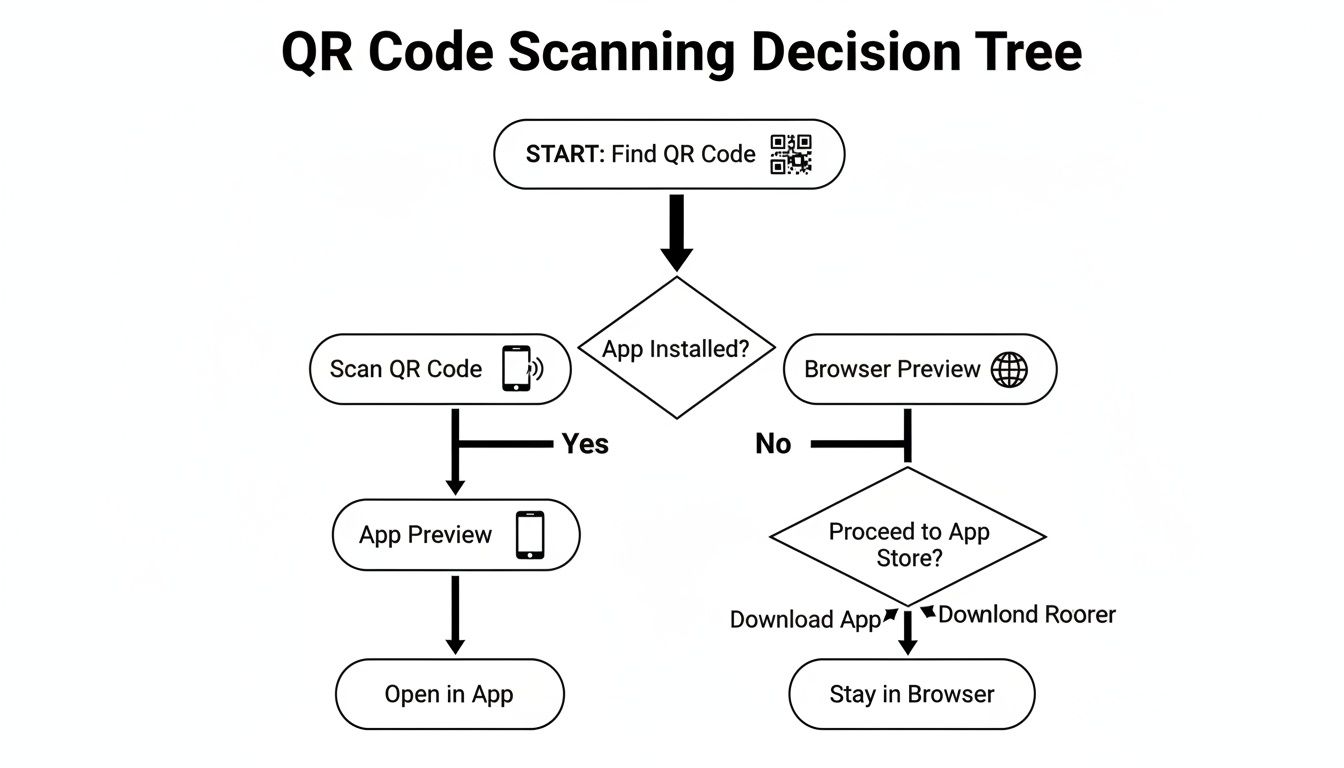
How to Scan the Expo QR Code on iPhone and Android
The official steps to scan the Expo QR code are the same on iPhone and Android, as long as both devices share the same Wi-Fi network:
Run
npx expo startin your project directory to generate the QR code in your terminal.On iPhone: open the built-in Camera app and point it at the QR code, then tap the notification to open it in Expo Go.
On Android: open the Expo Go app, tap "Scan QR code," and point it at the code. The Android system camera does not reliably open Expo Go links, so scan from inside the app.
Wait a few seconds while Expo Go downloads the JavaScript bundle from your computer. Your app then appears on your phone, running exactly as it would for a real user.
After the first scan, the connection stays live. Every time you save a change in your editor, the app on your phone refreshes automatically. You don't need to rescan unless you restart the dev server or close Expo Go entirely.
What Happens After the First Scan
Once the initial bundle loads, the Expo QR code workflow shifts to live reloading. Every file save triggers an automatic refresh on your device. You can tweak styles, refactor components, or fix bugs while watching the result update on a physical screen.
This is where the real productivity gain happens. You're testing against actual device hardware, not a simulated environment. For a full walkthrough of building a project from scratch, see our React Native Expo tutorial.
LAN vs Tunnel: Choosing the Right Connection
When you start the dev server, Expo defaults to a LAN connection. You can also switch to Tunnel mode. Each serves a different use case, and knowing when to switch saves time.
Mode | Best For | Speed | Requirement |
|---|---|---|---|
LAN | Solo development, local team testing | Fast (local network) | Same Wi-Fi network |
Tunnel | Sharing with remote clients or teammates | Slower (public internet) | Internet connection |
When to Use LAN
Use LAN whenever the phone and computer are on the same network. It's the default for good reason: updates are near-instant, there's no extra setup, and your app preview stays entirely on your private network. For day-to-day development, LAN is what you want.
When to Use Tunnel
Switch to Tunnel when you need to share with someone on a different network. Expo creates a temporary public URL, and anyone with Expo Go installed can scan the updated QR code to see your app from anywhere in the world.
The trade-off is latency. Tunnel routes all traffic through the public internet, so reloads take noticeably longer than LAN. Use LAN for active development and switch to Tunnel only when you need remote feedback.
Use LAN for speed when testing locally. Switch to Tunnel when you need to share with anyone outside your network. Getting comfortable toggling between the two keeps your workflow smooth.
Troubleshooting: Expo Go QR Code Not Working
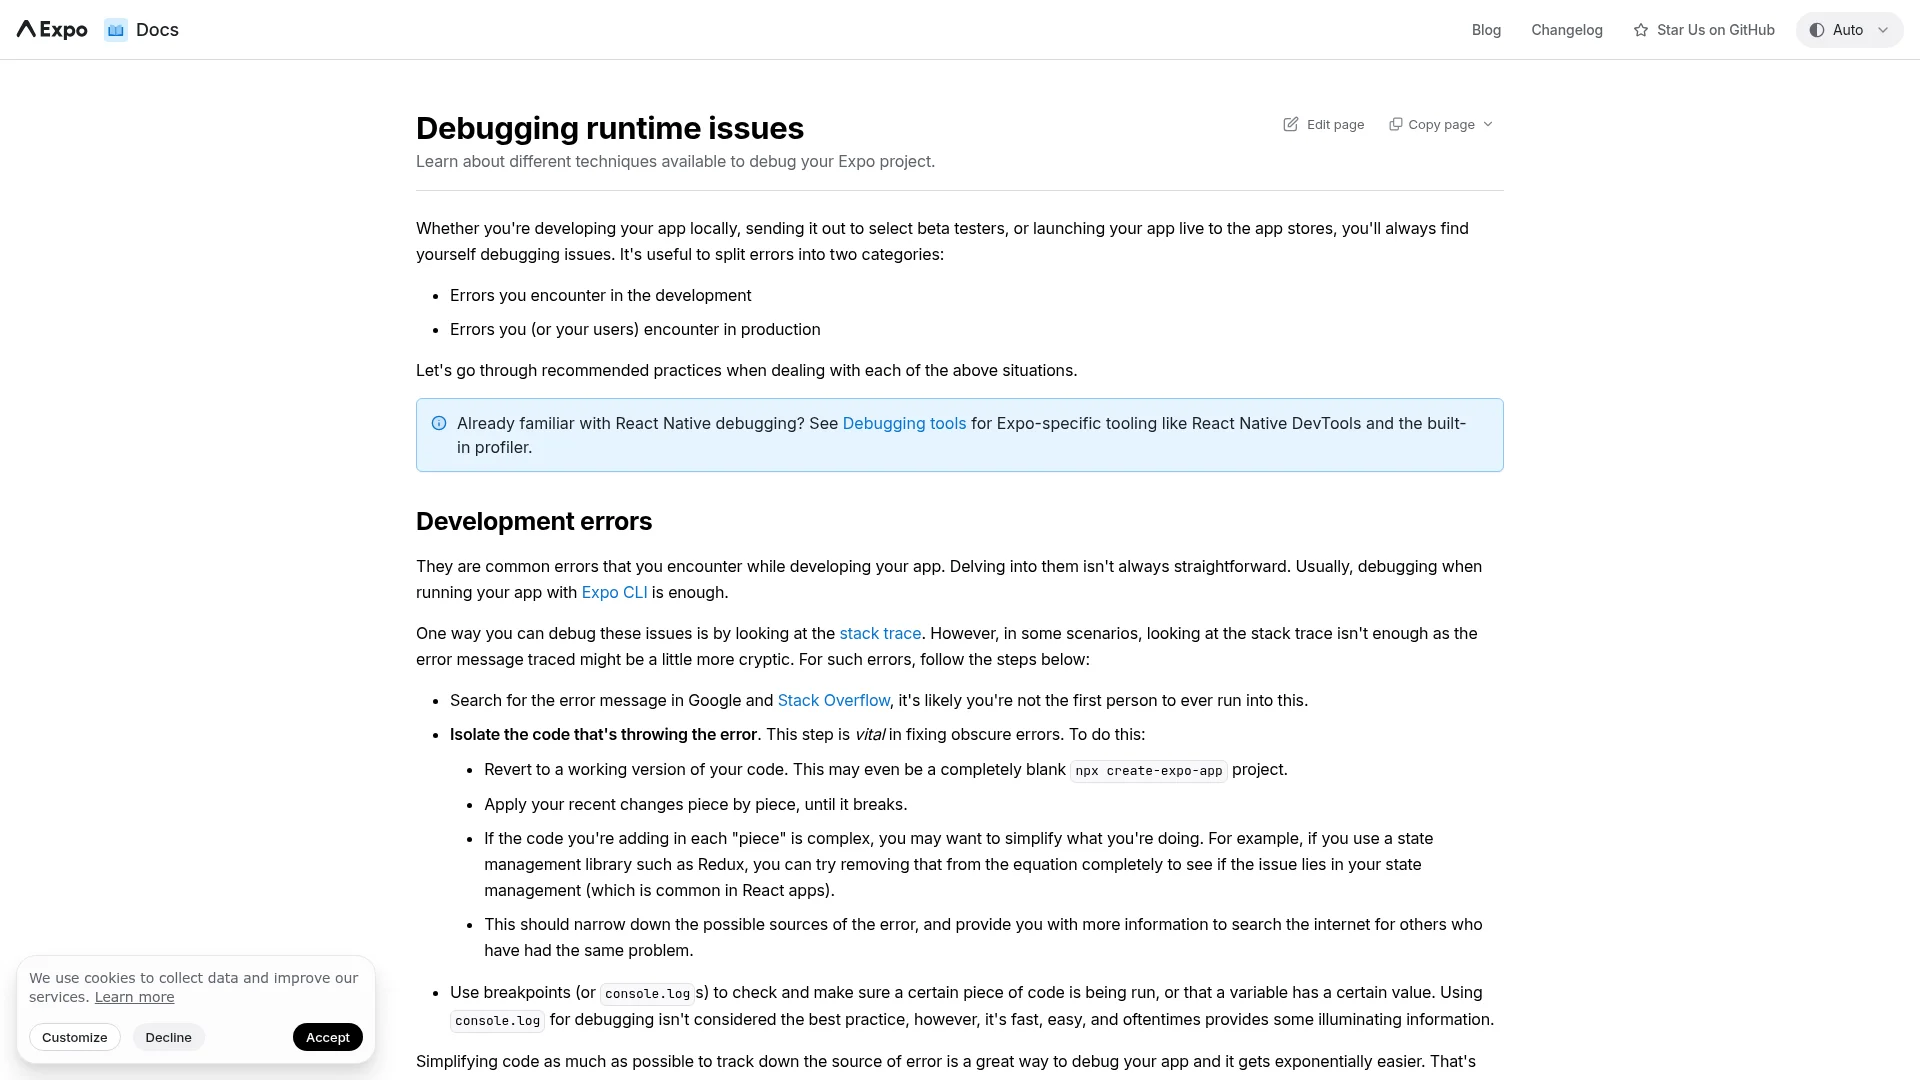
Most Expo QR code problems fall into a few common categories. Here's how to diagnose and fix each one quickly.
The QR Code Won't Scan or Open
Start with the physical basics before checking network settings:
Use the native camera app. Third-party QR scanners often can't handle the deep link format that opens Expo Go. Stick to your phone's built-in camera.
Resize your terminal window. If the QR code is compressed or cut off, your phone can't read it. Make the terminal wider until the code displays as a clean square. SDK 55 improved QR code rendering, so updating your Expo CLI can also help.
Check for screen glare. Bright lights reflecting off your monitor can prevent the camera from focusing on the code.
If your camera shows a "No usable data found" message, it is reading the QR code but cannot open the link. On Android, scan from inside the Expo Go app instead of the system camera. On iPhone, make sure Expo Go is installed first, then rescan so the camera has an app to hand the link to.
Stuck on "Downloading JavaScript Bundle"
If Expo Go opens but the loading bar freezes at 0% (or 99%), it's almost always a network issue. First, confirm both devices are on the exact same Wi-Fi network, including the same frequency band (5GHz vs 2.4GHz).
If the network checks out, clear the Expo Go cache. Open the app, pull down from the top of the screen, and tap "Clear Cache." Then restart your dev server with npx expo start and scan the fresh QR code. Stale cached bundles are a common cause of loading hangs.
"Network Response Timed Out" Error
This error means your phone tried to reach the dev server but got no response. It's common on corporate or public Wi-Fi networks that use client isolation, a security feature that prevents devices on the same network from communicating with each other.
The fix is straightforward: switch to Tunnel mode. This routes traffic through a public URL, bypassing local network restrictions entirely. You'll trade some reload speed for a working connection.
Tunnel Error: "Cannot Read Properties of Undefined (reading 'body')"
Some developers using npx expo start --tunnel have reported a TypeError: Cannot read properties of undefined (reading 'body') error. This is a known issue related to changes in the ngrok service that Expo uses for tunneling.
If you hit this error, try updating your Expo CLI to the latest version with npm install -g expo-cli. You can also work around it by using LAN mode on the same Wi-Fi network, or by setting up a development build with the EXPO_PACKAGER_PROXY_URL environment variable pointed at your own tunneling solution.
Best Practices for a Smooth Testing Workflow
Once the Expo QR code workflow is running, a few habits make it significantly more effective across your team.
Use live reloading constantly. The connection between your editor and the phone stays open. Every save triggers an automatic refresh on-device. Use this to check UI changes, test logic paths, and catch bugs on real hardware as you code.
Tell your team which mode you're using. When sharing the QR code, always specify whether it's LAN (same Wi-Fi required) or Tunnel (works from anywhere). This one detail prevents most "it's not working" messages.
Consider creating a dedicated Slack or Teams channel for posting the current QR code. It gives everyone a single, up-to-date source of truth and keeps feedback tied to the latest build.
Test on both iOS and Android early. Expo Go runs on both platforms. Scanning the same QR code on an iPhone and an Android device catches platform-specific layout and behavior differences before they compound.
Keep Expo Go updated. Outdated versions of Expo Go can cause compatibility issues with newer Expo SDK versions. For SDK 55 projects, make sure you're running the SDK 55 Expo Go client, not the older app store version.
Use eas go for team distribution. If your team tests on iOS, the eas go command builds a custom Expo Go binary and uploads it to your TestFlight team. This is easier than asking everyone to join the public TestFlight beta separately.
Frequently Asked Questions
Do I Need a Developer Account to Use the Expo QR Code?
No. Expo Go runs your project code directly on-device, so you don't need an Apple Developer or Google Play account for testing. Developer accounts are only required later when you're ready to submit a standalone app (.ipa or .aab) to the app stores.
Can I Share the QR Code With People Outside My Network?
Yes. Start your project in Tunnel mode, and the QR code will point to a temporary public URL hosted by Expo. Anyone with Expo Go installed can scan it and preview your app from any location with an internet connection.
Why Does My App Look Different in Expo Go Than in the Final Build?
Expo Go includes a preset collection of native modules, and that collection has been shrinking with each SDK release. As of SDK 55, expo-av has been removed (replaced by expo-video and expo-audio), push notifications throw an error on Android, and only the New Architecture is supported.
For most early development, what you see in Expo Go closely matches the final product. Once you add custom native modules or platform-specific APIs, switch to a development build. Development builds still support QR code scanning and live reloading, but they run your actual native configuration.
How Often Do I Need to Rescan the QR Code?
Just once per session. As long as the dev server is running, code changes reload automatically on your phone. You only need to rescan if you close Expo Go completely, restart the dev server, or switch between LAN and Tunnel modes.
Why Is My Expo Go QR Code Not Working?
The most common cause is that your phone and computer are on different Wi-Fi networks, or on different bands of the same router. Confirm both are on the same network, use the native camera on iPhone or the Expo Go scanner on Android, and switch to Tunnel mode if you are on restricted corporate or public Wi-Fi. The troubleshooting section above has the full checklist.
Ready to build a mobile app without writing code? CatDoes uses AI to turn text descriptions into production-ready apps you can test and deploy.
Nafis Amiri
Co-Founder of CatDoes


