Blog
Tutorials
How to Test Your App on iPhone: 2026 Guide
Learn how to test your app on iPhone with Xcode, TestFlight, and live previews. A complete, step-by-step guide for real-device iOS app testing in 2026.

Nafis Amiri
Co-Founder of CatDoes

If you want to test your app on iPhone properly, you need three core methods in your toolkit. Live previews let you iterate on UI instantly. Deploying from Xcode puts a full build on real hardware. And TestFlight gets your app into the hands of beta testers at scale. Each method serves a different stage of development, and together they cover everything from quick visual checks to large-scale beta feedback.
TL;DR: Use live previews (Expo, SwiftUI) for fast UI iteration. Deploy from Xcode to test native features on a real device. Use TestFlight for beta distribution to up to 10,000 testers. Test on physical iPhones for performance-critical features and simulators for layout checks. Always cover the current iOS version and at least one prior version.
Table of Contents
Why Rigorous iPhone App Testing Matters
Getting Instant Feedback with Live Previews
Deploying Development Builds from Xcode
Scaling Beta Testing with TestFlight
Choosing the Right Devices and iOS Versions
Frequently Asked Questions
Why Rigorous iPhone App Testing Matters

Launching an untested app in the App Store is a fast track to one-star reviews and permanent user churn. Testing is not a box-ticking step for QA. It directly impacts retention, revenue, and your App Store ranking.
The iOS ecosystem makes real-device testing essential. You have to account for different iPhone models with varying screen sizes, processors, and hardware quirks. Every annual iOS release also introduces compatibility risks that can break your app overnight.
The Real Cost of Skipping Tests
A user who downloads your app and hits a crash or confusing flow will not file a bug report. They will delete the app and never come back. That first impression is everything, and you only get one shot at it.
Beyond UX, untested apps can expose security vulnerabilities that leak sensitive user data. This destroys trust and can lead to legal consequences. If you want to lock down your app's security posture, our guide on mobile app security best practices covers the essentials.
What Users Expect in 2026
Users expect apps to be fast, smooth, and intuitive. Slow load times, unresponsive buttons, or excessive battery drain are all common reasons for an uninstall. Testing lets you catch these issues across different devices and network conditions before your users do.
The stakes are measurable. The industry benchmark for crash-free sessions is 99.95%. Apps that fall below 99.85% typically see ratings and search rankings drop. Apple's own App Store algorithms reward stability, so poor performance hurts both user trust and discoverability.
Getting Instant Feedback with Live Previews
For rapid UI development, live previews are the fastest way to test an app on iPhone. You see code changes reflected on a real device in seconds, without waiting for a full build cycle.
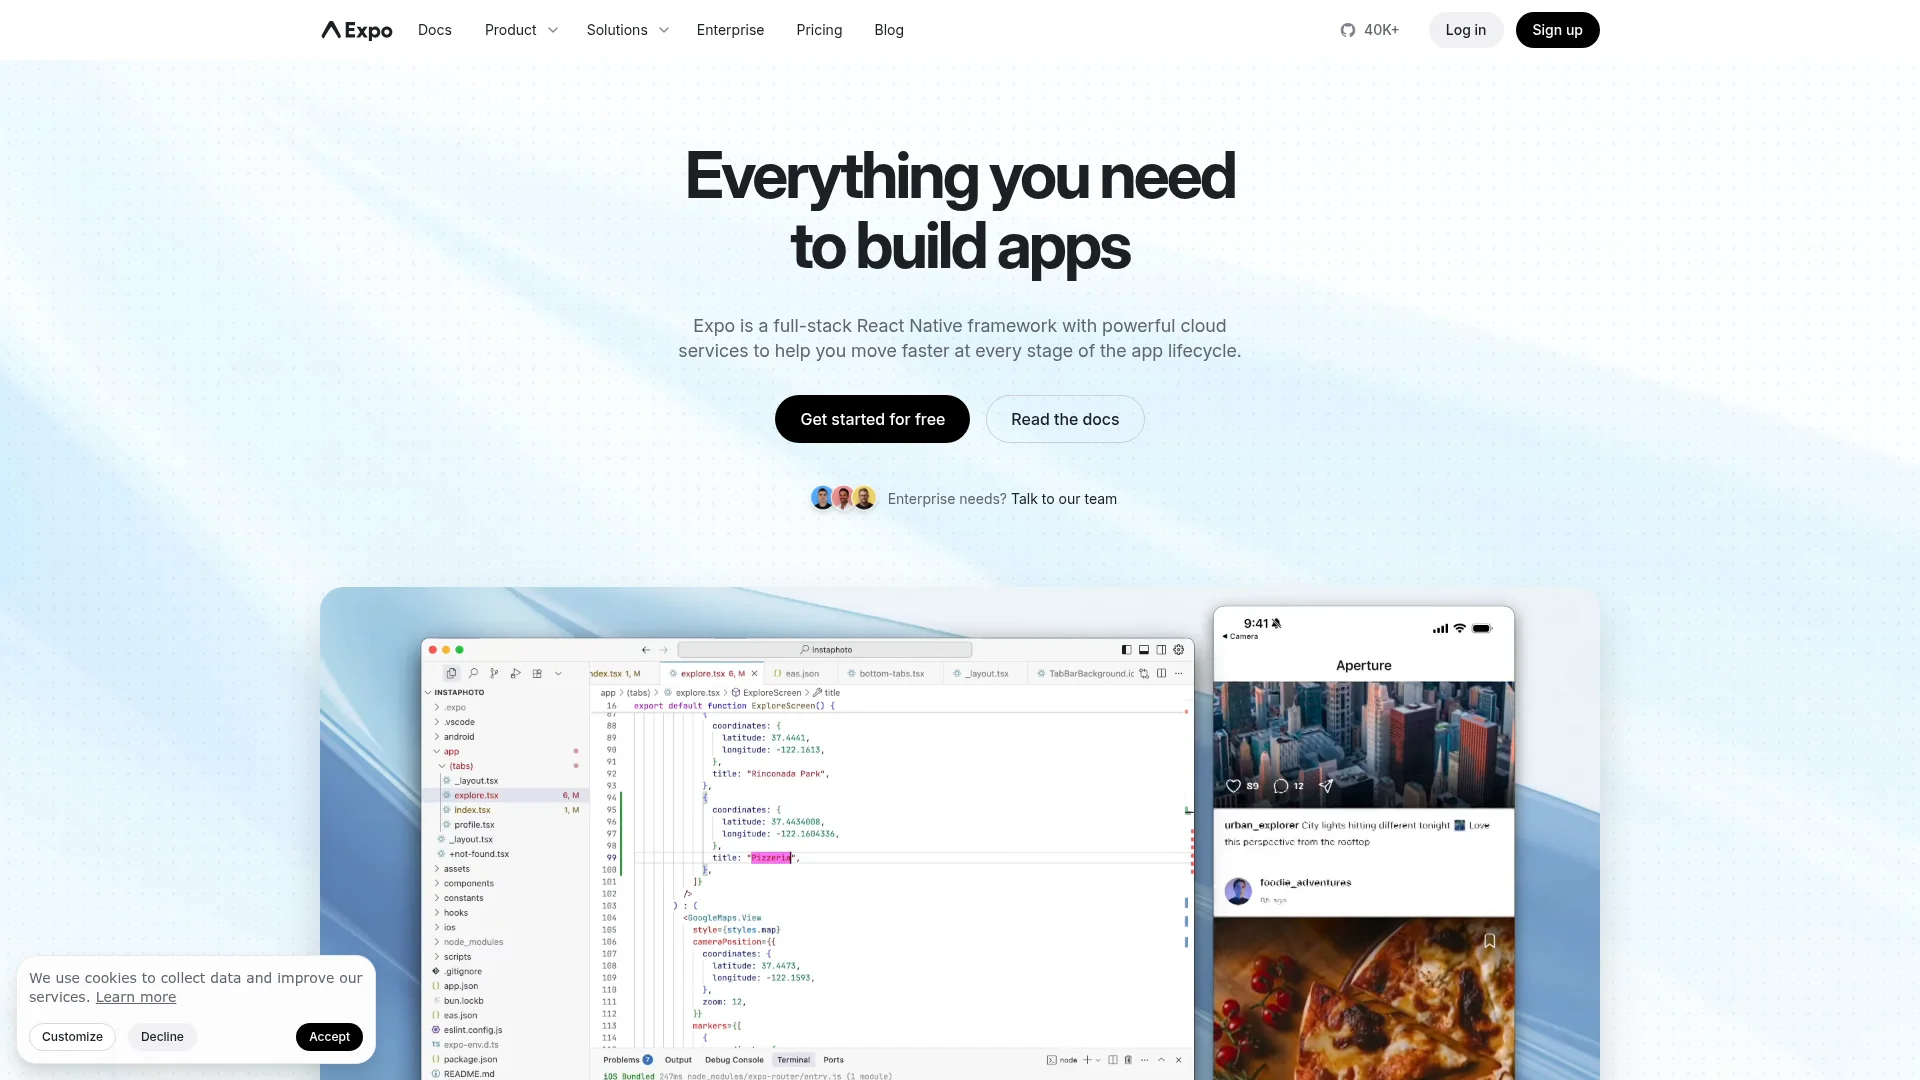
Frameworks like SwiftUI and React Native with Expo have made this workflow standard. You skip the slow compile-deploy-test loop and get a tight feedback cycle that keeps momentum high during design and layout work.
How Hot Reloading Works
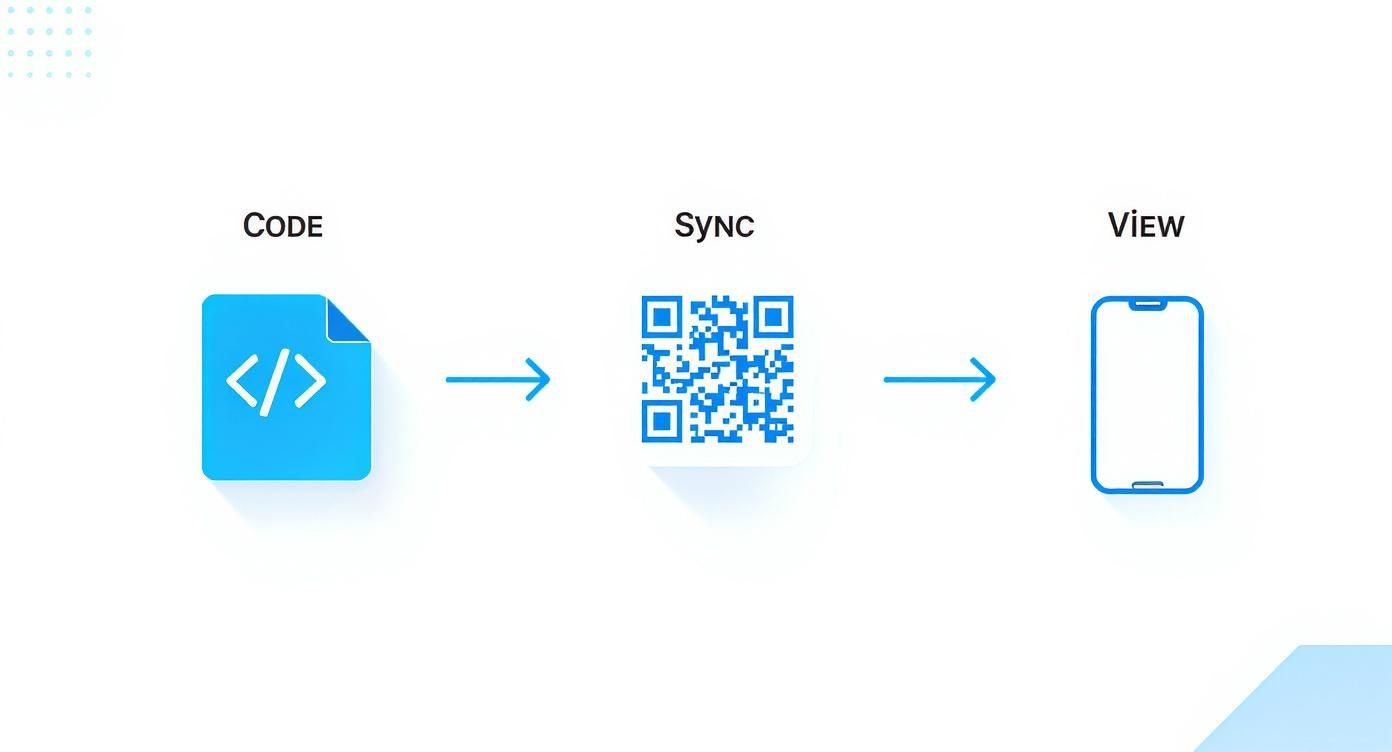
When you save a change in your code editor, the development server pushes only the updated code to the app running on your iPhone. The app refreshes its interface without restarting, so it preserves its current state. You do not lose your place or have to navigate back to the screen you were testing.
The setup is simple. Connect your iPhone and computer to the same Wi-Fi network. In a React Native Expo project, run the start command in your terminal to generate a QR code. Point your iPhone camera at it, and the app opens in the Expo Go client. SwiftUI previews work similarly through Xcode's built-in preview canvas.
Best Use Cases for Live Previews
Live previews excel at specific tasks where visual feedback is the priority:
UI and layout adjustments: Tweak colors, fonts, spacing, and component alignment and see results instantly.
Component development: Build and test isolated UI components on a real screen without the full app context.
Responsive design checks: See exactly how your layout adapts to the screen dimensions and notch of a real iPhone.
Rapid prototyping: Show stakeholders a working UI on a real device within minutes of making a change.
Limitations of Live Previews
Live previews do not load all native device features. Push notifications, background tasks, and in-app purchases typically require a full build. When you need to test these deeper integrations, it is time to deploy directly from Xcode.
Deploying Development Builds from Xcode
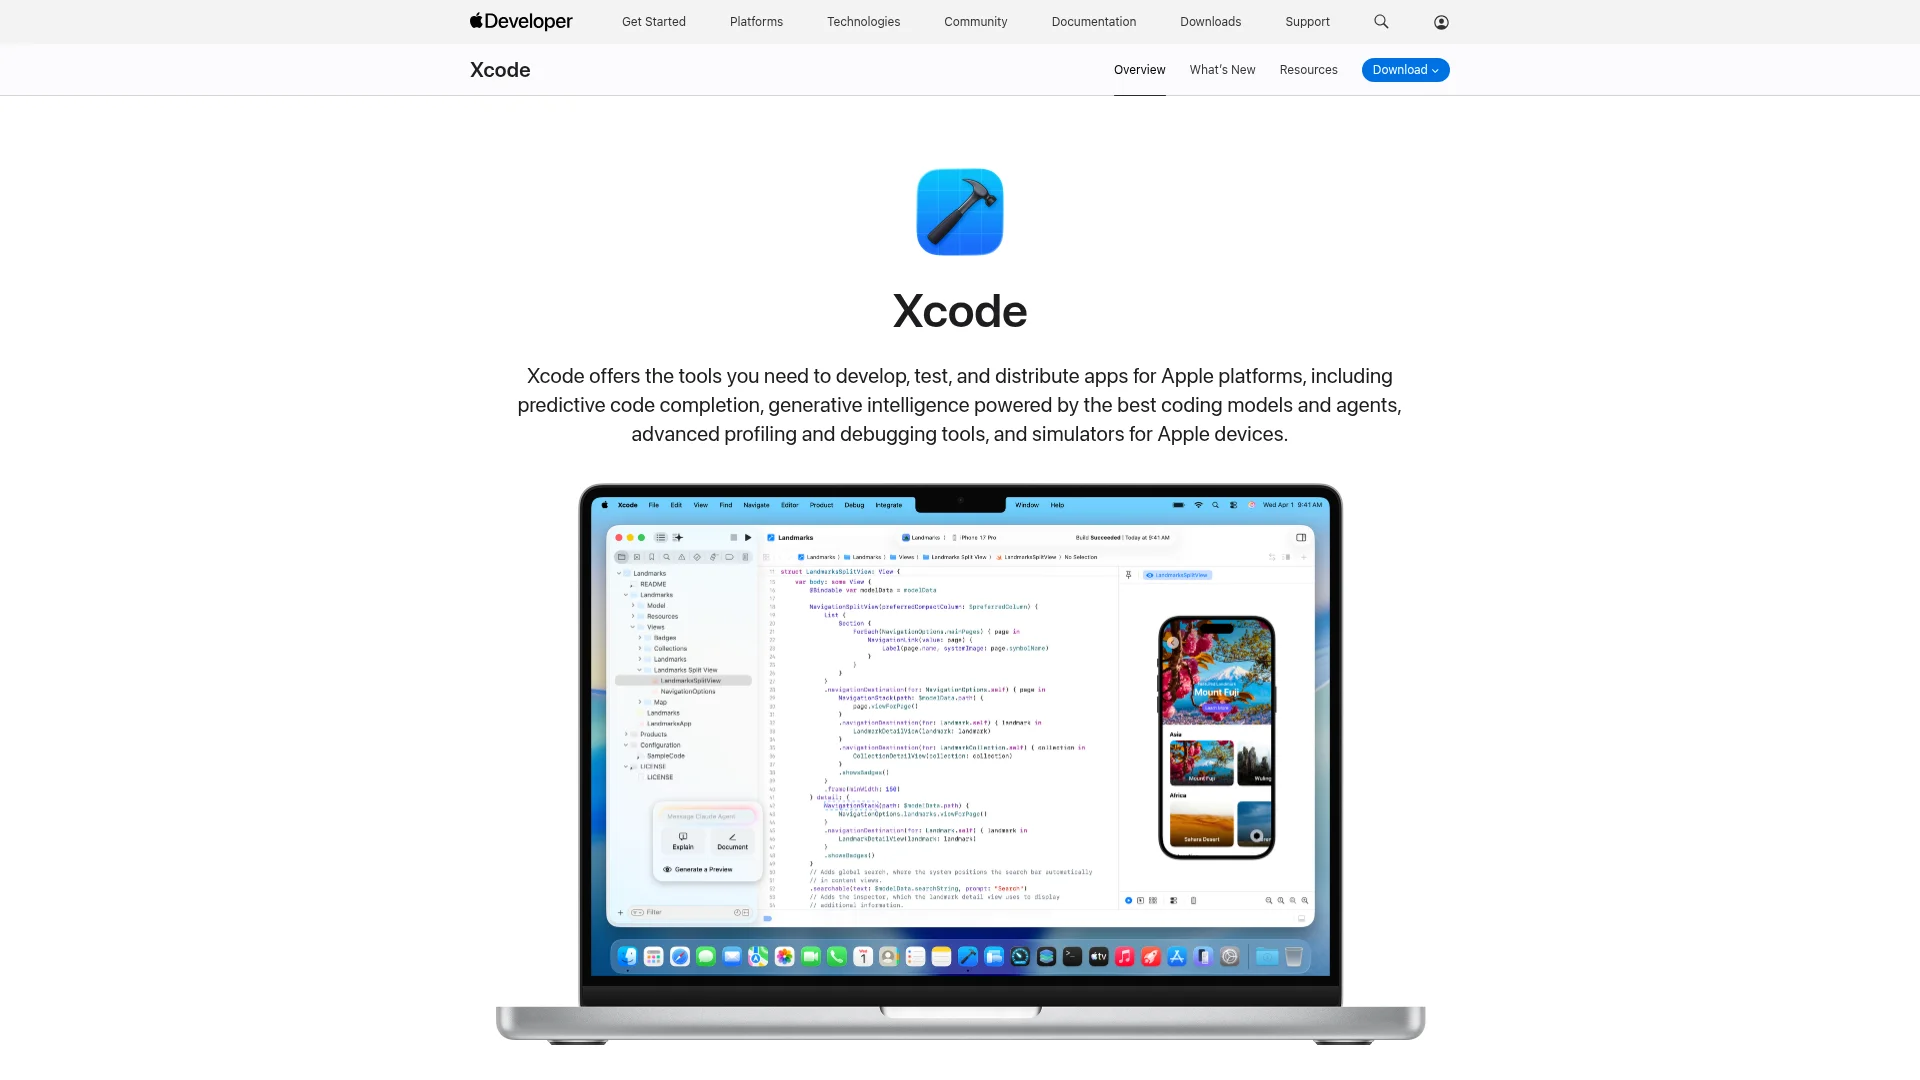
When you move past UI tweaks and need to test native features, simulators are no longer enough. They cannot replicate push notifications, camera access, GPS accuracy, or real-world performance. Deploying a development build from Xcode installs a full version of your app directly onto your iPhone.
This gives you the most authentic testing environment possible. It is the only reliable way to confirm that your app's core features work as intended on real hardware.
Setting Up Your Development Environment
Before your first deployment, you need three things: an Apple Developer Program membership, your iPhone's Unique Device Identifier (UDID), and the correct provisioning profiles.
The Apple Developer Program ($99/year) gives you access to the certificates needed to sign your code. Apple requires code signing for any app running on its hardware. Next, register your test iPhone in your developer account by adding its UDID. Xcode surfaces this automatically when your phone is plugged in.
The Build and Deploy Workflow
Once setup is complete, the deployment itself is straightforward:
Connect your iPhone to your Mac via USB. Tap "Trust This Computer" on the phone when prompted.
Select your device from the target menu in Xcode's toolbar.
Click Run (the play button). Xcode compiles your code, signs it, and installs the
.appfile onto your device.
The app launches automatically. Xcode stays connected and streams a live console with logs and debugging tools, which is invaluable for tracking down crashes. This tight code-deploy-test loop is the heart of efficient iOS development. For tips on automating this cycle, see our guide on continuous deployment best practices.
Fixing Common Code Signing Errors
Code signing issues are the most common roadblock. Here are the two you will hit most often:
Provisioning profile mismatches: The profile does not include your device's UDID or has the wrong app identifier. Verify both match in your developer account.
Certificate errors: Your developer certificate has expired or is not installed in Keychain Access. Regenerate it in your Apple Developer account if needed.
Xcode's "Signing & Capabilities" tab flags most of these issues automatically and often offers a one-click fix.
Scaling Beta Testing with TestFlight
When your app is stable enough for external feedback, TestFlight is Apple's official platform for beta distribution. It handles tester management, build delivery, crash reporting, and feedback collection in one place.
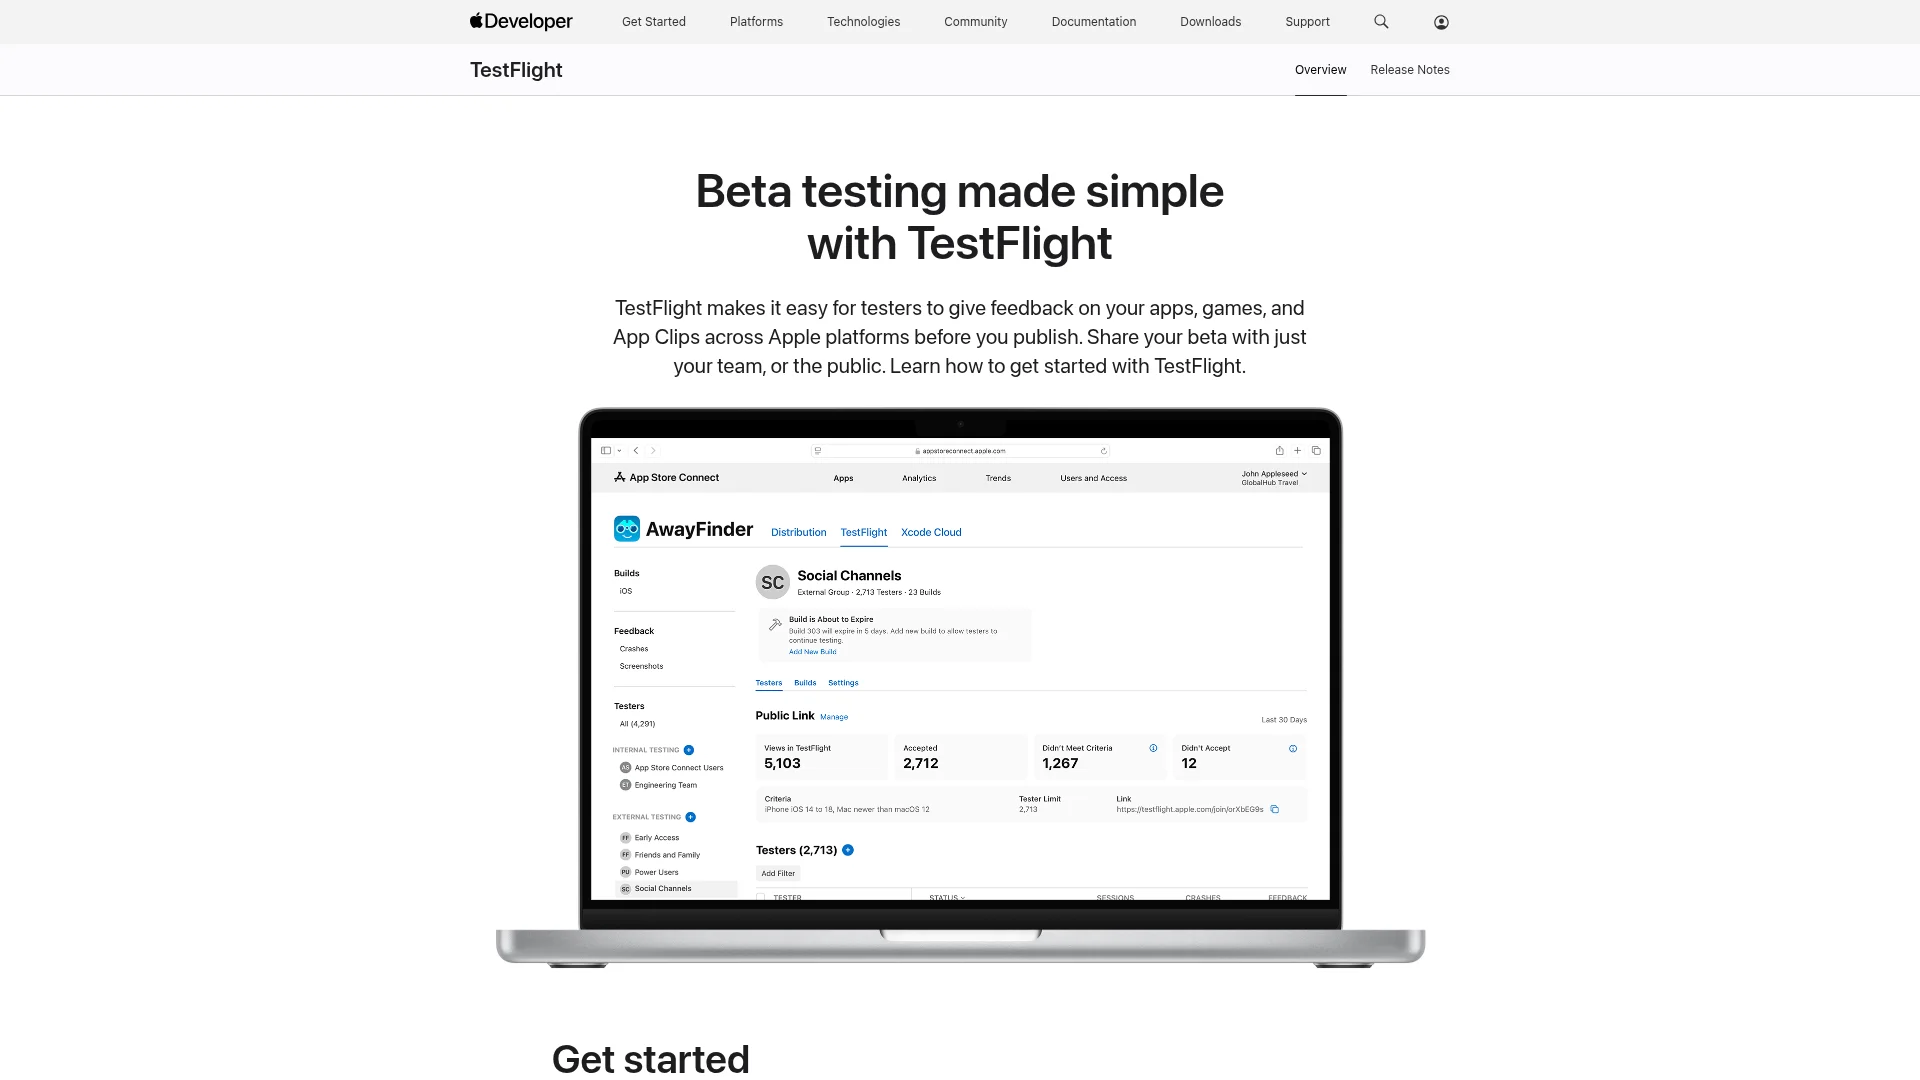
Uploading Your Build to App Store Connect
The process starts in Xcode. Create an archive of your app (a bundled package ready for distribution), then upload it to App Store Connect. From there, you manage builds and invite testers through the TestFlight section.
Note that external tester builds go through a quick automated review by Apple. It checks for major policy violations and critical stability issues before the build becomes available.
Internal vs External Testing Groups
TestFlight offers two tester categories, each serving a different purpose:
Group | Max Testers | Access Speed | Best For |
|---|---|---|---|
Internal | 100 | Instant | Dev team, QA, designers, PMs |
External | 10,000 | After Apple review | Beta users, community, customers |
Internal testers need a role in your App Store Connect account. External testers can be invited by email or a shareable public link, which is ideal for recruiting from social media or your existing user base.
Collecting Actionable Feedback
TestFlight's built-in feedback system is its strongest feature. When your app crashes, it automatically prompts users to send a crash report with detailed logs. Testers can also take screenshots and send annotated feedback from anywhere in the app.
The quality of feedback depends on asking the right questions. Our guide on crafting effective user testing questions covers how to get insights that actually improve your product.
Choosing the Right Devices and iOS Versions
You cannot test on every iPhone and iOS version. The key is making smart, data-driven decisions about which combinations matter most for your audience.
Building a Device Testing Matrix
A device testing matrix maps out which devices and iOS versions you will prioritize. Base it on real adoption data, not assumptions.
Apple consistently sees rapid iOS adoption. Within three months of a new release, the latest iOS version typically reaches 70-80% of active devices. The previous major version usually holds 10-15%, and older versions make up the rest. This means testing on the current iOS version plus one prior version covers 90%+ of your user base.
For devices, prioritize the current flagship (iPhone 16 series) alongside still-popular older models like the iPhone 15 and iPhone 13. These cover the range of screen sizes, processors, and RAM configurations your users actually have.
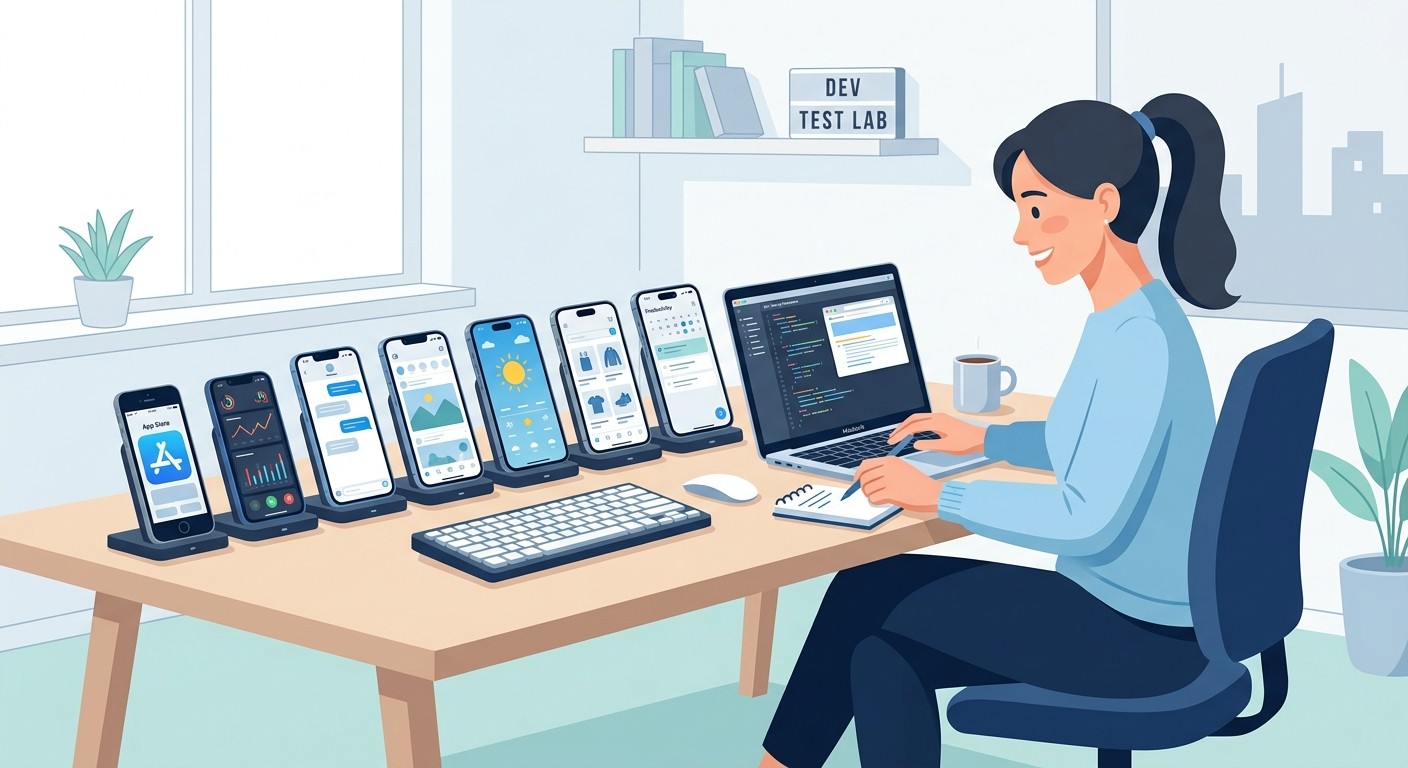
When to Use Physical Devices vs Simulators
You do not need to own every device on your list. Split the work strategically:
Physical devices: Use for performance benchmarking, battery drain testing, and anything involving hardware (camera, GPS, Bluetooth, Face ID, haptics). A good starting setup is one newer model and one popular older model.
Xcode simulators: Use for the bulk of UI and layout testing. They are fast and cover every screen size from the smallest iPhone SE to the largest Pro Max.
The common mistake is relying too heavily on simulators. They run on your Mac's powerful processor and abundant RAM, which masks performance problems that would be obvious on a real device. Always validate performance-critical flows on physical hardware.
Frequently Asked Questions
Do I need a physical iPhone or is the Xcode simulator enough?
The simulator is great for layout checks and quick UI iteration, but it cannot replicate real-world performance constraints, battery drain, or hardware features like the camera, GPS, and Face ID. You need a physical iPhone for any performance-critical or hardware-dependent testing.
Can I test my app on iPhone without an Apple Developer account?
You can run apps on your own device with a free Apple ID through Xcode, but builds expire after 7 days and you cannot use TestFlight. For serious development, the $99/year Apple Developer Program is a requirement.
How many testers can I have on TestFlight?
Up to 100 internal testers (your team) with instant access, and up to 10,000 external testers via email invite or public link. External builds require a brief automated review by Apple before they become available.
What iOS versions should I test on?
At minimum, test on the current iOS version and one prior major version. This typically covers over 90% of active iPhone users. Check Apple's own adoption data or analytics tools like Mixpanel for your specific user base breakdown.
Ready to turn your app idea into reality without the complexity? CatDoes is an AI-native platform that builds, tests, and deploys production-ready mobile apps from natural-language descriptions. Start building your app for free today.
Nafis Amiri
Co-Founder of CatDoes


