Blog
Tutorials
React Native Push Notifications: 2026 Guide
Add React Native push notifications with Expo, Notifee, or react-native-push-notification. Covers permissions, tokens, backend setup, deep linking, and fixes.

Nafis Amiri
Co-Founder of CatDoes

TL;DR: Install expo-notifications, expo-device, and expo-constants. Configure app.json with the notifications config plugin for iOS (APNs) and Android (FCM). Request user permission, grab the Expo Push Token, store it on your backend, and send notifications through the Expo Push API. On bare React Native (no Expo), use @notifee/react-native or react-native-push-notification with @react-native-firebase/messaging instead. Updated for Expo SDK 53.
Setting up push notifications in React Native is the most direct way to pull users back into your app. Instead of waiting for users to remember you exist, notifications let you start the conversation with timely, relevant messages delivered straight to their device.
This guide is for React Native developers using Expo who want push notifications in a production app. It covers the full implementation: project configuration, platform setup for iOS and Android, permission handling, backend integration, and advanced techniques like deep linking and rich notifications.
Table of Contents
Expo vs. Bare React Native: Choosing Your Setup
Why Push Notifications Matter for Engagement
Setting Up Your Expo Project
Requesting Permission and Getting the Push Token
Sending Notifications from Your Backend
Advanced Techniques
Troubleshooting Push Notifications in React Native
Expo vs. Bare React Native: Choosing Your Setup
There are two ways to add push notifications in React Native, and the right one depends on how your app is built. If you use Expo (managed or with a development build), expo-notifications gives you a single API that handles both Apple Push Notification service (APNs) and Firebase Cloud Messaging (FCM). If you run a bare React Native project, you wire up a dedicated notifications library and talk to FCM and APNs more directly.
The table below compares the most common React Native push notification libraries so you can pick the right path before writing any code.
Library | Workflow | Best For | Status |
|---|---|---|---|
| Expo | Cross-platform apps that want one unified API and the Expo Push API | Actively maintained |
| Bare or Expo (dev build) | Rich local notifications, custom channels, full display control | Actively maintained |
| Bare | Direct FCM control on Android and iOS, often paired with Notifee | Actively maintained |
| Bare | Legacy apps already using it; local and remote notifications | Maintenance mode (many teams migrate to Notifee) |
| Bare | Native-heavy apps needing low-level control | Community maintained |
Which should you pick? For most teams, Expo with expo-notifications is the fastest route to production because it abstracts APNs and FCM behind one token and one send API. If you are on bare React Native, the common 2026 stack is @react-native-firebase/messaging to receive messages plus @notifee/react-native to display them. New projects should avoid starting on react-native-push-notification, since it is in maintenance mode. If you are still choosing your stack, our React Native app builder guide compares the options.
The rest of this guide uses the Expo workflow, but the core concepts map directly to bare React Native: you still request permission, obtain a device token, store it on a backend, and handle taps for deep linking. On bare React Native you would swap getExpoPushTokenAsync for messaging().getToken() and send through FCM/APNs instead of the Expo Push API.
Why Push Notifications Matter for Engagement
Push notifications are the lifeline between your app and your users. Without them, your app is silent, waiting for someone to open it. With them, you can remind users about abandoned carts, new messages, or updates they care about.
The Impact on User Retention
The numbers are hard to ignore. According to Airship's push notification benchmark report, apps that send targeted weekly notifications see retention rates 2-3x higher than silent apps. A user who enables notifications has already signaled higher interest and is far more likely to become a long-term, valuable user.
The table below shows how iOS and Android users engage with notifications differently.
Metric | iOS | Android | Global Average |
|---|---|---|---|
Opt-in Rate | 43.9% | 91.1% | 67.5% |
Click-Through Rate | 4.6% | 10.2% | 7.8% |
Rich Media CTR Lift | +56% | +25% | Images and GIFs improve engagement |
Optimal Weekly Frequency | 1-2 messages | 3-5 messages | Exceeding this leads to opt-outs |
The gap in opt-in rates is striking. iOS requires explicit permission, making your permission request on that platform critical. Android opts users in by default, though newer versions are moving toward the iOS model.
How Expo Bridges iOS and Android
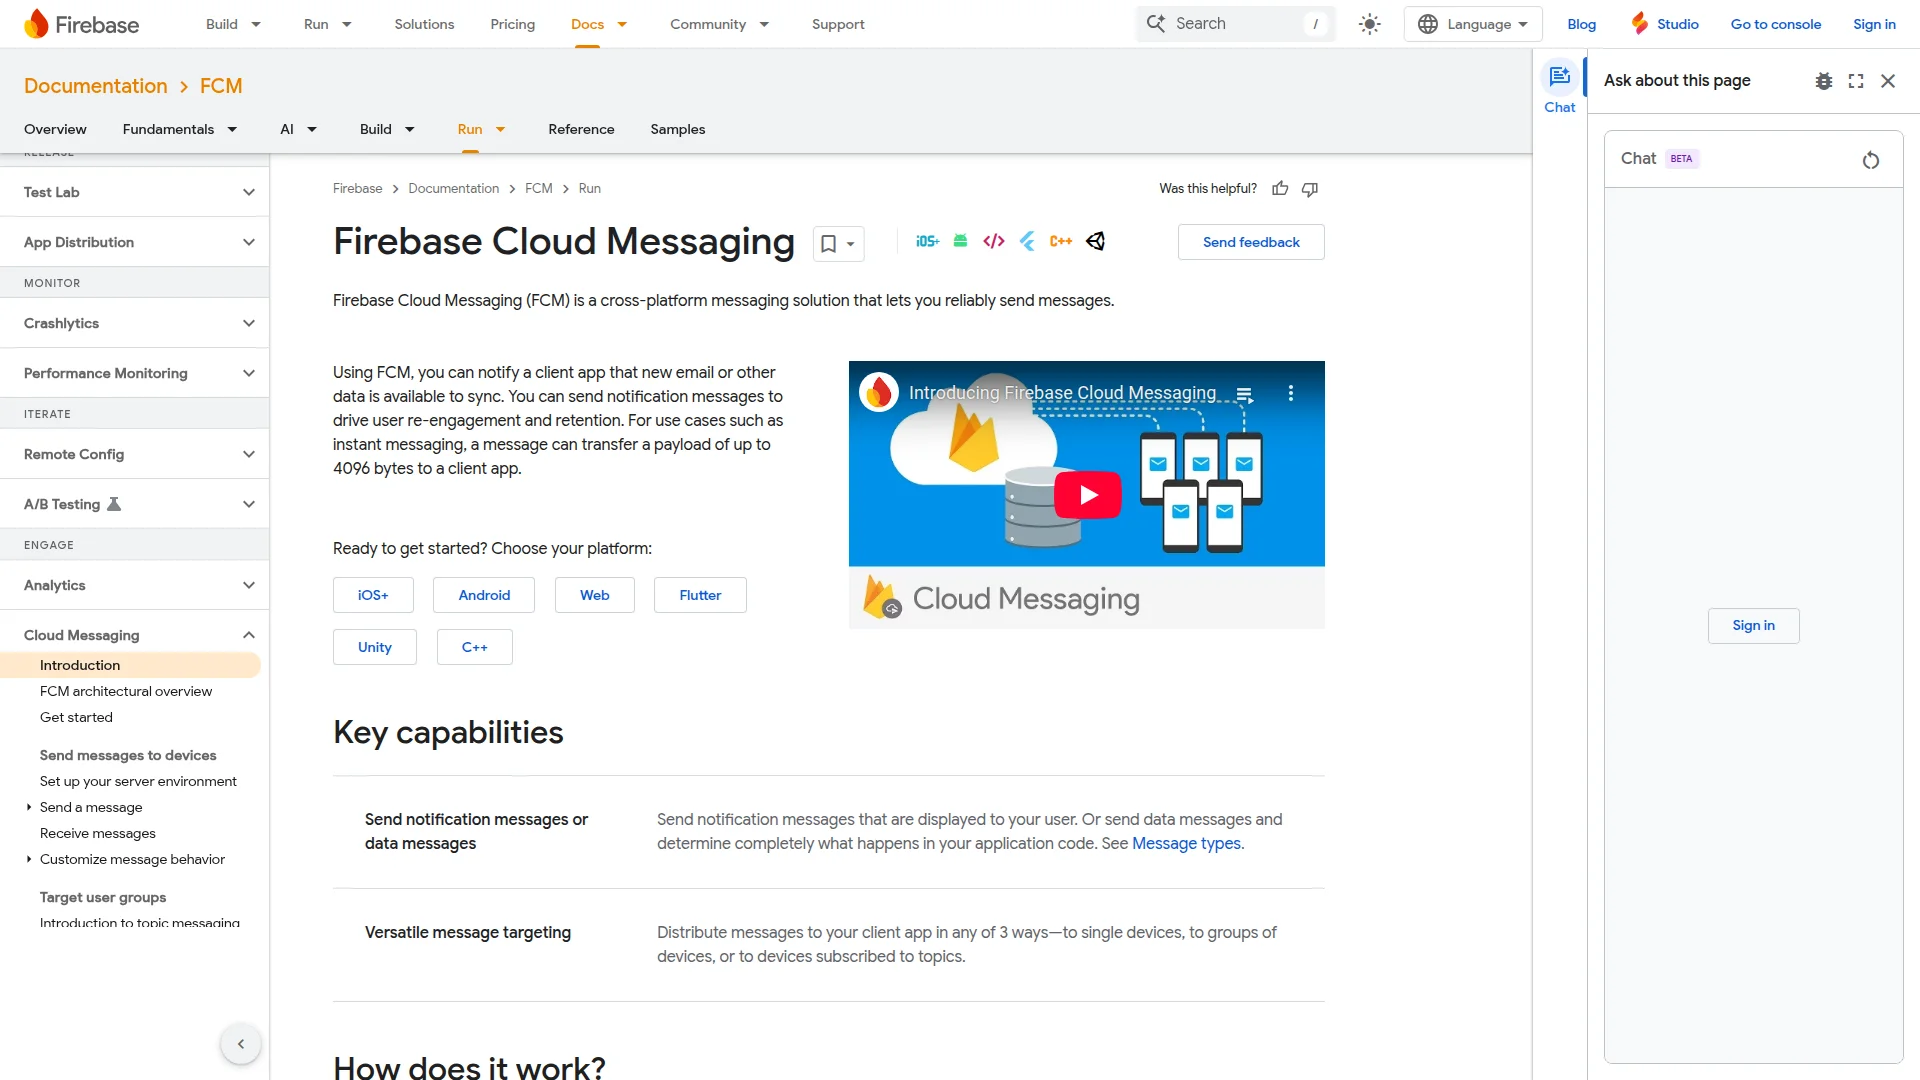
Each platform has its own notification service: Apple Push Notification service (APNs) for iOS and Firebase Cloud Messaging (FCM) for Android. Traditionally, this meant maintaining two separate integrations with different setup flows and permission models.
Expo solves this. Its notification libraries provide a single, unified API that abstracts away platform differences. You write one codebase that works on both operating systems, cutting development time significantly.
For more on building a smooth cross-platform experience, see our guide on app user experience best practices.
Setting Up Your Expo Project
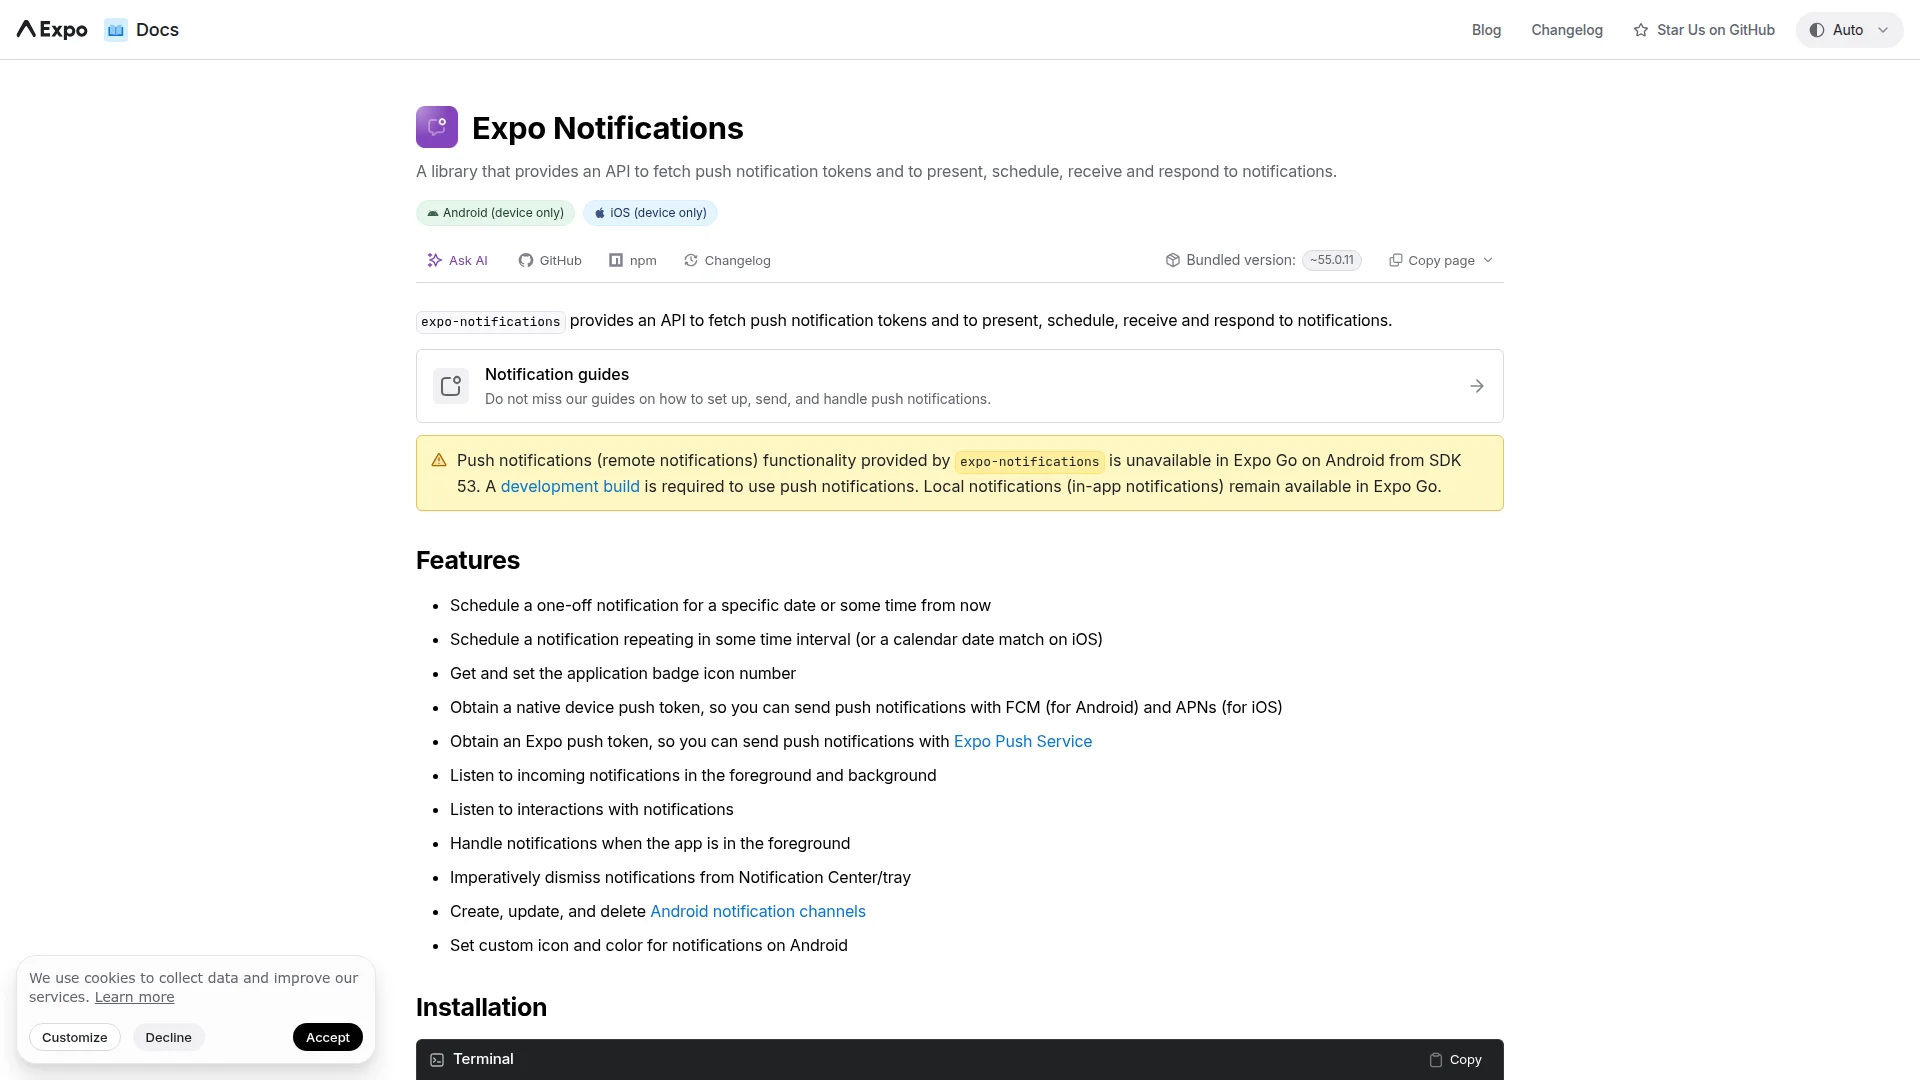
A solid foundation makes everything easier. Start by installing the expo-notifications library in your project root:
npx expo install expo-notifications expo-device expo-constants
You need all three packages: expo-notifications for the notification API, expo-device to verify the app runs on a physical device, and expo-constants for your project ID. Use expo install instead of npm or yarn to get versions compatible with your SDK. If you're starting a new project from scratch, our React Native Expo tutorial walks through the full initial setup.
SDK 53 update: Push notifications no longer work in Expo Go on Android. You need a development build to test notifications. iOS still works in Expo Go because Expo configures APNs credentials automatically through EAS. This change tripped up many developers during the SDK 52-to-53 migration, so plan for development builds from the start.
Configuring Android with Firebase
Android notifications run through Firebase Cloud Messaging (FCM). You need a Firebase project with an Android app added to it. Firebase provides a google-services.json file that you reference in your app.json:
{
"expo": {
"android": {
"googleServicesFile": "./google-services.json",
"useNextNotificationsApi": true,
"permissions": ["RECEIVE_BOOT_COMPLETED"]
}
}
}
The plugins array is required from SDK 53 onward. Without it, your build will lack the native notification modules and token generation will fail. The useNextNotificationsApi flag opts you into the latest notification infrastructure, and RECEIVE_BOOT_COMPLETED ensures scheduled notifications survive device restarts.
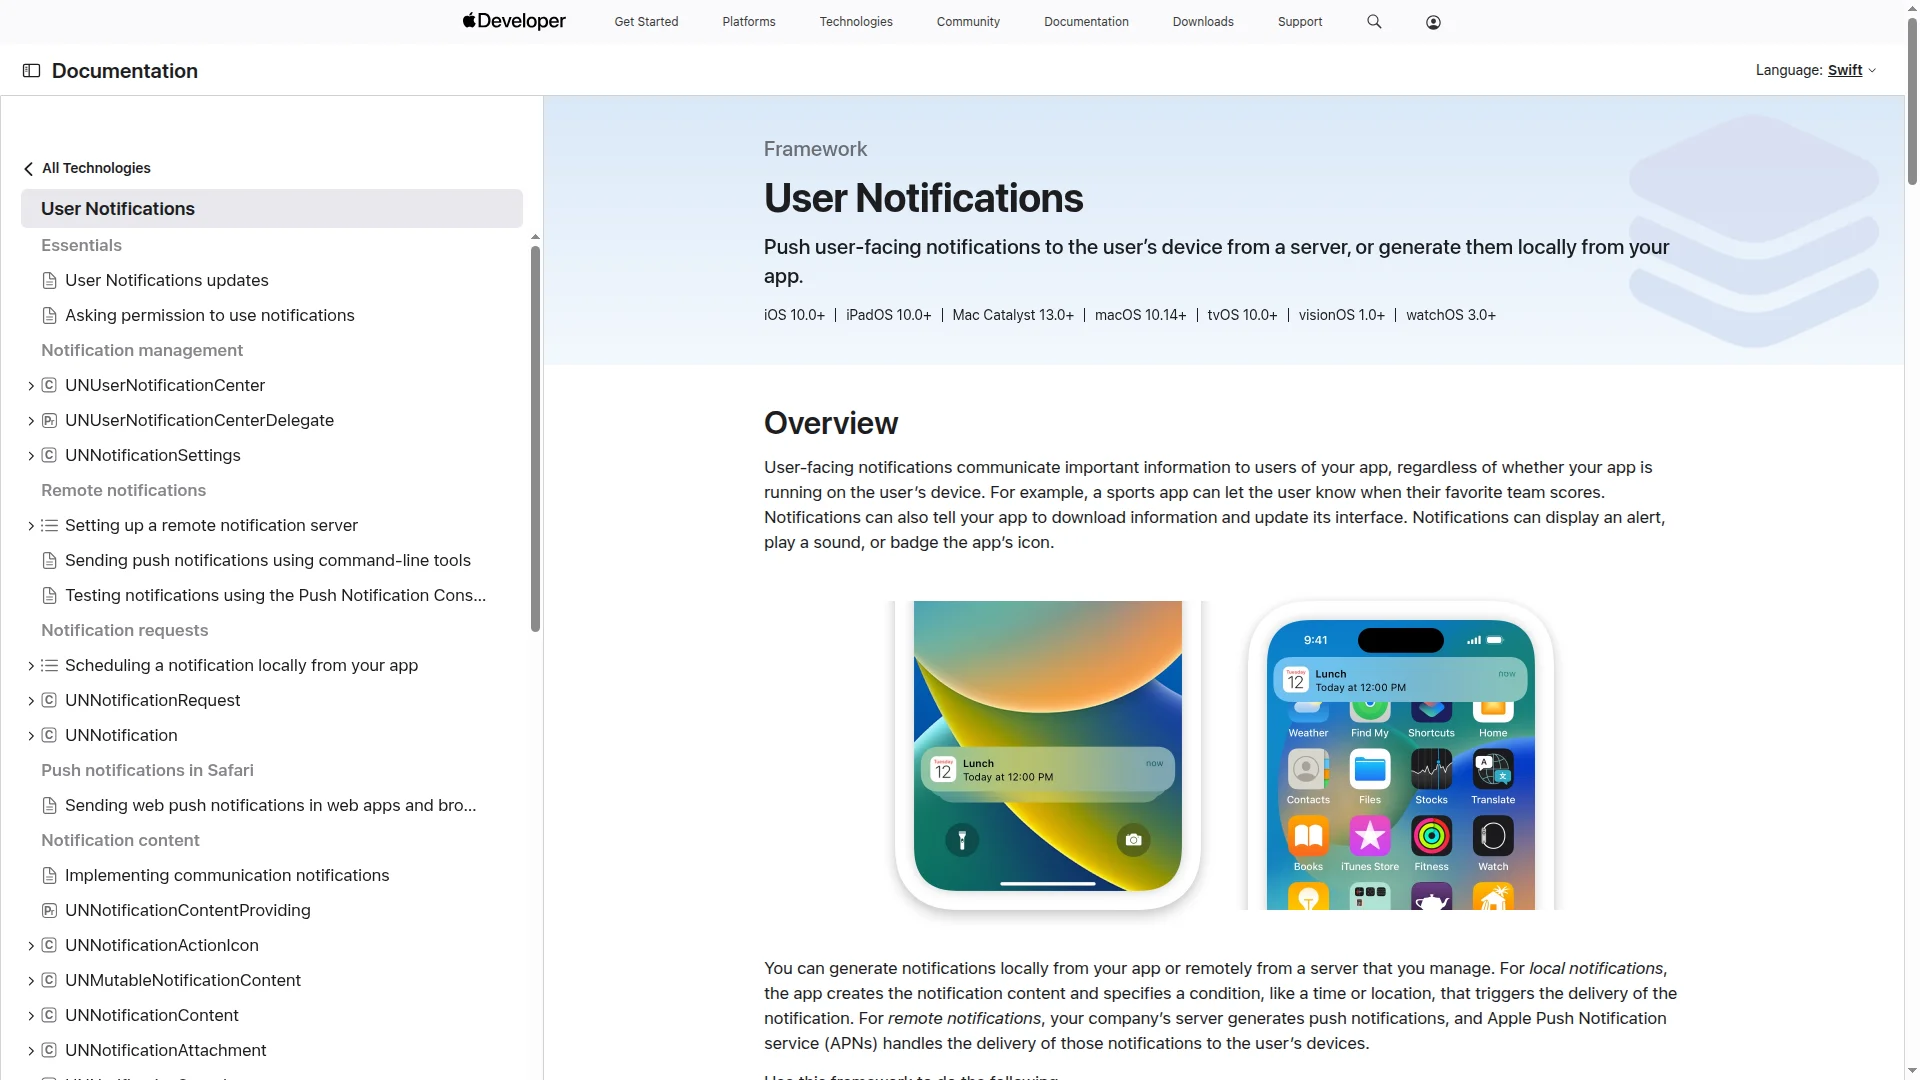
Configuring iOS with APNs
iOS uses Apple Push Notification service (APNs). Unlike Android, you don't need an external config file. Add this block under the ios key in your app.json:
{
"expo": {
"plugins": ["expo-notifications"],
"ios": {
"entitlements": {
"aps-environment": "development"
}
}
}
}
Again, the plugins entry is critical. Without it, the iOS build lacks APNs entitlements and background modes, and token registration will silently fail. The aps-environment key tells Apple whether this build targets development or production. Set it to "production" before submitting to the App Store.
Requesting Permission and Getting the Push Token
Your app's ability to send push notifications in React Native depends entirely on user consent. If they say no, there's no workaround.
Never show a permission prompt on first launch. Display a custom screen first that explains why you need notification access, then trigger the native dialog. The best moment to ask is right after a positive action, like completing an order or receiving a first message. Tying the request to an immediate benefit makes users far more likely to say yes.
Writing the Permission Request
The expo-notifications library handles cross-platform permission requests with requestPermissionsAsync. Here's a reusable function that checks existing permissions before asking:
import * as Notifications from 'expo-notifications';
import * as Device from 'expo-device';
import Constants from 'expo-constants';
import { Platform } from 'react-native';
export async function registerForPushNotificationsAsync() {
if (!Device.isDevice) {
alert('Push notifications require a physical device.');
return;
}
let token;
if (Platform.OS === 'android') {
await Notifications.setNotificationChannelAsync('default', {
name: 'default',
importance: Notifications.AndroidImportance.MAX,
vibrationPattern: [0, 250, 250, 250],
lightColor: '#FF231F7C',
});
}
const { status: existingStatus } =
await Notifications.getPermissionsAsync();
let finalStatus = existingStatus;
if (existingStatus !== 'granted') {
const { status } =
await Notifications.requestPermissionsAsync();
finalStatus = status;
}
if (finalStatus !== 'granted') {
alert('Failed to get push token!');
return;
}
const projectId = Constants.expoConfig?.extra?.eas?.projectId;
token = (await Notifications.getExpoPushTokenAsync({
projectId,
})).data;
console.log(token);
return token;
}
The Device.isDevice check at the top is essential. Without it, the function fails silently on simulators, which is the most common source of confusion when developers first test notifications. The existingStatus check prevents your app from showing the permission dialog to users who already granted access.
The project ID is pulled automatically from your EAS config. If you haven't linked your project yet, run npx eas init to set it up.
Understanding the Expo Push Token
After the user grants permission, getExpoPushTokenAsync returns a unique identifier for that app installation on that device. It looks like this: ExponentPushToken[xxxxxxxxxxxxxxxxxxxxxx].
This token acts as a universal address that works for both APNs and FCM. Expo handles the platform translation behind the scenes, so you don't need to manage separate tokens for iOS and Android.
Storing the Token on Your Backend
A token on the user's phone is useless to your server. You must send it to your backend and store it in a database, linked to the user's account. Your backend needs to handle three things:
User association: Link each push token to a user ID in your database.
Token refresh: Tokens can change or expire. Update them each time the user opens the app.
Security: Treat push tokens as sensitive user data.
When it's time to send a notification, your backend looks up the user, grabs their stored token, and fires a request to the Expo Push API.
Sending Notifications from Your Backend
The push token must leave the client and reach a server you control. Sending notifications from the app itself is insecure and impractical for production. Your backend is the command center: it stores tokens, decides when to send, and calls the Expo Push API.
Storing Tokens with Supabase
A Backend-as-a-Service like Supabase is the fastest way to get a scalable backend running. If you're new to the concept, our guide on what Backend-as-a-Service is explains the basics.
Create a push_tokens table with this schema:
id:uuid(Primary Key)user_id:uuid(Foreign Key to users table)push_token:text(Unique)created_at:timestamp
Save tokens from your React Native app using an upsert:
import { supabase } from './supabaseClient';
async function sendTokenToServer(userId, token) {
const { data, error } = await supabase
.from('push_tokens')
.upsert(
{ user_id: userId, push_token: token },
{ onConflict: 'push_token' }
);
if (error) {
console.error('Error saving push token:', error);
} else {
console.log('Push token saved:', data);
}
}
The upsert prevents duplicate entries. If the token exists, it updates the record instead of inserting a new row.
With CatDoes Cloud, this backend setup can be automated. The platform's AI agents generate the database schema and edge functions from a conversation, so you can skip the boilerplate and focus on your app's features.
Triggering a Notification with Node.js
Send notifications by making a POST request to the Expo Push API. Here's a Node.js function you can deploy as a serverless function:
const fetch = require('node-fetch');
async function sendPushNotification(
expoPushToken, title, body, data
) {
const message = {
to: expoPushToken,
sound: 'default',
title: title,
body: body,
data: data,
};
await fetch('https://exp.host/--/api/v2/push/send', {
method: 'POST',
headers: {
'Accept': 'application/json',
'Accept-encoding': 'gzip, deflate',
'Content-Type': 'application/json',
},
body: JSON.stringify(message),
});
}
// Example usage:
const userToken = 'ExponentPushToken[xxxx]';
sendPushNotification(
userToken,
'New Message!',
'You have a new message from Jane.',
{ screen: 'Messages' }
);
Never hardcode push tokens in production code. This example is a template. In a real application, fetch the token from your database based on the target user.
One thing this basic example skips: receipt checking. The Expo Push API returns ticket IDs for each notification. After about 15 minutes, you should query the /--/api/v2/push/getReceipts endpoint with those IDs to check for delivery errors. Tokens that return DeviceNotRegistered should be removed from your database to keep your token list clean.
Advanced Techniques
Once the basic notification flow works, you can create richer experiences that guide users deeper into your app. The goal is to make the path from notification to in-app content completely frictionless.
Deep Linking from Notifications
When a user taps a notification, don't drop them on the home screen. Direct them to the relevant content: a product page, chat screen, or order details. This is called deep linking.
Include navigation data in your notification payload:
{
"to": "ExponentPushToken[xxxx]",
"title": "Your Order Has Shipped!",
"body": "Track your package in the app.",
"data": {
"screen": "OrderDetails",
"orderId": "123-456-789"
}
}
In your React Native app, use two listeners from expo-notifications to capture taps:
useLastNotificationResponse(): Grabs the notification that opened the app from a killed state.addNotificationResponseReceivedListener(): Fires when the user taps a notification while the app is in the background.
Combine both with a navigation library like React Navigation to route users to the correct screen based on the data payload.
Rich Notifications with Images and Buttons
As the benchmark table earlier shows, rich media lifts click-through rates by 25-56% depending on platform. Add an image to any notification by including the richContent field in your Expo Push API payload:
{
"to": "ExponentPushToken[xxxx]",
"title": "Your order is ready!",
"body": "Tap to view the details.",
"richContent": {
"image": "https://example.com/order-photo.jpg"
}
}
The Expo Push API message accepts a full set of fields for rich media, deep links, and delivery control. Use this schema as a template when building notification payloads:
Field | Type | Purpose |
|---|---|---|
| string | The Expo Push Token for the target device |
| string | The headline and message text shown to the user |
| object | Custom JSON payload for deep linking (e.g. screen and record IDs) |
| object | Rich media, such as |
| string |
|
| number | The number to display on the app icon (iOS) |
| number | Time to live in seconds; how long to retry delivery before dropping |
| string |
|
| string | The Android notification channel to route the message through |
| string | Links the notification to interactive action buttons |
For interactive buttons, define notification categories on the client side using setNotificationCategoryAsync. For example, create a "new_message" category with "Reply" and "Mark as Read" actions. When a user taps a button, your app receives the action identifier through the response listener, letting you handle it without opening the full app.
Troubleshooting Push Notifications in React Native
Getting push notifications in React Native working involves multiple systems: your app, Expo's servers, APNs, and FCM. Here are the most common issues and clear solutions.
Why Is My Push Token Not Generating?
Run through this checklist:
Physical device required. iOS simulators and Android emulators cannot generate valid push tokens. This is the number one cause of token failures.
Permission granted? If the user denied the prompt, no token will be generated. Check
finalStatusin your permission request code.app.json correct? Verify your
google-services.jsonpath (Android) and EASprojectId(iOS/Android). A single typo breaks everything.Services online? In rare cases, APNs or FCM may have temporary outages. Check their status pages.
Notifications Sent but Not Received
Your server gets a success response from Expo, but nothing shows on the device:
Foreground behavior: By default, notifications don't display when the app is in the foreground. Use
Notifications.setNotificationHandlerto override this (see below).APNs environment mismatch: Set
aps-environmentto"development"for dev builds and"production"for App Store or TestFlight builds. A mismatch causes silent failures.Missing Android channel: On Android 8.0+ (API 26), notifications require a channel. Create channels upfront with
setNotificationChannelAsync.
Can I Test on a Simulator?
Not for remote push notifications. You need a physical iPhone or Android phone. Simulators cannot request legitimate tokens from Apple's or Google's servers, so Expo Push Token generation will always fail.
You can, however, test local notifications on a simulator using Notifications.scheduleNotificationAsync. This is useful for verifying your notification handler and UI behavior without a physical device.
Why Did Notifications Stop Working After Upgrading to SDK 53?
Two likely causes. First, push notifications were removed from Expo Go on Android in SDK 53. You now need a development build (npx expo run:android or via EAS Build). Second, SDK 53 requires the expo-notifications config plugin in your app.json plugins array. Without it, your iOS build will lack APNs entitlements. Check both before debugging further.
Handling Foreground Notifications
By default, iOS and Android suppress notification banners when the app is active. Override this behavior with Notifications.setNotificationHandler:
Notifications.setNotificationHandler({
handleNotification: async () => ({
shouldShowAlert: true,
shouldPlaySound: true,
shouldSetBadge: false,
}),
});
An alternative approach is to suppress the system alert entirely and show a custom in-app banner or toast instead. This often provides a better user experience.
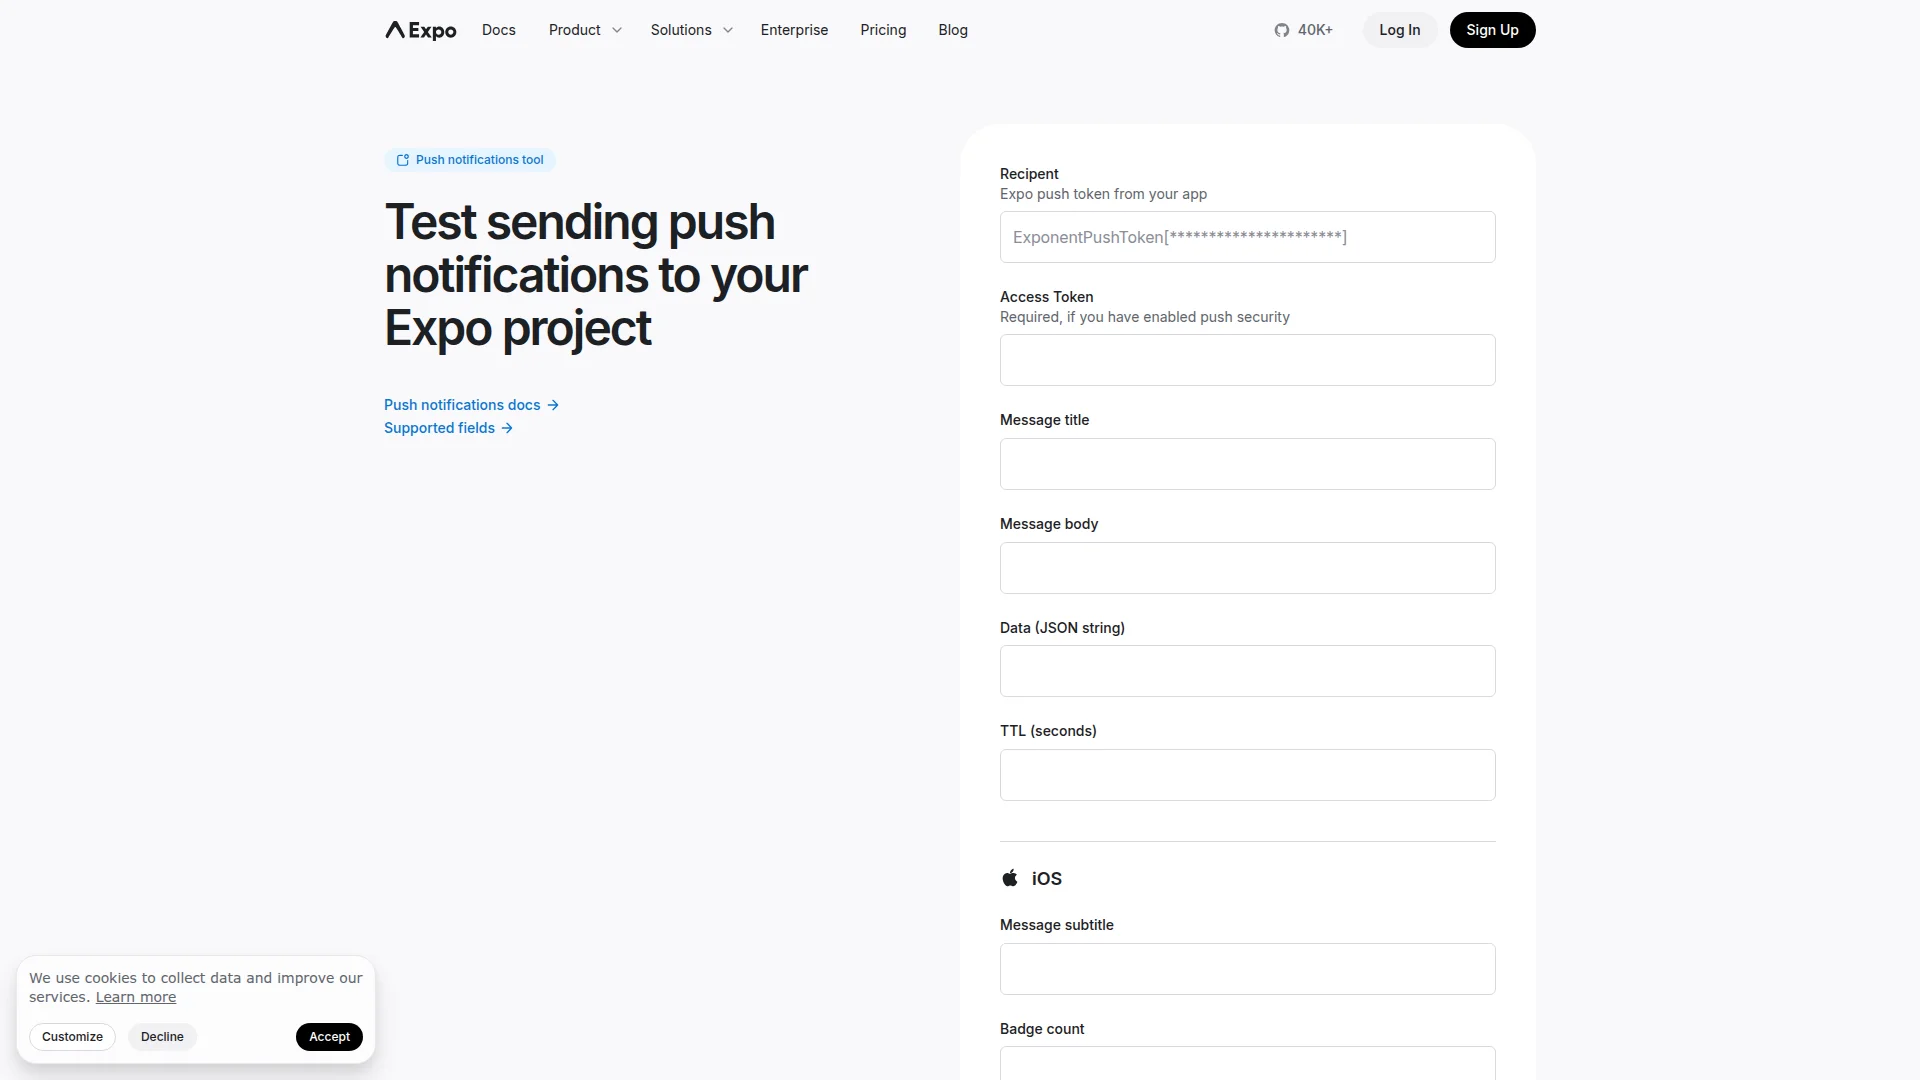
Do I Need a Backend?
Yes, for any production application. While Expo's push notification tool works for one-off tests, it is not a scalable or secure way to run a real app. Your backend fills two essential roles:
Token storage. You need a secure database linking tokens to user accounts.
Notification logic. Your server decides when and why a notification gets sent, whether triggered by a new message, a status update, or a marketing campaign.
Managing this from the client is a security risk and does not scale beyond a handful of users.
Push notifications in React Native are straightforward with Expo. Install the library, configure both platforms, request permission, store the token, and send from your backend. The techniques in this guide, from deep linking to rich notifications, turn basic alerts into engagement tools that keep users coming back.
Tired of configuring backends for push notifications? CatDoes builds your React Native app from a description, complete with a managed backend for notifications, auth, and databases. Get started for free and launch without the boilerplate.
Nafis Amiri
Co-Founder of CatDoes