Blog
Tutorials
npx create-expo-app: 2026 Step-by-Step Guide
Step-by-step guide to create an Expo app in 2026 using npx create-expo-app. Covers Node setup, Expo Router, Supabase backend, and EAS production builds.

Nafis Amiri
Co-Founder of CatDoes

How to Create an Expo App in 2026 (npx Tutorial)
Updated April 2026.
TL;DR: Run npx create-expo-app YourAppName to scaffold a React Native project, cd YourAppName to enter the folder, and npx expo start to launch the dev server. Scan the QR code with the Expo Go app on your phone, hook up Supabase for a backend, and run eas build to ship to the App Store and Google Play. Total setup takes about ten minutes.
Table of Contents
Quick Start: Create an Expo App in 3 Commands
Managed vs. Bare Workflow
Set Up Your Development Environment
Create Your First Expo App
Connect Your App to Supabase
Build for Production with EAS
Common Questions About Expo Apps
Quick Start: Create an Expo App in 3 Commands
If you have Node.js installed, you can create a working Expo app with three commands:
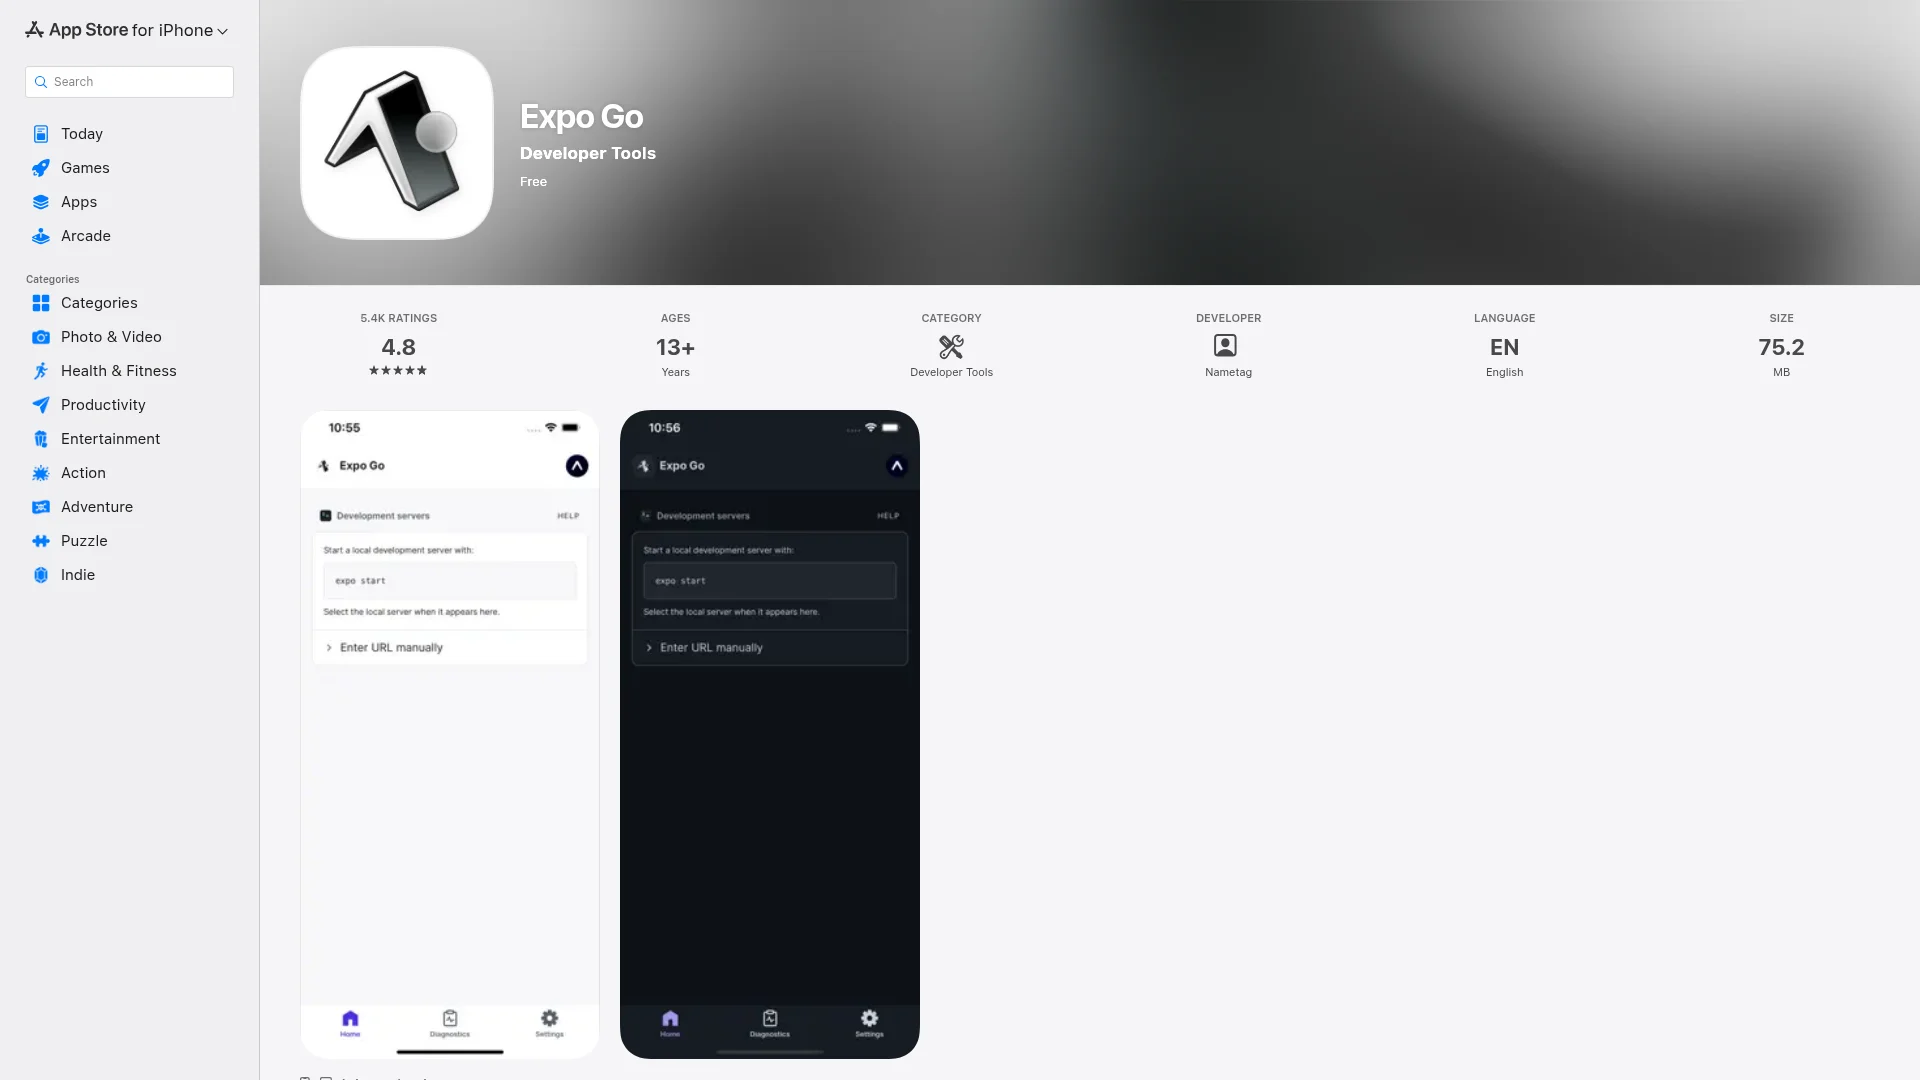
The first command scaffolds a complete React Native project with Expo Router, the file-based routing system that ships as the default in 2026. The second moves you into the new folder. The third boots the Metro bundler and prints a QR code—scan it with the Expo Go app on your iOS or Android device, and the app loads in seconds.
Expo lets you build apps for iOS, Android, and the web from a single TypeScript codebase. You skip the Xcode and Android Studio configuration that usually slows down a React Native project, so a basic app runs within minutes instead of hours.
Managed vs. Bare Workflow
Before you run npx create-expo-app, decide how much native control you need. The Managed workflow keeps you in JavaScript and TypeScript; the Bare workflow gives you direct access to the underlying iOS and Android native projects.
Feature | Managed Workflow | Bare Workflow |
|---|---|---|
Simplicity | Expo handles all native code and build configuration. You write JavaScript or TypeScript. | You manage native iOS (Xcode) and Android (Android Studio) projects directly. |
Best for | Beginners, prototyping, teams without native experience. | Projects that need custom native modules outside the Expo SDK. |
Native code access | None. You use Expo's pre-built modules for camera, GPS, and other APIs. | Full. You can add any custom native code or third-party native library. |
Setup time | Minutes. | Hours, plus native tooling. |
Flexibility | Limited to APIs in Expo Go and the SDK. | Full control over the native side. |
Default to the Managed workflow. Modern Expo also supports a third option called a development build, which keeps the Managed workflow's simplicity but lets you bundle custom native modules. Most teams that "ejected" to Bare in 2022 use development builds today.
Set Up Your Development Environment
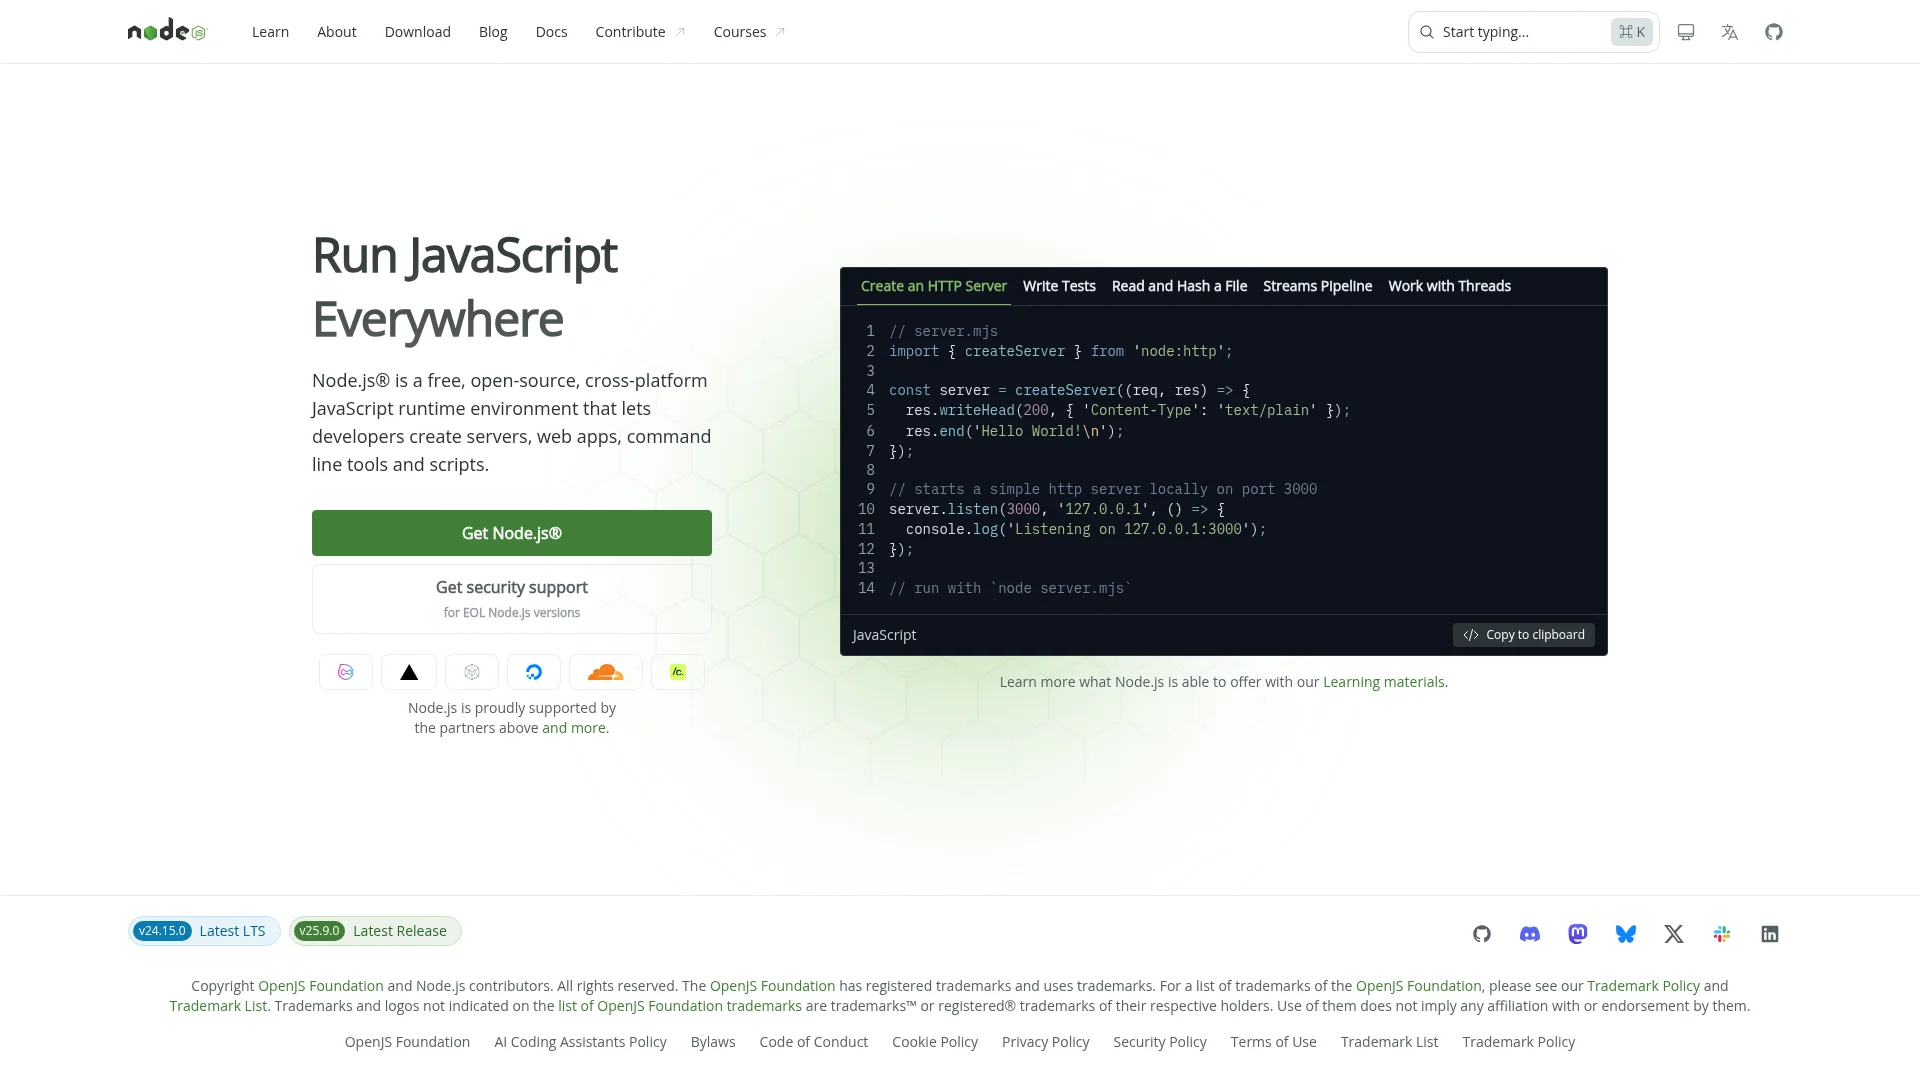
The whole Expo toolchain runs on Node.js, so install that first.
Install the latest LTS (Long-Term Support) version of Node.js. LTS is the stable release line that receives security patches—avoid the "Current" version unless you have a specific reason. The Node.js installer also installs npm, which you will use for everything else.
You do not need to install expo-cli globally. The legacy expo-cli package has been deprecated; npx create-expo-app and npx expo work without any global install. npx downloads the latest version on demand, so you always run an up-to-date toolchain.
Verify Node.js is installed by running node --version and npm --version. Both should print version numbers.
If npx commands fail with a "command not found" error on Windows, close the terminal and reopen it—the system PATH sometimes needs a refresh after the Node.js installer finishes. On macOS, run node --version to confirm Node.js is on your PATH.
Create Your First Expo App
With Node.js installed, you are ready to scaffold a real project. The create-expo-app command handles all the boilerplate, so you go from a blank terminal to a running app in about a minute.
Pick a Template and Run create-expo-app
Open your terminal, cd into the directory where you want your project, and run:
The CLI prompts you to pick a template:
Default (Expo Router with TypeScript): Starts with the
app/directory, file-based routing, and a working tab layout. This is what most new projects should use.Blank: A single-screen starting point. Good if you want to design your own architecture from scratch.
Bare minimum: The smallest possible scaffold. Useful for understanding what every file does.
Pick the default template for your first project. The pre-configured Expo Router setup saves you the work of wiring up navigation later.
Understand the Project Structure
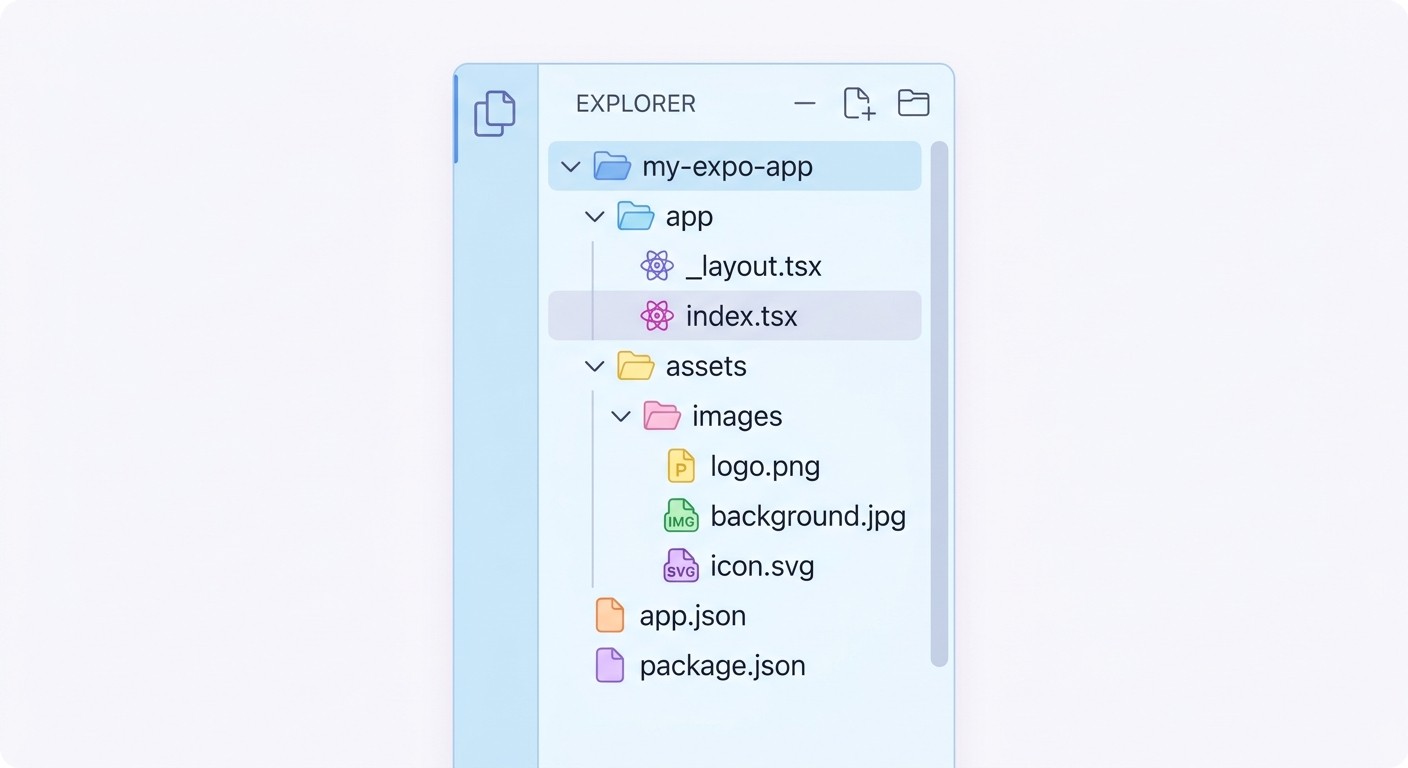
cd into the new folder. The structure depends on the template you picked, but the modern default looks like this:
app/—your routes. Each file becomes a screen, and folders become navigation groups. This is the heart of Expo Router.assets/—images, fonts, and other static files.app.json—app-level configuration: name, icon, splash screen, supported platforms.package.json—dependencies and scripts (start,android,ios,web).
For a deeper walkthrough of the React Native side, see our guide to creating an app with React Native.
Start the Development Server
From inside your project, run:
This boots the Metro bundler and prints a QR code in the terminal. Open the Expo Go app on your phone, scan the QR code, and the app loads in a few seconds. Every time you save a file, the app reloads automatically.
Connect Your App to Supabase
A static UI is a starting point, not a finished app. To store data, manage users, and run server-side logic, you need a backend. Supabase pairs well with Expo: you get a Postgres database, authentication, file storage, and a JavaScript client without operating a server yourself.

Create a Supabase Project
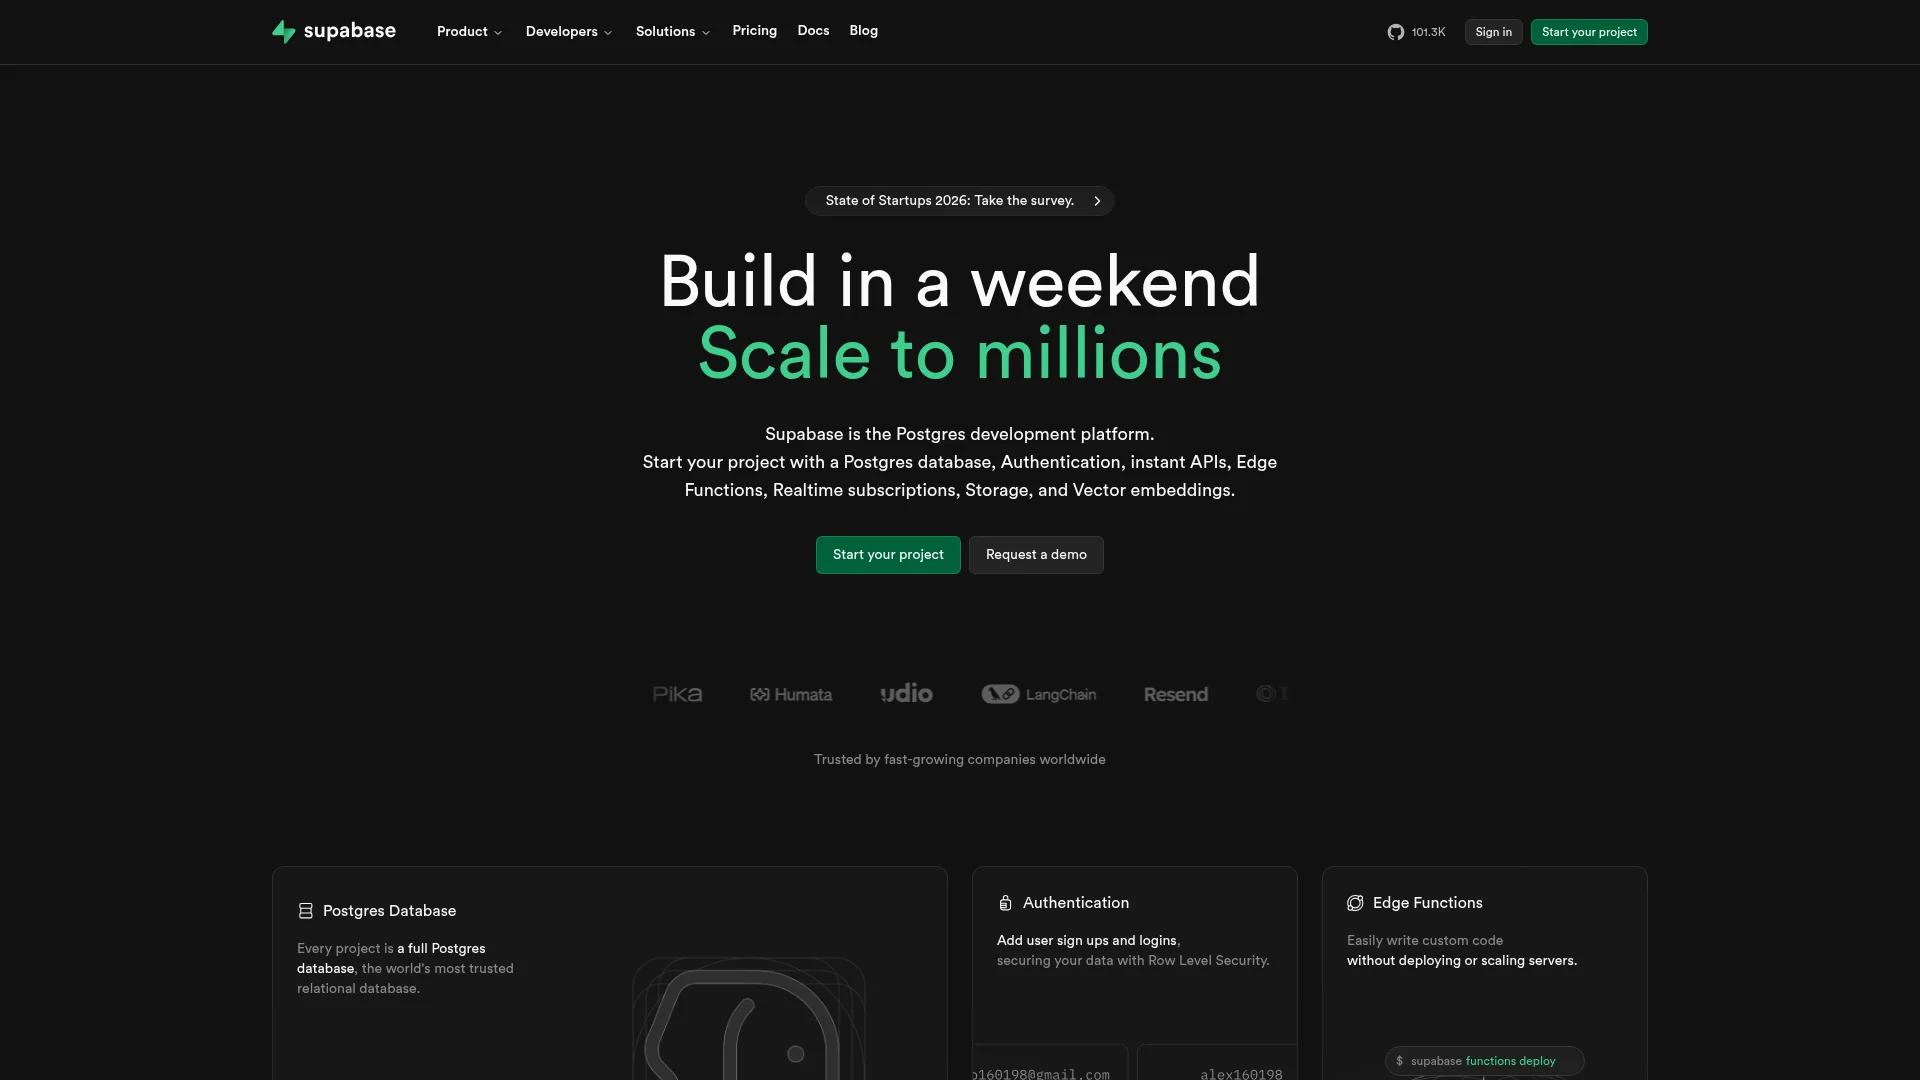
Sign up at supabase.com and create a new project. The free tier covers most development and launch-stage usage—500 MB of database, 1 GB of file storage, and 50,000 monthly active users.
Once the project is provisioned, copy two values from the dashboard:
The Project URL
The
anonpublic key
Treat these like passwords. The anon key is safe to use in a client-side app, but never hardcode either value in your source. Use environment variables and a .env.local file—it is a habit worth building before your first deployment.
Install the Client and Design a Table
Add the Supabase client library to your Expo project:
Always use npx expo install instead of npm install for Expo projects. The Expo CLI picks a version of the library that matches your current SDK, which prevents version mismatch issues.
In the Supabase dashboard, open the Table Editor and create a table called tasks with these columns:
id—primary key, auto-incrementing.created_at—timestamp, defaultnow().title—text.is_completed—boolean, defaultfalse.
That schema is enough to build a working task manager. If your project later outgrows the hosted plan, you can also run Supabase self-hosted.
Perform CRUD Operations
Here is a minimal example that fetches the task list when the screen loads:
The EXPO_PUBLIC_ prefix exposes environment variables to the client safely. From here, build out create, update, and delete handlers wired to buttons and inputs.
Build for Production with EAS
Once the app works in Expo Go, the next step is shipping it. Expo Application Services (EAS) is the official cloud build service. It compiles your app on Expo's servers, signs the binaries, and produces the .aab and .ipa files Apple and Google require—no Mac or Android Studio needed locally.
Configure eas.json Build Profiles
From your project root, run:
This generates an eas.json file with three default profiles:
development—a debug build for your team, with React Native dev tools enabled.
preview—a near-production build you can share with testers via a link or QR code.
production—the optimized build you submit to the stores.
Each profile can have its own environment variables, credentials, and distribution rules. Point your development profile at a test database and your production profile at the live one—this separation prevents the common mistake of shipping a build with development keys.
Run Your First Build
Trigger an Android production build with:
For iOS:
EAS uploads your project, spins up a clean virtual machine, installs dependencies, and produces the final binary. You can watch the logs in real time on the EAS dashboard.
Manage Credentials Securely
Apple and Google require signed binaries. On your first build, EAS asks whether to generate new signing credentials or upload your existing ones, then stores them in your Expo account. You do not need to keep .p12 or .jks files on your laptop—they live with EAS and get pulled into every build automatically.
Store environment variables and secrets the same way: define them in your EAS account, reference them in eas.json, and they get injected at build time. For more on safe deployment workflows, see our notes on continuous deployment best practices.
Common Questions About Expo Apps
Can I Use Any React Native Library with Expo?
Most of them, with one caveat about native code:
Pure JavaScript libraries work in any Expo project, including Expo Go.
Libraries with native modules (Objective-C, Swift, Java, or Kotlin) need a development build. You stop using Expo Go and instead compile a custom client that contains the native code your project needs.
The current recommendation is to start with Expo Go for quick iteration, then create a development build the moment you need a library Expo Go does not include.
What Is the Difference Between Expo Go and a Development Build?
Expo Go is a pre-built sandbox app you download from the App Store or Google Play. It contains the standard Expo SDK, so you can scan a QR code and run any Managed-workflow project without compiling native code yourself.
A development build is a compiled version of your specific app. It includes whatever third-party native libraries you have added, plus any custom native code. Once you outgrow Expo Go—usually because you need in-app purchases, a specific analytics SDK, or a niche native module—you switch to a development build.
How Do I Handle App Updates?
Expo includes EAS Update, which pushes Over-the-Air (OTA) updates to your users' phones. Any change to JavaScript or static assets ships instantly without an App Store review. Use it for bug fixes, copy tweaks, and small features.
Native changes—a new library with native code, an SDK upgrade, an icon change—still require a fresh build and a store submission.
Is Expo Free?
The open-source Expo framework is free. You can develop, build locally, and test on your own device without paying anything.
EAS, the cloud service, runs on a freemium model. The free tier handles solo development and small projects, with around 30 builds per month. Paid plans add concurrent builds, more queue priority, and team features. See expo.dev/eas for current pricing.
Want a faster path from idea to App Store? CatDoes uses AI agents to translate descriptions into production-ready Expo apps, including the backend and store submission. Build your first app for free on CatDoes.
Nafis Amiri
Co-Founder of CatDoes


