
Blog
Tutorials
Ultimate React Native Expo Tutorial 2026
Build a production-ready app with our complete React Native Expo tutorial. Go from initial setup to app store submission with actionable guidance.

Nafis Amiri
Co-Founder of CatDoes

TL;DR: Expo is the fastest way to build and ship a React Native app in 2026. Scaffold a project with npx create-expo-app, build the UI from core components and Flexbox, wire up navigation and state with React Navigation and React Hooks, then ship to the App Store and Google Play with EAS Build — no Xcode or Android Studio setup required.
This tutorial lays out a modern, practical path for building high-quality mobile apps, taking you from a simple idea all the way to the app stores. We'll cut through the usual complexity by using Expo, which has quickly become the standard for new React Native projects by shrinking setup time from days to just a few minutes.
Table of Contents
Why Modern Developers Start With Expo
Setting Up Your Development Environment
Building the Core App Structure and UI
Implementing Navigation and State Management
Preparing Your App for the Real World
Frequently Asked Questions About Expo
Why Modern Developers Start With Expo
If you're building a mobile app in 2026, starting with Expo is the smartest move you can make. It sidesteps the traditional headaches of mobile development, like wrestling with native build tools for iOS and Android.
Instead, you get a clean, JavaScript-first experience that lets you focus on building features, not fighting configuration files.
The Clear Advantage of Expo
The core of Expo is its managed workflow. This simply means Expo handles all the tricky native project configuration for you, offering a ready-to-use set of APIs for common needs like camera access, push notifications, and authentication.
This approach fits perfectly with iterative development. The faster you can test ideas and gather feedback, the better — and Expo's development workflow is built for exactly this kind of rapid building and learning.
The biggest benefit? Speed. What used to be a full day of installing SDKs, configuring Xcode, and setting up Android Studio now takes a single command. This isn't just about the initial setup; the speed boost applies to the entire development lifecycle.
With tools like Expo Go, you can test your app on a real phone just by scanning a QR code. Over-the-air (OTA) updates let you push small bug fixes directly to users, skipping the long app store review process. It feels much more like web development, giving you a much faster feedback loop.
This diagram shows just how direct the path from concept to launch is with Expo.
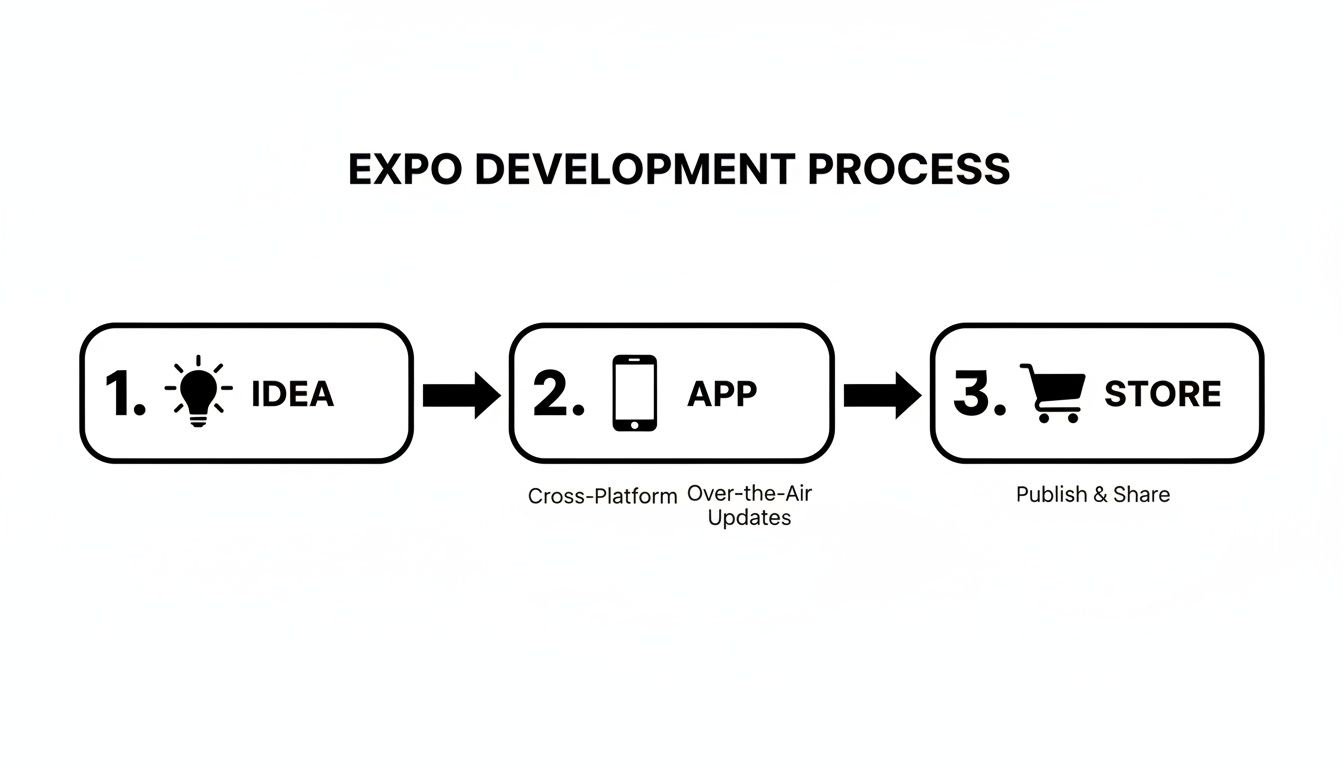
As you can see, Expo abstracts away the most complicated parts of native development, letting you stay focused on what actually matters: your app's features and user experience.
To put this in perspective, here's a quick comparison of the two main workflows. The Expo path is just fundamentally simpler for most projects.
Expo Managed Workflow vs Bare React Native Workflow
Development Phase | Expo Managed Workflow | Bare React Native Workflow |
|---|---|---|
Initial Setup | A single | Install Xcode, Android Studio, SDKs, and configure paths. Can take several hours or a full day. |
Native Modules | Add pre-built libraries like camera or maps with a simple install command. | Requires manual linking, |
Local Testing | Scan a QR code with the Expo Go app on any physical device. Instant. | Requires running an iOS Simulator or Android Emulator, or manually connecting a device via USB with debugging enabled. |
App Builds | Run one | Manage signing keys, provisioning profiles, and build configurations for each platform separately. Highly error-prone. |
Updates | Push JS bundle updates directly to users with over-the-air (OTA) updates, bypassing app store review for small changes. | Every single change requires a full new build, submission, and review cycle for both app stores. |
This table makes it clear why so many developers now start with Expo. It's not just about convenience; it's a strategic choice for getting to market faster with less overhead.
By 2026, Expo has become the default starting point for new React Native projects. For most apps — including e-commerce and productivity tools — the managed workflow offers a faster, lower-friction path than a bare React Native setup.
Setting Up Your Development Environment
Before you write a single line of code, you need a solid foundation. Getting your development environment configured correctly from the start prevents countless headaches down the road and lets you jump straight into the fun part: building. Thankfully, this is one of the areas where Expo really shines, making the whole process remarkably straightforward.
The journey begins with Node.js, the JavaScript runtime that powers the entire React Native and Expo ecosystem. You'll want to make sure you have a recent and stable version installed. My advice? Stick with a Long-Term Support (LTS) version. These are battle-tested in production and receive critical updates, so you avoid weird, bleeding-edge bugs. Pro tip: use a tool like NVM (Node Version Manager) to easily switch between Node versions.
Installing the Expo Command Line Tool
With Node.js in place, the next step is getting the Expo Command Line Interface (CLI). Modern Expo projects use the CLI that ships with the project itself, so you no longer need a separate global install — you run it on demand with npx. You can confirm everything is wired up by checking the version:
npx expo --version
This calls the Expo CLI directly through npm (Node Package Manager), which comes bundled with Node.js, and is your direct line to the Expo ecosystem — from spinning up new apps to launching the development server.
Creating Your First Expo Project
Now for the exciting part, which is actually creating your app. The create-expo-app command is the modern, fast way to scaffold a new project with all the necessary files and configurations already in place. It's the real starting point.
Navigate to the directory where you want your project to live and run this in your terminal:
npx create-expo-app my-todo-app
This kicks off a script that creates a new directory called my-todo-app, pulls down a clean starter template, and installs all its dependencies. If you're curious about more advanced setups or different templates, our guide on how to create a new Expo app covers all the options in detail.
Once that's finished, hop into your new project directory:
cd my-todo-app
And finally, start the development server:
npx expo start
This command fires up the Metro Bundler, the engine that compiles your code and serves it to your app. You'll see a QR code pop up in your terminal. This is your magic ticket.
Just open the Expo Go app on your phone (iOS or Android), scan the code, and watch as your brand-new application loads right on your device. From now on, any change you save in your code will appear instantly on your phone. This feature, known as Fast Refresh, makes for an incredibly fast and satisfying development loop. It's what makes building with Expo feel so productive.
Building the Core App Structure and UI

With a live project humming along, it's time to build the visual shell of our to-do list app. This is where we create a clean project structure and craft the reusable UI components that will form the backbone of our application. A well-organized codebase isn't just about looking professional; it directly impacts how easy your app is to maintain and scale down the road.
First things first, let's create a dedicated home for our components. Inside your project's root directory, make a new folder named components. This simple act of organization keeps your UI logic separate from everything else.
Creating Reusable UI Components
Our simple to-do app really only needs two main UI pieces: one to display an individual task and another to add new tasks. So, inside that shiny new components folder, let's create TaskItem.js and AddTaskForm.js. These files will hold all the JSX and styling for each element, making them self-contained and easy to plug in wherever we need them.
In React Native, you build your UI from a handful of core components. Think of them as the basic building blocks, kind of like HTML tags but for mobile apps.
<View>: This is your go-to container. It's the most fundamental component, acting much like a<div>does in web development.<Text>: As the name suggests, you use this for any text. Unlike the web, you can't just drop text inside a<View>; it must be wrapped in a<Text>component.<TextInput>: This gives you a standard text input field, which is essential for our form where users will type in their new to-dos.
By combining just these three, we can assemble the visual parts of our app surprisingly quickly. In fact, you can build an entire application from scratch with just these fundamentals, which our guide on how to create an app with React Native explores in much greater detail.
If there's one key takeaway for new developers, it's this: embrace component-based architecture from day one. Building small, focused components like
TaskItemstops you from creating massive, unmanageable screen files. This modularity is a hallmark of any professional-grade mobile app.
Styling With StyleSheet and Flexbox
Styling in React Native feels a lot like CSS, but with a few important twists. Instead of writing separate CSS files, you create style objects directly in your JavaScript using StyleSheet.create. This approach actually offers some performance benefits by sending the styles over the native bridge only once when the component mounts.
For arranging everything on the screen, React Native relies on Flexbox by default. It's your primary tool for creating responsive layouts that look great on any screen size. Every <View> component is already a flex container, which makes arranging its children a breeze.
Here's a complete AddTaskForm component with state, an input, a button, and basic styling. Notice how the return statement renders a row with a TextInput and a Button, and the form clears itself after each task is added:
This component manages its own input with the useState Hook, validates that the task isn't empty, and calls an onAddTask callback so a parent screen can store the new item. It's a small, focused, reusable piece — exactly the pattern you'll reach for again and again in real apps.
Implementing Navigation and State Management

Alright, we've got a static interface that looks the part. Now it's time to breathe some life into it. An app truly becomes useful when people can move around, tap buttons, and see their actions make things happen. This is where we shift from just a visual shell to a working product by tackling two core concepts: navigation and state.
First, we'll get screen-to-screen navigation working, which is a must-have for pretty much any mobile app. After that, we'll dive into state management. That's just a fancy way of saying we'll teach our app how to remember the list of tasks, update it, and show those changes on the screen. It's this one-two punch of navigation and state that creates a truly interactive experience.
Setting Up Basic Navigation
When it comes to routing in React Native, the community has a clear favorite: React Navigation. It's powerful, flexible, and plays incredibly well with Expo projects. To get started, we just need to install it along with a few of its friends.
Pop open your terminal in the project directory and run this command:
npx expo install @react-navigation/native @react-navigation/native-stack react-native-screens react-native-safe-area-context
You might be wondering why we're using npx expo install instead of the usual npm or yarn. This is a huge pro-tip in the Expo world. It automatically picks library versions that are guaranteed to be compatible with your Expo SDK version, which saves you from a world of headache with version mismatch bugs.
Once the packages are installed, we can set up a simple navigation stack. Think of it like a deck of cards, where each screen is a card. This allows users to move from the main list screen to an add-new-task screen, and the stack navigator keeps track of the history. This makes the back button on Android and the swipe gesture on iOS work exactly as users expect, right out of the box.
Managing App State With React Hooks
With users able to move between screens, let's figure out how the app will remember its data. For our to-do list, the state is just the array of tasks. We need a way to add a new task or mark one as complete and see the UI update instantly.
For this job, React's built-in Hooks are the perfect tool. They let us manage data right inside our components without having to pull in heavy, external libraries, which is great for keeping our app lean.
We'll focus on two Hooks for our to-do app:
useState: This is the bread and butter of state management in React. We'll use it to hold our array of tasks. The magic happens when we call its update function (likesetTasks), because React automatically re-renders the component to reflect the new data.useContext: This Hook is a lifesaver for passing data deep into your component tree without the tedious process of prop drilling. It's perfect for creating a global state that any component, likeTaskItemorAddTaskForm, can easily access.
By combining
useStateanduseContext, we can create a lightweight but powerful state management system. We'll build a central store for our tasks, making both the task list and the functions to change it (addTask,toggleTask, etc.) available to any component that needs them.
This approach keeps our logic organized and centralized. The AddTaskForm can call a function from the context to add a new item, and because the shared state changed, the TaskList component will automatically re-render. This reactive UI is the heart and soul of modern app development and a key skill you'll master in this tutorial.
Preparing Your App for the Real World
Taking your project from a local test environment to a real-world application is a huge milestone. This is the moment your app stops being an experiment on your computer and becomes something anyone can download from the App Store or Google Play. Let's walk through the essential steps to get your app ready for submission, focusing on the tools that make this a surprisingly smooth ride.
The star of the show here is Expo Application Services (EAS). Think of it as your cloud-based build factory. Instead of getting tangled up in Xcode for iOS or Android Studio for Android, you just run a single command. EAS takes over, building your app in a clean, professional environment. This one service turns a historically painful process into a simple, repeatable task.
Getting Your App's Metadata in Order
Before you can build, you need to give your app an identity. This is all handled in a single configuration file, either app.json or app.config.js, which acts as your app's passport for the app stores.
Inside this file, you'll define the basics:
name: The official name that shows up in the App Store and on a user's home screen.icon: The actual app icon people will tap on.splash: The image that pops up for a second when the app launches.version: The version number, like1.0.0, which you'll update with each release.androidandios: Specific settings for each platform, like the all-important bundle identifier.
Nailing these details is your first step toward looking professional. A sharp icon and a clean splash screen make a massive difference in how users perceive the quality of your app right from the start.
Building for Production with Expo Application Services
With your configuration locked in, kicking off a production build is as simple as running eas build in your terminal. That's it. EAS will ask which platform you're building for (iOS or Android) and then manage everything else. This includes spinning up the build server, installing all your project's dependencies, signing the app, and spitting out the final file.
The impact of this simplified workflow can't be overstated. React Native continues to hold a significant share of the cross-platform market, powering millions of apps. Teams often report cutting initial build setup from a week-long headache to under an hour, and ongoing maintenance becomes far simpler thanks to Expo's managed approach.
One of the most powerful parts of a production app is how you update it. Once your app is live, you can send small bug fixes and JavaScript changes directly to users with over-the-air updates, completely bypassing the app store review process. This lets you iterate incredibly fast. We cover how to set this up in our guide to Code Push in React Native.
Keeping Your Secrets Safe with Environment Variables
A common hurdle when moving to production is handling secrets like API keys. You absolutely cannot hardcode these into your source code where they can be easily exposed. The correct way to handle this is with environment variables.
Expo makes this straightforward. You can create a file named .env at the root of your project and stick your keys in there. Then, using Expo's built-in system, you can access these variables safely inside your app without them ever ending up in your public code. Keeping your sensitive data secure isn't just a best practice; it's a non-negotiable part of building any real-world application. For a deeper dive into the entire deployment lifecycle, check out a professional guide to deploying to production.
Frequently Asked Questions About Expo

As you work through any React Native project with Expo, a few questions almost always pop up. Here are clear answers to the ones developers ask most often.
What if my app needs a native feature Expo does not support?
You're not stuck. If you need to write your own native code, you can create an Expo development build. It lets you build a custom version of the Expo Go app that includes your own native modules, giving you total control without sacrificing the fast, iterative workflow you love. In practice, this means almost any native capability is within reach while you keep Expo's developer experience.
How do I keep my Expo app fast?
Optimizing an Expo app follows the exact same principles as any other React Native project, because at the end of the day, it's all just React. To keep your user experience snappy and smooth, focus on these areas first:
Image Optimization: Slow-loading images are a classic performance killer. Use a library like
expo-imageto handle resizing, caching, and loading efficiently.List Rendering: For long, scrollable lists, switch from the standard
FlatListtoFlashListfrom Shopify. It's built to handle huge datasets with minimal memory usage, keeping your scrolling buttery smooth.Bundle Size Analysis: Keep an eye on your final JavaScript bundle size. Running a bundle analyzer can reveal large, unnecessary libraries that slow down your app's initial load time.
Why is Expo so popular right now?
The global market for React Native app development was valued at USD 325 million in 2024 and is projected to reach USD 499 million by 2031. That growth is driven by demand for cross-platform solutions that don't compromise on performance. Tools like Expo sit at the heart of this movement because they dramatically reduce friction and speed up development, making high-quality apps more accessible to everyone. You can dig into more React Native market trends at IntelMarketResearch.com to see where things are headed.
Ready to turn your app idea into a real product without writing a single line of code? CatDoes uses AI to build, design, and deploy production-ready React Native Expo apps from simple text descriptions. Go from concept to the app stores faster than ever. Start building for free at catdoes.com.
Nafis Amiri
Co-Founder of CatDoes


