Blog
Tutorials
Building App Without Code: A Practical Guide 2026
Learn how to build an app without code in 2026: plan your MVP, choose the right no-code platform, then design, test, and launch to the app stores fast.

Nafis Amiri
Co-Founder of CatDoes
TL;DR
Building an app without code means using visual, drag-and-drop and AI-powered platforms to create a real, working app with no programming required. This guide covers the whole process: why no-code works, how to plan your MVP, how to choose the right platform, how to design and build your app visually, and how to test it and ship to the App Store and Google Play. Most founders can have a working MVP in days instead of months.
Yes, building an app without code is now a mainstream reality. It’s not a niche trick or a limited prototype builder anymore. We're talking about creating fully functional, market-ready applications using visual, drag-and-drop tools that anyone with a vision can master.
This whole approach sidesteps the need for traditional programming, which dramatically slashes the time and money it takes to get an idea off the ground.
I have built and shipped apps this way, and the process below is the same one I walk founders through when they want to launch without hiring a developer.
Table of Contents
Why Building an App Without Code Is a Smart Move
Mapping Your App Before You Start Building
How to Choose the Right No-Code Platform
Bringing Your App to Life Visually
Testing Your App and Preparing for Launch
Got Questions About Building an App Without Code?
Why Building an App Without Code Is a Smart Move
The power to create software is no longer locked away with developers. A massive shift is happening, driven by sophisticated no-code and AI-powered platforms that let entrepreneurs, designers, and business owners build their own apps. This isn't just a trend; it's a fundamental change in how digital products get made.
The real driver behind this movement is agility. Traditional app development is a long, expensive marathon. You're often looking at months of work and tens of thousands of dollars just to get a first version out the door. Building an app without code shortcuts that entire cycle.
The New Competitive Edge
Speed to market has become one of the most critical advantages in business today. By using visual development tools, you can put together a Minimum Viable Product (MVP) in a matter of weeks, sometimes even days. This lets you get your app into the hands of real users fast, collect feedback that actually matters, and make changes based on what people do, not what you think they'll do.
This rapid feedback loop is invaluable. It transforms app development from a high-stakes gamble into a calculated process of continuous improvement, ensuring you build something people genuinely need and want.
The numbers back this up. Projections show that by 2025, a stunning 70% of new applications will be developed using no-code or low-code platforms. That’s a huge leap from under 25% in 2020. This projection comes from Gartner.
This simple visual breaks down the journey perfectly.
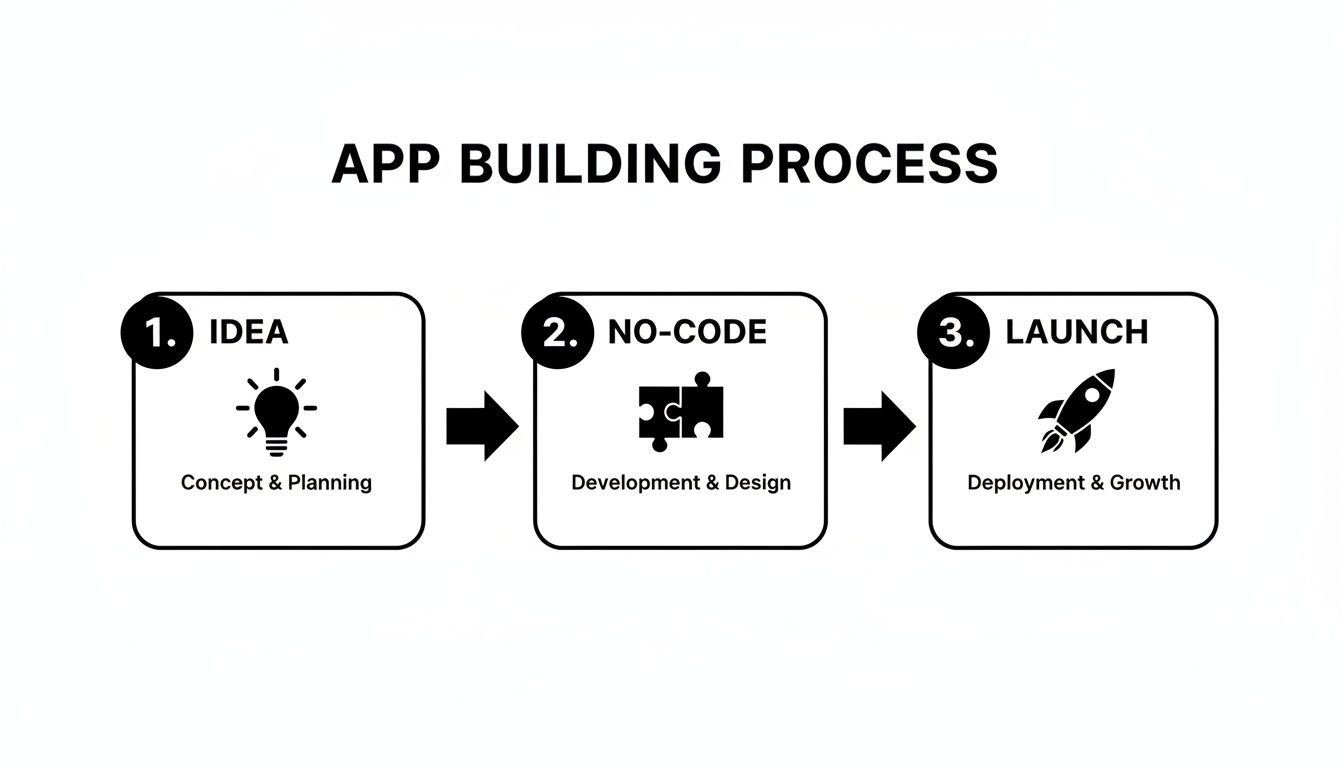
As you can see, no-code acts as the essential bridge, turning an abstract idea into a real, market-ready app with incredible efficiency. This accessibility is democratizing technology, making it possible for anyone to become a creator.
No-Code vs Traditional Coding At a Glance
To put it in perspective, let's look at a quick side-by-side comparison. The differences in speed, cost, and skill requirements are what make the no-code approach so compelling for most founders and businesses.
Factor | No-Code Development | Traditional Coding |
|---|---|---|
Speed to Market | Weeks or even days | Months to over a year |
Initial Cost | Low (often a monthly subscription) | High (tens to hundreds of thousands) |
Required Skills | Your business idea and logic | Expert developers, designers, PMs |
Flexibility | High within the platform's ecosystem | Nearly unlimited, but complex |
Maintenance | Handled by the platform | Ongoing developer costs for updates |
Ultimately, choosing no-code isn't about replacing developers entirely. It's about empowering a new wave of creators to validate ideas and launch businesses faster and more affordably than ever before.
Mapping Your App Before You Start Building

A great app starts with a clear plan, not a fancy tool. It's tempting to jump right into the visual builder and start dragging and dropping elements, but that's a recipe for a confusing, unfocused product. The groundwork you lay now is what separates an app that truly solves a problem from one that just looks pretty.
Your first job is to get brutally honest and distill your idea down to its absolute core. What is the one thing your app must do? Answering this question stops you from building everything for everyone, a classic mistake that almost always leads to failure.
Let's say you want to build a marketplace for local services. The core problem might be, "Homeowners need a fast, trustworthy way to find vetted plumbers for urgent repairs." Every single feature you consider from this point on should directly serve that one specific goal.
Define Your Audience and Their Journey
Once the problem is clear, you need to know exactly who you're solving it for. Don't just guess. Create a detailed user persona to get inside their head. Are they a tech-savvy millennial who expects a slick, modern interface, or a busy parent who just needs something that works with zero friction?
Understanding your audience lets you map out their entire experience before you build a single screen. Tools like customer journey mapping templates are invaluable here, helping you visualize each step a user takes. This ensures the flow feels natural and intuitive, addressing their needs at every turn. You can also dig deeper into this process with our guide on how to validate a business idea to make sure you're on the right track.
Rushing to build an app without validating the idea is like building a house without a blueprint. You might end up with something that stands, but it probably won't be what anyone actually wanted to live in.
This upfront work is non-negotiable when building without code. It provides the clear set of instructions your chosen platform needs to bring your vision to life correctly.
Craft Your Minimum Viable Product
With a clear problem and audience in mind, you can define your Minimum Viable Product (MVP). An MVP isn't a buggy, half-baked version of your app. It’s the simplest, leanest version of your product that solves that core problem effectively for your target users.
For our local services marketplace MVP, the essential features might look like this:
User Profiles: Basic profiles for homeowners and service providers to build a foundation of trust.
Service Listings: Simple, clear descriptions of services with pricing.
Simple Booking: A straightforward way to schedule an appointment.
In-App Messaging: To let both parties communicate easily.
Look at what’s missing. There are no complex payment systems, no five-star review algorithms, and no loyalty programs. Those features can come later, after you've proven the core concept works. The goal of an MVP is to launch fast, test your assumptions with real users, and get feedback that guides what you build next. This laser focus saves you from wasting months and thousands of dollars on features nobody ends up using.
How to Choose the Right No-Code Platform
The no-code platform you choose will literally define your entire app-building journey. It's the foundation for everything that comes next. With a market flooded with powerful options, picking the right one can feel paralyzing, but it really just boils down to one thing: matching your app's needs to the tool's core strengths.
Don't fall into the trap of thinking all platforms are the same. They absolutely are not.
Some, like Glide, are fantastic for whipping up simple, data-driven mobile apps straight from a spreadsheet. Others, like Bubble, give you an incredible amount of power for building complex web applications, but that power comes with a much steeper learning curve. Your job is to find the sweet spot between capability and usability for the app you need to build right now.
The best platform isn't the one with the most features. It's the one that lets you launch your specific MVP the fastest while giving you a clear path to grow.
To cut through the noise, you just need a simple framework. Focus your energy on four critical areas: the learning curve, scalability, integrations, and how they charge you. This lens will help you filter out the distractions and zero in on a tool that actually fits your vision.
Evaluate the Learning Curve and Scalability
First, be brutally honest with yourself about the time you can actually sink into learning a new tool. Some platforms are designed for speed. Adalo, for example, is famous for its intuitive, mobile-first design that can let you get a functional app running over a weekend. On the flip side, a platform with more advanced logic and database features will demand more of your time to master.
Next, think about where your app is headed. Scalability isn't just a buzzword about handling more users; it's about whether the platform can grow with you. Can it support the more complex features and workflows you're dreaming up for six months down the road? A tool that’s a breeze to start with might become a cage as your ambitions grow.
If your project is heavy on content and needs top-tier speed and security, it is also worth understanding how static site generators work, since some platforms lean on them under the hood.
Analyze Integrations and Pricing Models
Modern apps are rarely islands. They need to talk to other services for payments, analytics, marketing, you name it. Before you commit to a platform, dig into its integrations. Does it natively connect to the tools you already rely on? If not, does it at least play well with a service like Zapier to bridge the gap? Missing a key integration can become a massive headache later on.
Finally, let's talk money. Don't just glance at the cheapest plan and call it a day. Scrutinize what each pricing tier actually gets you. Look at the limits on database records, the number of users, and access to the features you need. Some platforms offer generous free tiers perfect for building an MVP, while others will make you pay up just to publish to the app stores.
For a much deeper comparison of your options, our guide on the best low-code platforms breaks down the top contenders.
To make this even more practical, here’s a quick checklist to run through as you compare your top choices:
Ease of Use: How fast can I build my core features without getting lost in tutorials?
Target Platform: Is this thing built for native mobile apps (iOS/Android), web apps, or both?
Data & Backend: Does it come with its own database, or will I need to hook up an external one?
Customization: Can I make my app look and feel unique, or am I stuck with cookie-cutter templates?
Cost to Launch: What’s the real, all-in price to get my MVP live and into the hands of users?
Using this framework will pull you out of analysis paralysis and into a confident decision, setting you up for a much smoother build.
Bringing Your App to Life Visually

Alright, this is where the magic really starts to happen. All that careful planning is about to pay off as you translate your ideas into something real: a functional product people can actually see and touch. Using a visual, drag-and-drop editor, you'll start piecing together your app's core components, screen by screen.
Most no-code platforms give you a blank canvas where you can drag in elements like buttons, text fields, and image blocks. It’s a bit like playing with digital Lego bricks. But you’re not just making a static picture; you're building the interactive pathways that will guide your users through the experience you've designed.
Don't aim for a perfect, award-winning design right out of the gate. The real goal here is to build a clean, intuitive, and functional user interface (UI) that directly supports the MVP features you already outlined.
Designing a User-Friendly Interface
A great UI just feels effortless. Your users should know exactly what to do the moment they open the app, without ever needing a manual. This kind of clarity comes from consistency, a clear visual hierarchy, and sticking to design patterns people already know from other apps they use every day.
For that local services marketplace we talked about, the home screen needs to scream its purpose. That could mean a big, obvious search bar right at the top or a simple grid of popular service categories. Whatever you do, avoid the temptation to cram every single feature onto the first screen.
Keep a few core principles in mind:
Visual Hierarchy: Make the most important thing on each screen the most prominent. Use size, color, and placement to pull the user's eye toward the primary action, like a "Book Now" button.
Consistency is Key: Use the same colors, fonts, and button styles everywhere. This makes the app feel polished and trustworthy, building familiarity with every tap.
Prioritize Navigation: Your main navigation menu should be simple and predictable. Users need to be able to jump between key sections like their profile, bookings, and messages without thinking twice.
Good design is invisible. It guides the user so smoothly that they don't even notice the interface itself. They just feel like the app works exactly as they expect it to.
Structuring Your Data and Backend Logic
Behind every pretty button and screen is the app's engine: the database. This is what stores and organizes all the information. The good news is, you don’t need to be a database administrator. You just need to think logically about how your information connects.
Most no-code tools give you a simple, spreadsheet-like interface for this. Each "sheet" or "collection" is a different type of data.
For our marketplace app, you'd probably need at least three main data collections to start:
Users: This is where you store info for both homeowners and service pros. You'll need fields for name, email, password, and a "user role" (like "customer" or "provider").
Services: This table holds all the details about what's being offered, such as service name, description, price, category, and so on.
Bookings: This is the glue that connects a User to a Service. It includes data like the appointment date, time, and current status ("confirmed," "completed," etc.).
Getting this structure right is essential because everything else is built on top of it. The relationship between these tables is what lets you build features like showing a user a history of all their past bookings.
Implementing Essential Workflows
Workflows are the "if this, then that" logic that brings your app to life. They’re the rules that decide what happens when someone clicks a button or fills out a form. In a no-code platform, you build this logic visually instead of by writing lines of code.
User authentication is a classic example. When a user clicks "Sign Up," you need to create a workflow that:
Grabs the email and password from the input fields.
Creates a new entry in your "Users" data collection.
Logs the new user into the app.
Sends them to the home screen.
This is the process that turns a static design into a dynamic application. You’ll set up similar workflows for every interactive feature, from submitting a booking request to sending a message. While it might sound a bit technical, it’s a very logical, step-by-step process inside a visual builder. If you want to dive deeper into creating a smooth user experience, you can learn more about app design best practices in our detailed guide.
Testing Your App and Preparing for Launch
You’ve done the planning, the design, and the building. It's tempting to think you're done, but this next part is where good apps become great ones. Now you have to shift your mindset from creator to your app's toughest critic and hunt down every bug before a real user does.
This phase is non-negotiable, especially when you build an app without code. The visual development process is fantastic for speed, but it can sometimes mask minor logic flaws or UI quirks that only surface with real, hands-on use. Your job now is to try and break your app in every way imaginable.
How to Actually Test Your App
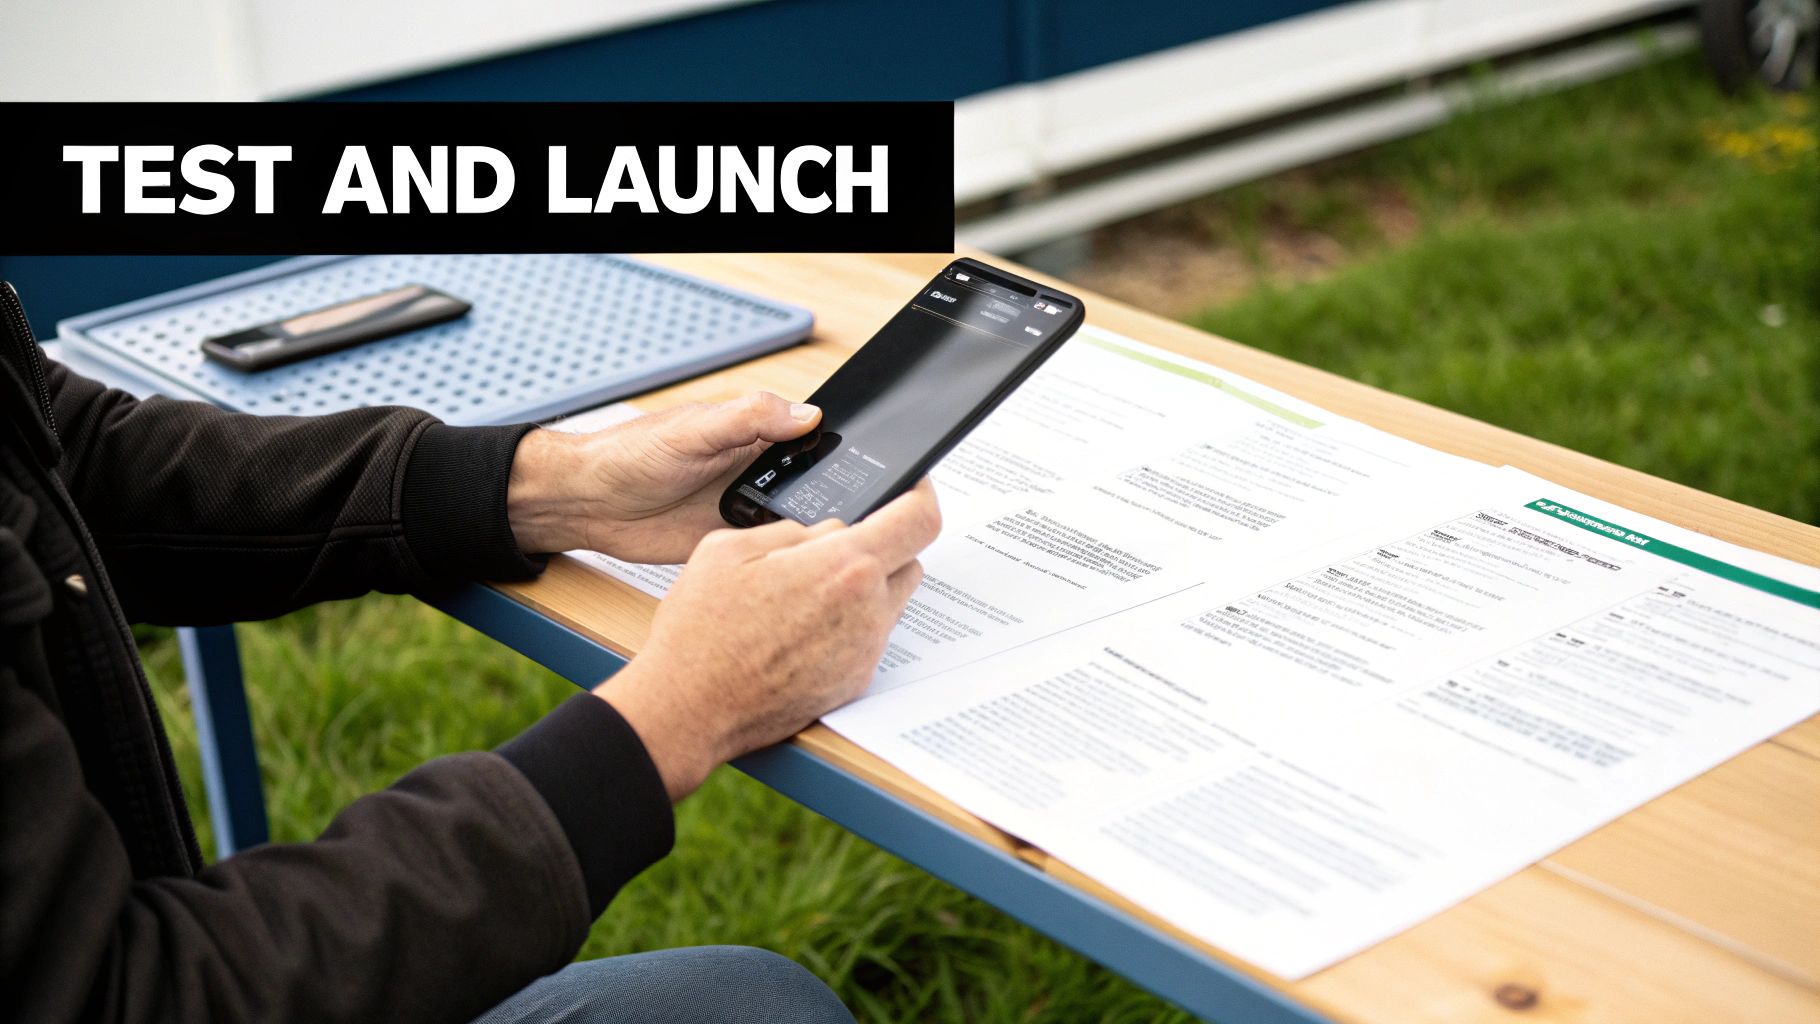
Don’t just poke around at random. A structured testing plan is your best friend here, ensuring you don’t miss any critical user journeys. Most no-code platforms give you simulators or live previews, and those are great for quick checks. But nothing, and I mean nothing, beats testing on actual, physical devices.
Given that nearly 92% of internet users get online with a mobile phone, a perfect mobile experience isn't a feature; it's the whole game.
Here’s a checklist to get you started:
Core Workflows: Can a new user sign up successfully? Can they create a post, book an appointment, or whatever your app’s main purpose is? Test every single button and every flow.
Device Mayhem: Your app looks slick on a new iPhone 15, but what about an older Android phone? Or a tablet? Check it on as many different screen sizes and operating systems as you can get your hands on to spot layout disasters.
The "Friend Test": Grab someone who’s never seen your app before. Give them a simple task to complete (like "buy this product") and then watch them. Silently. You'll learn more in five minutes of watching them struggle than in five hours of your own testing.
Data Syncing: If your app has features where multiple users interact, make sure changes made by one person show up correctly for everyone else.
The single biggest mistake I see is people only testing the "happy path," where a user does everything perfectly. You have to do the opposite. Intentionally enter the wrong password, spam a button, upload a giant file, and try to do things out of order. That's how you find the really nasty bugs.
Getting Through the App Store Gates
Submitting to the Apple App Store and Google Play Store can feel like a final boss battle, but many no-code platforms make it much easier by generating the required build files for you. Still, the responsibility for meeting their strict guidelines falls squarely on your shoulders.
Here are a few common tripwires that get apps rejected:
Missing Details: Your privacy policy, app description, screenshots, and contact info must be complete and accurate. No shortcuts.
Crashes & Bugs: This is why you test relentlessly. Both Apple and Google have zero tolerance for unstable apps. If it crashes during their review, it's an instant rejection.
Handling User Content: If users can post their own content, you must have a system in place to filter offensive material and an easy way for people to report it.
Your Journey After Launch
Hitting "publish" isn't the finish line; it's the starting gun. This is where the real learning begins. You need to keep a close eye on your app's performance, track key metrics like daily active users, and actively chase down user feedback.
That feedback is gold. It’s a direct roadmap telling you what features to build next and what problems to fix first.
This cycle of launch, learn, and iterate is the superpower of building an app without code. It lets you stay nimble, constantly improving your product based on what your users are actually doing, not just what you think they want.
Got Questions About Building an App Without Code?
It's smart to have questions. Diving into the no-code world is exciting, but a little healthy skepticism is a good thing. Let’s tackle some of the most common concerns I hear from founders and creators who are new to this space.
Can I Really Build the Next Uber or Airbnb?
This one comes up a lot. Can you build an app with the same features as Uber or Airbnb? The short answer is yes, absolutely. No-code tools are fantastic for creating marketplaces, complete with user profiles, maps, booking systems, and messaging.
They are the perfect way to build out your Minimum Viable Product (MVP) and see if your idea has legs in the real world.
But let's be realistic. Cloning a global behemoth like Uber isn't feasible with any single technology, whether it's code or no-code. Those companies run on a massive scale, with custom algorithms and real-time data processing that eventually require a custom-coded solution once you hit millions of users. The winning strategy is to start with no-code, prove your concept, and get that important early traction.
Who Actually Owns My App?
This is a critical point that trips people up, so let's get it straight. When you build with a no-code platform, you own your idea, your brand, your designs, and most importantly, all of your user data. That intellectual property is yours, period.
What you don't own is the platform's underlying technology. Think of it as licensing their software to run your business. This means you can almost always export your user data if you decide to leave, but you can't just take the application's code and host it somewhere else. It's always a good idea to spend a few minutes with the platform's terms of service to understand this relationship clearly.
It’s like leasing a fully-equipped professional kitchen to launch your restaurant. You own the brand, the recipes, and your customer list. But you don't own the building or the ovens. It's a trade-off you make for speed and lower upfront cost.
What Are the Biggest Limitations I Should Know About?
No-code is incredibly powerful, but it’s not magic. It comes with trade-offs, just like any other technology choice. The three big ones to keep in your back pocket are performance at massive scale, customization ceilings, and platform dependency.
Performance: A modern no-code app can easily handle tens of thousands of users. But if you're talking about millions of people using it all at the same time, you might start to hit performance walls.
Customization: You’re working within the toolbox the platform gives you. For 99% of ideas, this is more than enough. But if your app needs some highly unique, niche functionality, you might find the platform’s built-in elements restrictive.
Platform Dependency: Your app lives on their platform. You're counting on their pricing to stay fair, their features to keep improving, and their company to stay in business.
Going in with your eyes open about these limitations is the key to making a smart decision and setting yourself up for success.
Ready to turn your idea into a real app without writing a single line of code? CatDoes uses AI to build, design, and launch your mobile or web app from simple text descriptions.
Nafis Amiri
Co-Founder of CatDoes


