Blog
Tutorials
How to Add a Camera to a Mobile App 2026
Adding a camera to a mobile app means handling capture, permissions, and storage. A practical 2026 guide to camera features, libraries, and a no-code shortcut.

Nafis Amiri
Co-Founder of CatDoes

TL;DR
Adding a camera to a mobile app means handling three things: capturing media (photos, video, or live frames), asking for permission the right way, and storing the result somewhere. Most apps do not need a full custom camera. An image picker that opens the phone's gallery or native camera covers the majority of use cases in a few lines. You only reach for a dedicated camera library like Expo Camera or React Native Vision Camera when you need a live, in-app camera view: QR scanning, document capture, AR filters, or barcode reading. This guide walks through what to build, which tool fits, how permissions work on iOS and Android, and how an AI builder like CatDoes adds a working camera without you writing the plumbing.
Almost every app eventually wants the camera. A profile photo. A receipt to scan. A QR code at checkout. A short video for a review. It sounds simple, then you hit permissions dialogs, file sizes, orientation bugs, and two competing libraries that both claim to be the standard.
This is a practical 2026 guide to adding a camera to your mobile app. You will learn the difference between picking an image and running a live camera, which library fits which job, how to handle permissions without getting rejected from the App Store, and the gotchas that eat a whole afternoon. We will end with a build checklist and the no-code shortcut.
Table of Contents
What "adding a camera" actually means
Common camera features and their use cases
Image picker vs live camera: pick the right one
Choosing a camera library in 2026
Camera permissions on iOS and Android
Where photos and videos get stored
Performance and UX gotchas
Adding a camera without writing code
A practical build checklist
Frequently asked questions
What "adding a camera" actually means
"Adding a camera" is not one feature. It is a choice between four different jobs, and picking the wrong one is where most projects waste time. The four jobs are: pick existing media from the gallery, capture a new photo or video, run a live camera preview inside your app, and process frames in real time (scanning, detection, AR).
The mistake people make is reaching for a full live camera when they only needed an image picker. A profile photo upload does not need a custom viewfinder. It needs a button that opens the system camera or gallery and hands you back a file. Match the job to the smallest tool that does it.
Common camera features and their use cases
Before you write anything, name the feature you are building. Each one maps to a different level of effort. Here is the spread, from simplest to hardest.
Feature | Example | Effort |
|---|---|---|
Gallery upload | Profile picture, attach a photo to a post | Low |
Take a single photo | Receipt, ID photo, listing image | Low |
Record video | Product review, video message | Medium |
QR / barcode scan | Event check-in, payments, inventory | Medium |
Document scan | Auto-crop a page, fix perspective | Medium-High |
AR / face filters | Try-on, masks, live effects | High |
Real-time detection | Object recognition, OCR overlay | High |
The top three are the most common by a wide margin. If your app is a marketplace, a social feed, or a tool that collects documents, you are almost certainly in "gallery upload" or "take a single photo" territory. That is good news, because those are the cheapest to build.
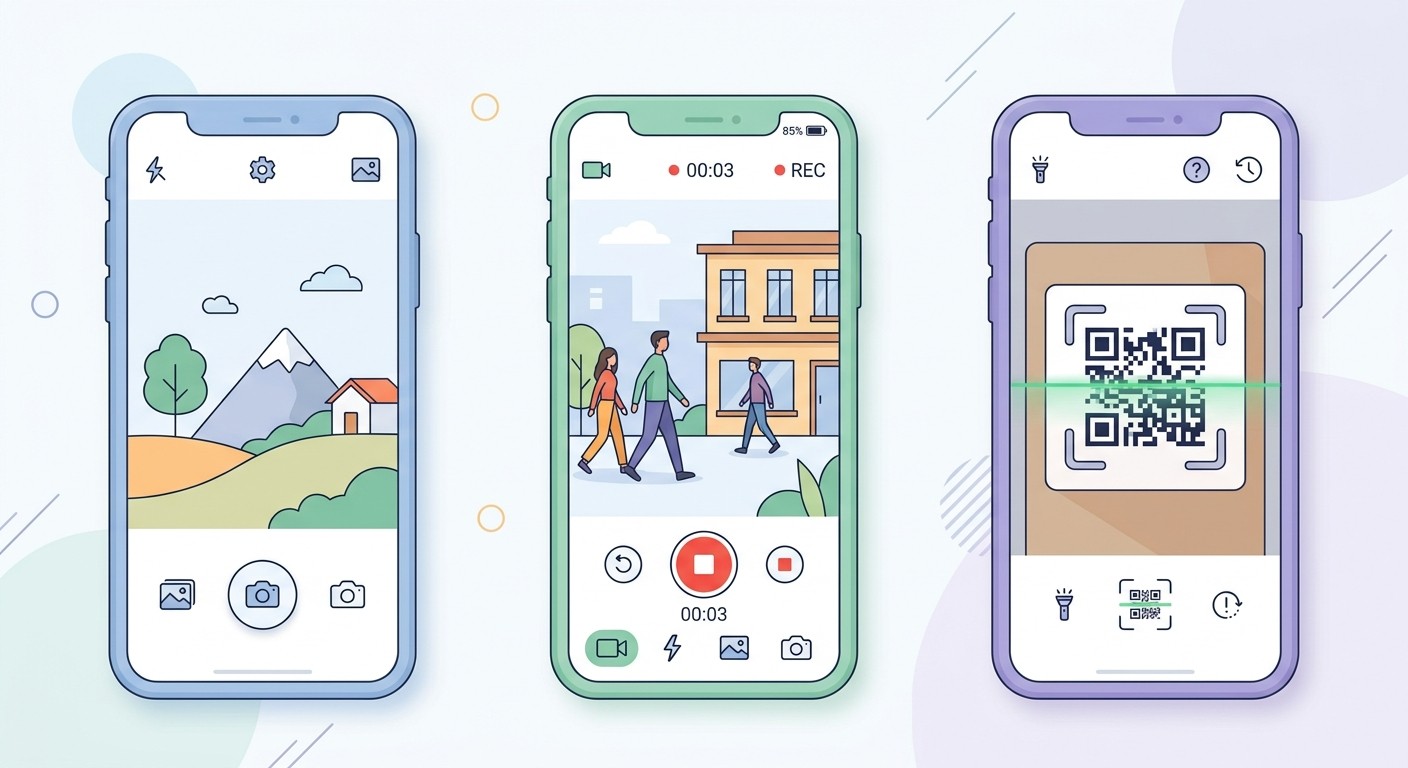
Image picker vs live camera: pick the right one
There are two paths to camera input, and they are not equal in cost. An image picker delegates to the operating system. A live camera draws the viewfinder inside your own app. Choose the picker unless you have a specific reason not to.
The image picker path
An image picker (for example, Expo's expo-image-picker) opens the native iOS or Android camera or photo library, lets the user shoot or choose, then returns a file URI to your app. You never manage the camera hardware. The system handles focus, flash, zoom, orientation, and the capture UI. This is the right answer for profile photos, attachments, and any "grab a picture" flow. It is a handful of lines and it behaves like the camera users already know.
The live camera path
A live camera renders a preview surface inside your screen so you can overlay UI, read frames, or control capture frame by frame. You need this for QR scanning (you must read the live feed), document scanners with auto-crop, custom capture buttons, and AR. It is more powerful and more work: you manage permissions, the preview lifecycle, device rotation, and cleanup when the screen unmounts.
A simple rule: if the user just needs to produce one image or video, use the picker. If your app needs to see what the camera sees while it is open, use a live camera.
Choosing a camera library in 2026
If you are building with React Native or Expo, which most cross-platform teams are in 2026, three libraries cover almost everything. Here is how they compare.
Library | Best for | Notes |
|---|---|---|
expo-image-picker | Pick or capture a single photo/video | Simplest. No live preview. Uses the system UI. |
expo-camera | In-app live camera, basic QR scanning | Bundled with Expo. Good default for most live needs. |
react-native-vision-camera | High performance, frame processors, advanced scanning, AR | Fastest. Frame processors for real-time ML. Steeper setup. |
Start with expo-image-picker if you only need files. Move to expo-camera when you need a live preview or simple QR reading. Reach for react-native-vision-camera when you need real-time frame processing, high frame rates, or serious scanning and AR, since its frame processors let you run code on each frame without round-tripping to JavaScript.
If you are building a native iOS or Android app directly, the equivalents are AVFoundation on iOS and CameraX on Android, both maintained by the platform owners. They are powerful but lower level, so cross-platform teams usually prefer the React Native options above.
Camera permissions on iOS and Android
Permissions are where camera features get rejected from the App Store, so handle them deliberately. Both platforms require you to declare why you want the camera and to ask the user at runtime. iOS will reject your build if you skip the explanation string.
There are two layers to get right:
Declare the usage. On iOS you add an
NSCameraUsageDescription(andNSMicrophoneUsageDescriptionfor video) to your app config with a clear, human sentence explaining the reason. On Android you declare theCAMERApermission in the manifest. Apple's review team specifically checks that the message is honest and specific.Request at runtime. Ask for permission at the moment the user taps to use the camera, not on app launch. Explain the benefit first ("Allow camera access to scan your receipt"), then trigger the system prompt. If they decline, show a graceful fallback that points them to Settings rather than a dead screen.
A common iOS rejection reads: "We noticed your app requests the user's permission to access the camera but does not provide a clear explanation." The fix is a specific usage string. Avoid generic text like "This app needs the camera." Say what it does: "Used to scan QR codes for event check-in."
Where photos and videos get stored
Capturing the image is only half the job. The camera hands you a local file on the device, which disappears the moment the user reinstalls or switches phones. If the photo matters, you upload it to storage and keep a reference in your database.
A typical flow looks like this: capture or pick the file, optionally compress and resize it, upload it to cloud storage, then save the returned URL against the user or record. Photos are large, so compressing before upload saves bandwidth and money. This is where your backend choice starts to matter, since you need somewhere to put the files and a database to track them. If you have not picked one yet, see our guide on how to choose a mobile app backend.
Performance and UX gotchas
Camera features look done in the simulator and then break on real phones. These are the issues that show up in production, and how to handle them.
File size. A modern phone photo can be 3-12 MB. Resize and compress before upload, or you will blow through storage and slow down on weak connections.
Orientation. EXIF rotation data means an image that looks upright on the device can appear sideways elsewhere. Normalize orientation on capture.
Permissions denied. Always design the "user said no" path. Show why you need access and a button to open Settings.
Lifecycle and cleanup. A live camera holds the hardware. Release it when the screen loses focus, or you get black previews and battery drain.
Low light and focus. Use the system camera UI where you can. It already handles autofocus, exposure, and flash better than most custom builds.
Simulator limits. iOS simulators have no camera. Test capture on a physical device early, not the day before launch.
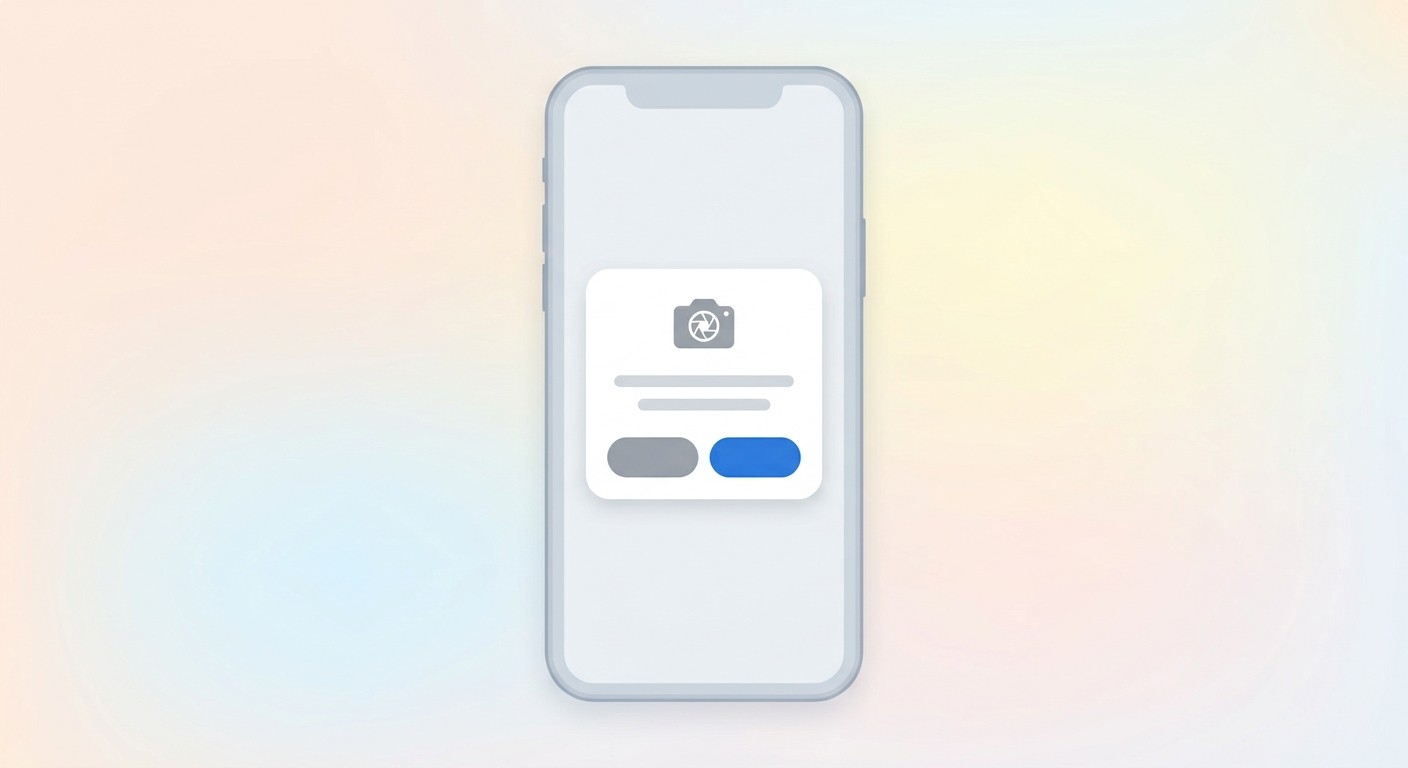
Adding a camera without writing code
You do not have to wire any of this by hand. AI app builders handle the camera plumbing, the permission strings, the upload, and the storage for you. With CatDoes, you describe the feature in plain language ("let users take a photo of a receipt and save it to their account"), and the agent adds the camera component, sets up the iOS and Android permission declarations, wires the upload to cloud storage, and stores the reference in the database.
Because CatDoes Cloud includes storage and a database on every plan, the captured files have somewhere to live without you assembling a backend. This is the fastest path from "I want a camera in my app" to a working build on a real device. If you are new to all of this, our walkthrough on app development for beginners covers the basics, and you can see the broader workflow in building an app with AI.
A practical build checklist
Use this to scope your camera feature before you start, whether you are coding it or prompting an AI builder.
Name the job: gallery upload, single photo, video, live scan, or AR.
Pick the smallest tool: image picker for files, live camera only if you need a preview.
Write honest permission strings for iOS and Android.
Request permission at the moment of use, with a fallback if denied.
Compress and normalize orientation before upload.
Decide where files live (cloud storage) and what you save (the URL).
Test on a real device, not just the simulator.
Frequently asked questions
Do I need a custom camera or can I use the phone's built-in one?
Most apps should use the built-in one through an image picker. You only need a custom in-app camera when you must read or overlay the live feed, such as QR scanning, document auto-crop, or AR. For profile photos and attachments, the system camera is faster to build and more familiar to users.
What is the best camera library for React Native in 2026?
For a single photo or video, use expo-image-picker. For a basic live camera or simple QR reading, use expo-camera. For high performance, real-time frame processing, advanced scanning, or AR, use react-native-vision-camera. Match the library to the job rather than defaulting to the most powerful one.
Why does Apple reject apps that use the camera?
The most common reason is a missing or vague camera usage description. iOS requires an NSCameraUsageDescription string explaining why you need access, and Apple checks that it is specific and honest. Write what the camera actually does, like "Used to scan QR codes for check-in," not "This app uses the camera."
How do I store photos a user takes in my app?
Capture the file, compress and resize it, upload it to cloud storage, then save the returned URL in your database against the user or record. The raw file on the device is temporary, so anything that needs to persist must be uploaded. A backend with storage and a database handles this.
Can I add a camera to my app without coding?
Yes. AI app builders like CatDoes add camera capture, permission handling, upload, and storage from a plain-language description. You say what you want the camera to do, and the agent generates the working feature and ships it to a real device.
Conclusion
Adding a camera to a mobile app is mostly a matter of choosing the right job and the smallest tool that does it. Use an image picker for files, a live camera only when you need the feed, write honest permission strings, compress before upload, and store the result in the cloud. Get those right and the rest is detail.
If you would rather skip the plumbing entirely, describe the camera feature you want and let CatDoes build it. Start building your app with CatDoes and ship a working camera to your phone today.
Nafis Amiri
Co-Founder of CatDoes


