
Blog
Tutorials
How to Publish a Website (2026 Step-by-Step)
Learn how to publish a website in 2026: the fastest way is to deploy it with CatDoes, or buy a domain and hosting and upload your files via FTP, Git, or a CMS.

Nafis Amiri
Co-Founder of CatDoes

So, you've built your website on your local machine. Now what? Learning how to publish a website means getting it from your computer onto the live internet, and it is the final, crucial step. It's how your code, designs, and content become a real, accessible site that anyone in the world can visit.
Quick answer: The fastest way to publish a website in 2026 is an AI-native platform like CatDoes you describe what you want, then say "deploy this project" and it goes live on a real URL, with up to 20 custom domains per project and HTTPS handled for you. Prefer to do it by hand? You can still buy a domain and hosting, then upload your files over FTP, Git, or a one-click CMS install. This guide covers both paths, from the simplest to the most hands-on.
Table of Contents
Your Guide to Website Publishing Methods
The Fastest Way to Publish a Website: CatDoes
Securing Your Domain and Web Hosting
Getting Your Website Files Online
Final Checks Before Going Live
How to Fix Common Publishing Problems
Frequently Asked Questions
Your Guide to Website Publishing Methods
Before we jump into the hands-on steps, it's important to understand the different paths you can take to get your project online. The route you choose will directly impact your site's performance, how you'll manage it, and what it'll cost you. There’s no single "best" way; it all comes down to your project's goals, your budget, and how comfortable you are with the tech side of things.
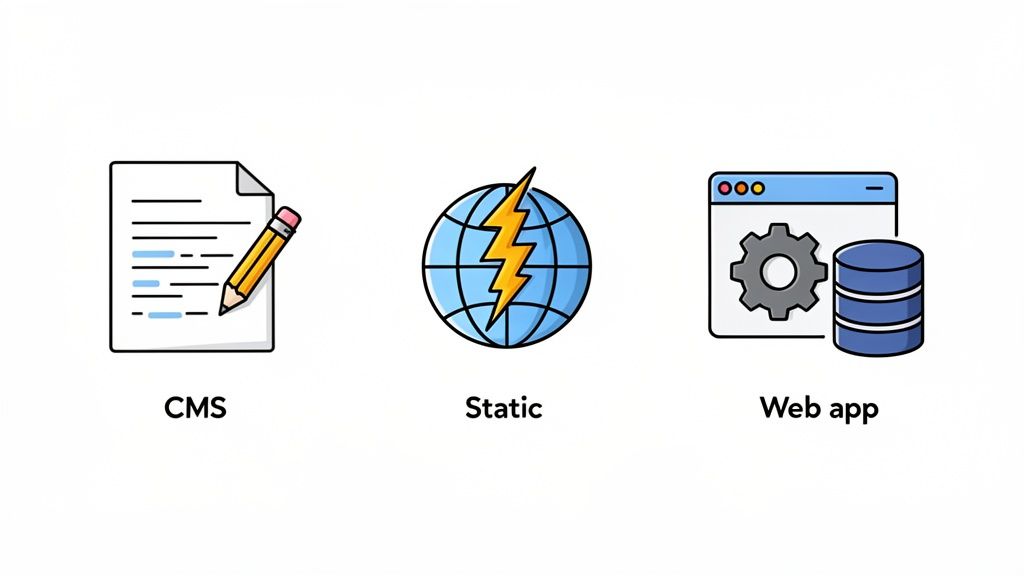
There are four main approaches to publishing a website, ranging from fully automated to fully hands-on:
AI-Native Platforms (the easiest): Tools like CatDoes build and publish your site for you. You describe what you want in plain English, the AI writes the code and configures the backend, and you go live by saying "deploy this project." Best for anyone who wants a live site fast — from a landing page to a full web app — without touching servers, FTP, or DNS.
Content Management System (CMS): Think WordPress, Shopify, or Webflow. These are perfect for blogs, portfolios, and most small business sites. They give you a user-friendly dashboard to add and update content without ever needing to look at a line of code.
Static Site Hosting: This is the go-to for many developers. Services like Netlify or Vercel take your simple HTML, CSS, and JavaScript files and distribute them across a global network. The result is a website that’s incredibly fast, secure, and often free to start.
Web App Platforms: For more complex, interactive projects with features like user logins and databases, you'll need a platform built for web applications. These services handle all the complicated backend infrastructure, letting you focus on building out the features your users need.
Website Publishing Methods at a Glance
Choosing the right path from the start can save you a lot of headaches down the road. This table breaks down the main methods to help you see which one fits your project best.
Method | Best For | Technical Skill | Typical Cost |
|---|---|---|---|
AI Platform | Landing pages, web apps, MVPs, and anyone who wants the fastest path from idea to live. | None. You describe the site in plain English. | Free to start; paid plans scale with usage. |
CMS | Blogs, portfolios, e-commerce, small business websites. | Low to None. Most are designed for non-technical users. | $10 - $100+ / month, depending on hosting and plugins. |
Static Hosting | Personal sites, landing pages, documentation, developer portfolios. | Medium. You'll need to know basic HTML, CSS, and Git. | Free to $50 / month. Generous free tiers are common. |
Web App Platform | SaaS products, social networks, custom business tools. | High. Requires knowledge of backend programming and databases. | $20 - $500+ / month, scales with usage. |
Ultimately, your choice depends on balancing power with simplicity. A CMS offers convenience, while static and web app hosting provide more control for those who need it. But if you just want your site online with the least effort, an AI-native platform like CatDoes is the fastest route — and it is the first method we cover below.
Matching the Method to Your Goal
The best way to publish your site comes back to what you're trying to accomplish. For example, a photographer who needs an easy-to-update portfolio would be right at home with a CMS. On the other hand, a software developer wanting to show off their skills would probably lean toward static hosting for its raw performance and developer-friendly workflow.
A CMS like WordPress is an incredibly popular starting point, especially for content-focused sites. The ecosystem is massive, and a big part of getting started is finding the best WordPress hosting for small businesses that can support your site as it grows.
And the potential audience is huge. As of February 2026, there are more than 600 million blogs on the internet, making up nearly a third (31.6%) of all websites. This is all being read by the 6.04 billion people online today. That’s a massive community you can become a part of.
Think of it this way: A CMS is like a pre-built house where you can easily rearrange the furniture. Static hosting is like building with high-performance, prefabricated panels. A web app platform gives you the foundation and toolkit to build a skyscraper from the ground up.
The Fastest Way to Publish a Website: CatDoes
If the manual steps below sound like a lot of work, there is a much faster path. For any site from a simple landing page to a full web app with user accounts, live databases, and interactive features — the traditional publishing process is often complex and, frankly, a bit of a slog.
This is exactly where AI-native platforms like CatDoes come in. They completely sidestep the old way of doing things, taking you from a plain-English idea to a production-ready site that is already live. Instead of fussing with server configurations, FTP clients, or deployment scripts, you simply tell CatDoes to "deploy this project" and it ships.
What CatDoes Automates
The old way of getting a web app live involves a few key stages: writing the code, transferring those files to a server, and then making sure everything runs correctly. It sounds simple, but each step has its own tools and potential headaches.
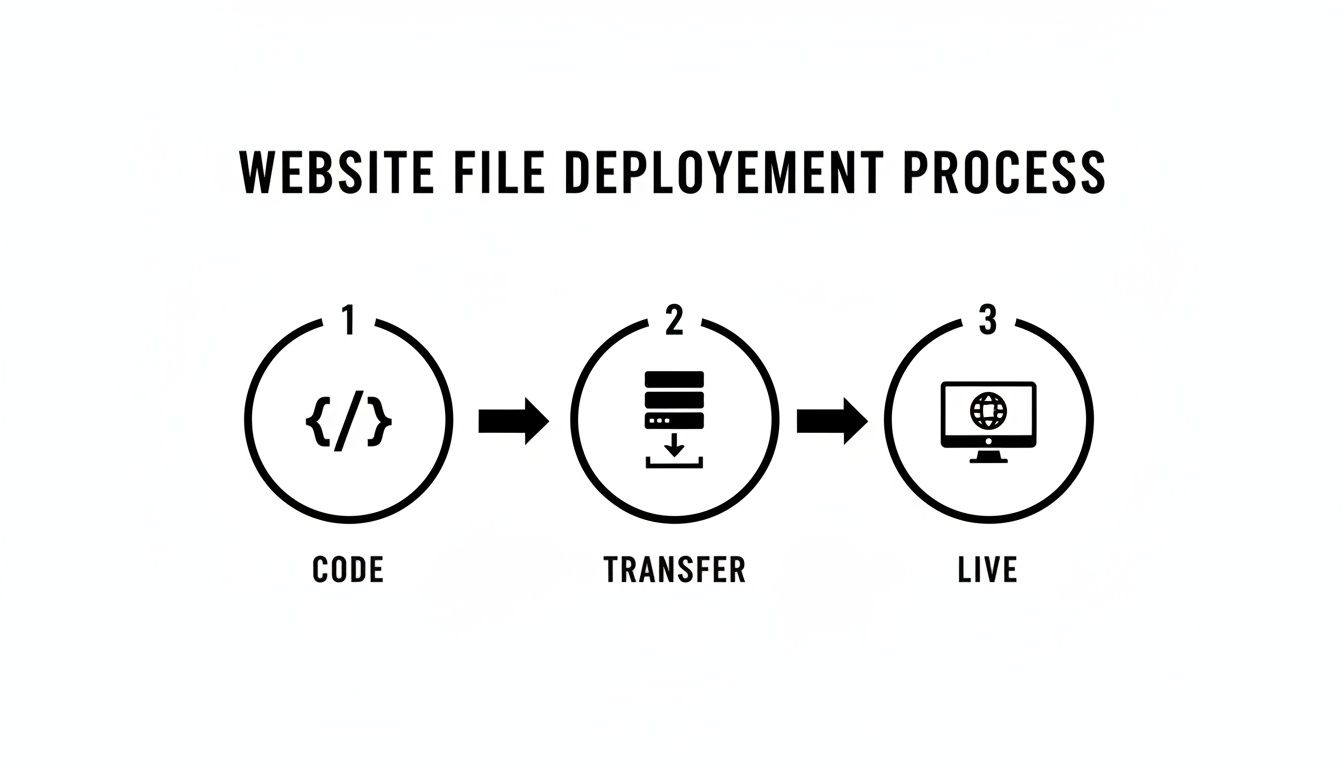
This entire workflow is what CatDoes is designed to automate, letting you focus on your idea, not the infrastructure.
A New Way to Publish Your Site
At its core, CatDoes uses a team of specialized AI agents that work together to build and publish your site. One agent figures out your requirements, another sets up the cloud backend and database, and others generate the frontend code. It’s a complete, end-to-end system.
When you're ready to go live, you don't have to break out an FTP client or run commands in a terminal. You just say "deploy this project," and a dedicated release agent handles the entire build-and-release process for you.
Connecting your own domain is just as simple. CatDoes supports up to 20 custom domains per project, so you can point your main brand domain, regional variants, and campaign-specific URLs at the same site without juggling separate hosting accounts. HTTPS is provisioned automatically for every domain — no certificates to install and no "Not Secure" warnings to chase down.
To see just how different this approach is, let's compare the steps side-by-side.
Traditional vs CatDoes Website Publishing
Publishing Stage | Traditional Method | CatDoes AI Method |
|---|---|---|
Backend Setup | Manually configure cloud servers, databases, and authentication services. | AI agents automatically provision and configure all backend services based on your description. |
Code Creation | Write frontend and backend code, often in separate projects using multiple languages. | AI generates the full-stack code for you, connecting the UI to the live backend. |
File Transfer | Use FTP, SSH, or Git-based CI/CD pipelines to move code files to the server. | The process is entirely automated. The release agent handles everything internally. |
Configuration | Set up environment variables, connect to the database, and configure server settings. | All configurations are handled automatically by the platform. Zero manual setup. |
Going Live | Run build scripts and restart server processes to make the new version public. | You simply click a button or give a command, and the AI deploys the app instantly. |
The key takeaway is that an AI-native workflow collapses what could be weeks of technical setup into a few simple interactions, letting you launch and iterate at a speed that was impossible before.
From Your Idea to a Live URL
The entire experience is designed to be as direct as possible. You’re essentially having a conversation with the platform to bring your app to life.
Here's how it works in practice:
You describe your app idea. Start by explaining what your web app needs to do in plain English. The AI agents take your description and turn it into a technical blueprint.
The AI builds everything. Software agents get to work writing the code, setting up cloud services for things like user logins and data storage, and building the user interface.
You say "deploy this project." Once you’re happy with how the app looks and works in the preview, you tell the release agent to publish it. It automatically handles the entire deployment to the cloud.
This automated process is a game-changer, especially for anyone building a Minimum Viable Product (MVP) or creating internal tools for their business. It removes the traditional bottlenecks, allowing for incredibly fast development and instant publishing cycles.
Securing Your Domain and Web Hosting
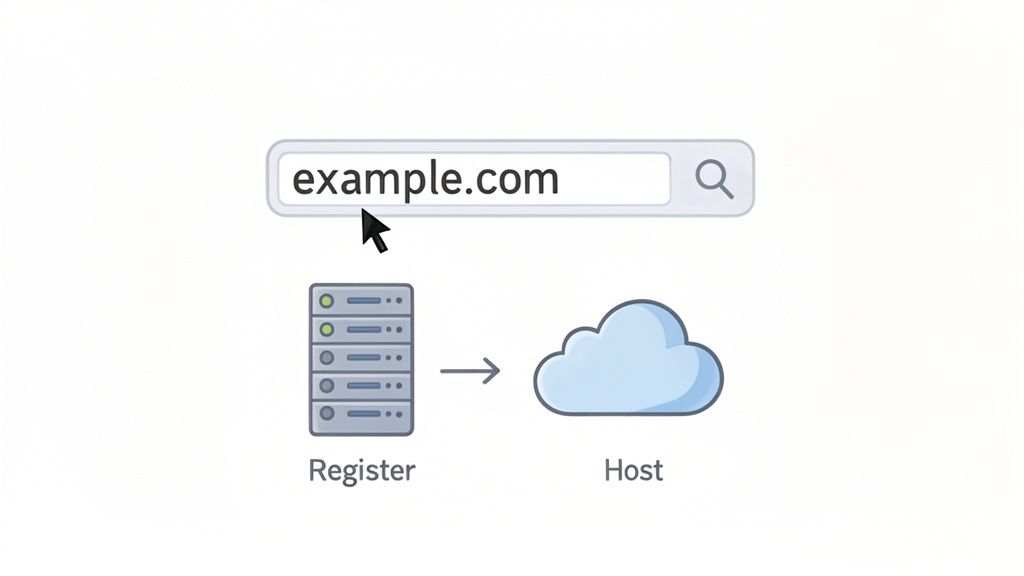
Before your website can greet its first visitor, it needs a place to live online. That comes down to two things: a domain name and web hosting. Think of it like a physical shop where the domain is your street address, and the hosting is the actual land and building where you do business.
Nailing these two pieces is the first real step to getting your project out into the world.
Choosing a great domain name is a mix of art and strategy. You need something memorable that’s easy for people to type and reflects your brand. It’s worth spending a little time on understanding domain name registration so you know how registrars, DNS, and privacy all fit together.
Once you’ve brainstormed a few options, you'll need to see what’s available and register it through a domain registrar. These are the companies authorized to sell and manage domain names.
Choosing Your Web Hosting
With your domain name secured, it’s time to pick your web hosting provider. This is where your website's files, including all the code, text, and images, will be stored and served up to anyone who visits.
Not all hosting is created equal. The right choice really hinges on your site's needs, like how much traffic you expect, your technical comfort level, and of course, your budget.
Here’s a breakdown of the main types you'll run into:
Shared Hosting: This is the most budget-friendly route. Your site shares server resources with a bunch of other websites, kind of like living in an apartment building. It’s a perfect starting point for new blogs, portfolios, or small business sites with low to medium traffic.
VPS (Virtual Private Server) Hosting: A definite step up. A VPS gives you a dedicated, private slice of a server. You’re still sharing the physical hardware, but you have guaranteed resources and more control. This is ideal for websites that are starting to see real growth.
Dedicated Server Hosting: Just like it sounds, you get an entire physical server all to yourself. This offers the best possible performance and total control, but it comes with a higher price tag and requires some technical know-how to manage.
For more complex web applications, many modern projects are built on specialized cloud infrastructure, which offers incredible flexibility and lets you scale resources up or down as needed.
Connecting Your Domain and Hosting
You’ve got your domain. You’ve got your hosting plan. Now, it's time to connect them.
This process is often called "pointing your domain." Essentially, you're telling your domain registrar where your website's files are located. Your hosting provider will give you a couple of "nameserver" addresses, which you'll copy and paste into your domain's settings.
It sounds technical, but it’s usually a straightforward copy-paste job. Just be aware that this change can take anywhere from a few hours up to 48 hours to fully kick in across the internet. Once it does, typing your domain name into a browser will take visitors right to your live website.
Getting your domain and hosting sorted out is more than a technical chore. It's the foundation of a reliable and professional online presence and your entry ticket to a massive digital world.
And that world is bigger than ever. By February 2026, the number of global internet users climbed to 6.04 billion, which is 73.2% of the planet's population. On top of that, there are 5.78 billion unique mobile users. That's an enormous audience waiting for what you have to publish.
Getting Your Website Files Online

You've got your domain name and a hosting plan. Now for the exciting part: moving your website's files from a folder on your computer to the live server where the whole world can see them.
This is the moment your project goes from a local hobby to a real, public website. The way you do this really depends on how you built your site and what tools you're comfortable with.
The Old-School Drag-and-Drop: FTP
For anyone who built a simple website from scratch with HTML, CSS, and maybe some JavaScript, the most direct route is a File Transfer Protocol (FTP) client. Think of it as a special folder that connects your computer directly to your web host.
Using a tool like FileZilla, you get a two-sided view: your computer's files on the left and the server's empty folders on the right. You just find the right directory on your server, which is almost always called public_html or www, and drag your website files into it. It’s manual, straightforward, and gives you absolute control over every single file.
The Modern Developer Workflow: Git
For developers or anyone looking for a more professional and automated setup, Git is the way to go. Git is a version control system that keeps a detailed history of every change you make to your code. When you connect it to a modern hosting provider like Netlify or Vercel, you create a powerful, automated publishing machine.
Instead of manually dragging files, you "push" your code changes to a service like GitHub. That simple action tells your hosting provider to automatically grab the latest version, build your site, and deploy it. This isn't just about uploading; it's a reliable, repeatable process that makes updates safe and easy.
Using Git is like having a time machine for your project. If you push an update that breaks something, you can roll back to a previously working version in seconds. That safety net is a lifesaver, especially as a project gets more complicated.
This Git-based approach is at the heart of modern web development. You can learn more about how to sync your projects with GitHub to keep your code organized and make your deployments a breeze.
The Easy Button: CMS One-Click Installs
What if you chose a Content Management System (CMS) like WordPress? Good news: the process is way simpler. You don't have to touch a single file yourself.
Most hosting providers know that millions of people use WordPress, so they offer a one-click installation tool right inside their control panel. It's designed to get you up and running in minutes.
The process usually looks like this:
Log into your hosting account's dashboard.
Look for an "auto-installer" tool. It might be called Softaculous, Fantastico, or just "WordPress Installer."
Click the WordPress icon.
Fill out a simple form: choose your domain, create a username and password for your site, and hit "Install."
That's it. The system takes care of creating the database and putting all the necessary WordPress files in the right place. In just a few minutes, you’ll get a link to your new WordPress dashboard, ready for you to log in and start creating pages. No FTP or command line required.
Final Checks Before Going Live
Hitting that "publish" button feels like crossing the finish line, but the race isn't quite over. The handful of checks you run right after your site is live are what separate a polished, professional launch from a rushed one.
This last mile is all about making sure your site is secure, works everywhere, and gives every visitor a great first impression. It’s a small investment of time that pays off big.
Enable HTTPS with an SSL Certificate

First things first: secure your site with HTTPS. This is non-negotiable today. An SSL certificate encrypts the connection between your website and your visitors, protecting sensitive info like logins or contact form details.
Modern browsers like Chrome will slap a "Not Secure" warning on any site still using HTTP, which is a surefire way to scare visitors off. Beyond trust, Google has also confirmed that HTTPS is a ranking factor, giving secure sites a small but important edge in search results.
The good news? It's easier and cheaper than ever. Most modern web hosts offer a free SSL certificate from Let's Encrypt and have a simple, one-click process to turn it on right from your dashboard. There's really no excuse to skip this.
Think of HTTPS as the digital equivalent of a sealed envelope. It guarantees that the conversation between your website and your visitor is private, building a foundation of trust from the moment they arrive.
Conduct a Full Website Quality Check

With your site secured, it’s time to do a full top-to-bottom review. Never assume that what worked on your local machine will work perfectly on a live server. A thorough quality check helps you spot and squash those little bugs before your audience finds them.
This isn't just about making sure things work; it's about ensuring your site looks and feels professional on every possible device.
Here's a practical checklist I run through after every launch:
Test Every Single Link: Click through your entire navigation menu, every button, and all the links in your content. A 404 error page is a dead end for users and a bad signal to search engines. Broken links are an easy fix, so hunt them down.
Check All Your Forms: Fill out and submit every contact form, newsletter signup, or comment box. Did the submission go through? Did you actually receive it in your inbox? Does the "thank you" page or message appear correctly?
Review All Media: Take a moment to verify that every image, video, and audio file loads properly. It's common for media files to break when you move a site from a local environment to a live server. Make sure nothing is distorted, missing, or slow to load.
Cross-Browser and Device Testing: Your site might look perfect in Chrome on your laptop, but what about Safari on an iPhone? Or Firefox on a Windows machine? Open your site on multiple browsers and screen sizes, including desktop, tablet, and especially mobile, to guarantee a consistent, responsive experience for everyone.
How to Fix Common Publishing Problems
So you’ve pushed the launch button. Everything should just work, right? In a perfect world, yes. But in the real world, things can get a little quirky. Don't panic, as most launch-day hiccups are surprisingly common and totally fixable.
Why Isn't My Site Showing Up?
This is easily the most frequent "is it broken?" moment I see. You launch your site, type in the URL, and nothing happens. Or maybe you see an old version. This is almost always caused by DNS propagation.
Think of it like the post office forwarding your mail to a new address. It takes time for that new information to reach every server around the globe. This process can take a few minutes or, in some cases, a few hours. So before you start digging through settings, grab a coffee and give it some time. Patience is your best friend here.
The "Mixed Content" Headache
Another classic issue pops up right after you enable HTTPS for that shiny new lock icon. Your page loads, but your browser throws a "mixed content" warning. This means your main page loaded securely, but it’s pulling in other resources, like images or scripts, over an insecure HTTP connection.
The fix is straightforward, but it has to be thorough: every single link, image, and script on your site needs to use an HTTPS URL. Manually hunting these down is a pain, so check your CMS for a plugin that can automatically rewrite these URLs for you. It'll save you a ton of time.
Other Gremlins to Watch For
A few other gremlins might show up, too. You might run into file permission errors, where your images or stylesheets won't load because the server is blocking public access. A quick trip to your hosting control panel to adjust file permissions usually sorts this out.
And finally, the dreaded CMS lockout. Getting locked out of your own dashboard is stressful, but it's rarely a permanent problem. Most hosting providers offer a way to reset your password directly through their database tools, getting you back in control without too much fuss.
Frequently Asked Questions
When you're just starting out, a few questions always seem to pop up. Here are the straight answers to the most common ones I hear, pulled from years of helping people get their first sites online.
How Long Does a New Website Take to Appear on Google?
Getting your brand new site to show up on Google isn't instant. It can take anywhere from a few days to a few weeks. Google's web crawlers have to discover your site first, and then decide it's worth indexing.
You can definitely give them a nudge, though. The best way to speed things up is by creating a sitemap (which is just a list of your pages) and submitting it directly through Google Search Console. It’s like sending Google a formal invitation to come check out your new place.
Can I Really Publish a Website for Free?
Yes, you absolutely can. Services like GitHub Pages or the free tiers on Netlify and Vercel are fantastic for static websites. Most all-in-one website builders offer free plans, too.
So, what's the catch? Free plans usually come with a few trade-offs. The biggest one is you'll likely be stuck with a branded subdomain, like yoursite.netlify.app, instead of your own custom domain. You’ll also have less server power and might even have ads placed on your site.
A free plan is perfect for a personal portfolio, a side project, or just testing out an idea. But once you get serious about building a brand, grabbing a custom domain and a paid hosting plan is a non-negotiable next step.
What Is the Difference Between a Domain and Hosting?
This is a classic point of confusion, but a simple real estate analogy clears it right up.
A domain name is your website's street address (e.g.,
www.yourbrand.com). It’s the unique name people type into a browser to find you.Web hosting is the actual plot of land and the house built on it. It's the physical server space where your website's files, images, and content are stored so people can access them.
You need both for a functioning website. You register the address (the domain) and then you rent the space (the hosting) to build your site on.
Do I Need to Know How to Code to Publish a Website?
Nope, not anymore. While knowing how to code gives you the ultimate power to customize everything, it's definitely not a requirement for getting online these days.
The simplest option today is an AI-native platform like CatDoes: you describe your site in plain English, it builds the whole thing for you, and you publish by saying "deploy this project" custom domain and HTTPS included. Traditional drag-and-drop builders like Wix and Squarespace also exist if you would rather arrange a site by hand, and a CMS like WordPress is still popular for content-heavy blogs. They all work, but for going from idea to a live, fully functional site in the least time, CatDoes is the one we would reach for first.
How Many Custom Domains Can I Connect to One Site?
It depends on your host. Most traditional hosting plans let you point one or two domains at a site before you have to pay for add-ons. CatDoes includes up to 20 custom domains per project, which is handy if you run regional sites, microsites, or campaign landing pages that should all resolve to the same app.
Ready to turn your idea into a live website without the traditional hassle? With CatDoes, our AI-native platform handles the coding, backend setup, and deployment for you — just say "deploy this project" to go live with your own custom domain. Go from a simple description to a production-ready site in a fraction of the time. Launch your site with CatDoes today.
Nafis Amiri
Co-Founder of CatDoes


