Blog
Tutorials
Create an App Without Coding Your Complete Guide
Learn how to create an app without coding using this practical guide. Get actionable steps and real-world tips for building your app from idea to launch.

Nafis Amiri
Co-Founder of CatDoes

Ever sketched an app idea on a napkin, only to hit the wall of not knowing how to code? You're definitely not alone. The fantastic news is that you can create an app without coding thanks to no-code platforms, which are designed to turn your ideas into real, working applications using visual, drag-and-drop tools.
Your Guide to No-Code App Development
The old barriers to creating software have officially come down. Not long ago, building a mobile app meant you needed deep programming knowledge, a ton of time, and a budget that could make your eyes water. That world is gone, replaced by the much more accessible reality of no-code development.
This shift puts the power to build, test, and launch apps directly into the hands of entrepreneurs, designers, and business owners. Instead of staring at lines of code, you’re working with visual editors, ready-made components, and logic builders that feel intuitive.
Think of it like assembling a project with high-tech building blocks. You pick the pieces you need, arrange them exactly how you envision, and define how they work together, all inside a guided, visual environment.
The Rise of No-Code Platforms
This isn't just a small trend for hobbyists; it's a fundamental change in how software gets made. The growth has been explosive, driven by a real need for faster development and tools that more people can actually use. For a deeper dive, there are some great beginner's guides out there that show you how to build an app without code from the ground up.
The infographic below really simplifies the modern app creation journey into three clear stages: sketching the idea, building it visually, and launching it for the world to see.
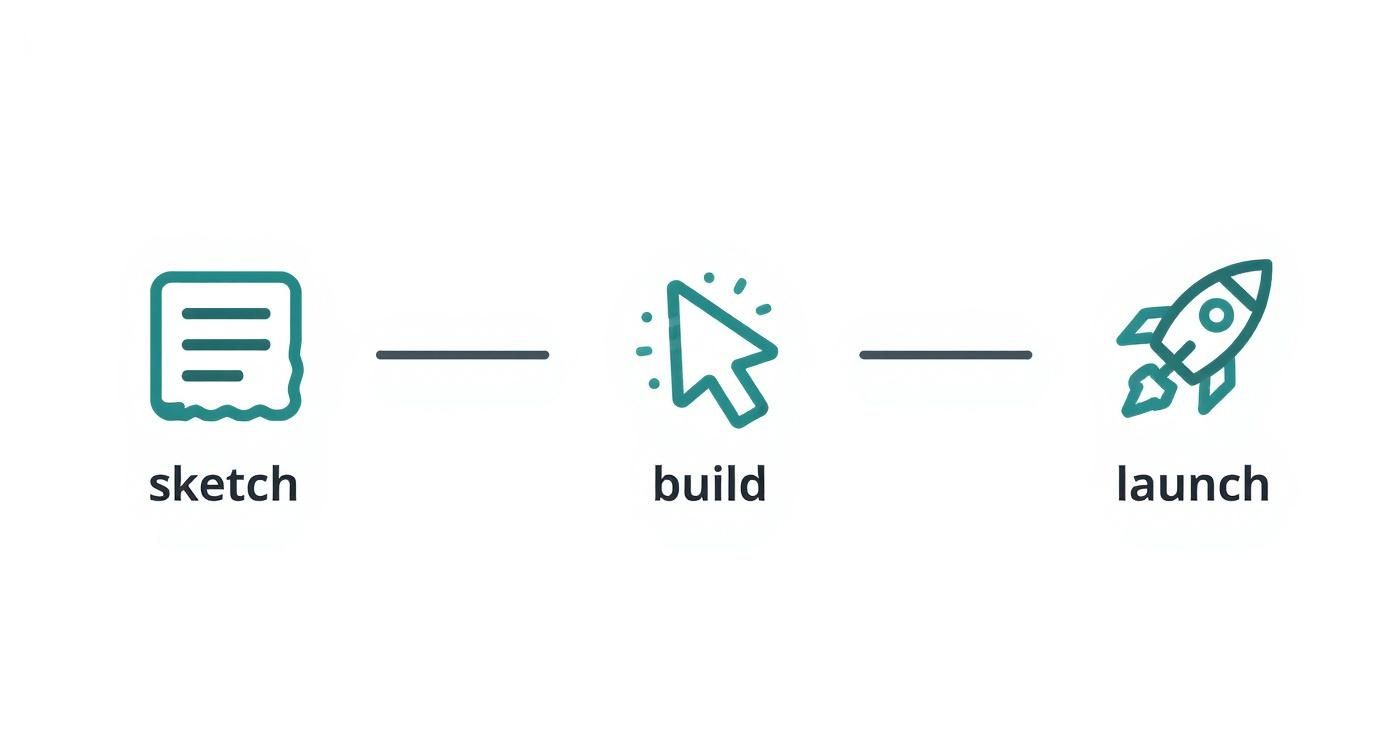
This simple workflow is a perfect illustration of how no-code platforms take a concept and turn it into a real product without getting bogged down by traditional programming hurdles.
Why No-Code Is Gaining Momentum
The momentum behind no-code isn't just hype; it's backed by some powerful numbers. It’s projected that by October 2025, a staggering 70% of new applications will be developed using low-code or no-code tools. That's a massive leap from less than 25% back in 2020, showing just how much businesses are starting to rely on these more efficient ways of building.
To see just how different this approach is, let's compare it to the old way of doing things.
Traditional Coding vs No-Code App Development
Aspect | Traditional Coding | No-Code Platforms (like CatDoes) |
|---|---|---|
Required Skills | Expertise in programming languages (e.g., Swift, Kotlin, JavaScript) | No coding knowledge required; relies on visual drag-and-drop interfaces |
Development Time | Months to years | Days to weeks |
Initial Cost | High, often $50,000+ for a basic app | Low, typically a manageable monthly subscription |
Flexibility for Changes | Slow and costly; requires developer time for even minor tweaks | Fast and easy; founders can make changes themselves in minutes |
Accessibility | Limited to skilled developers and technical teams | Open to entrepreneurs, designers, marketers, and anyone with an idea |
The table makes it clear: no-code isn't just an alternative, it's a game-changer for anyone who wants to build without the traditional roadblocks of time, cost, and technical skill.
The core benefit of no-code is speed. What once took months of engineering can now be prototyped and launched in a matter of days or weeks. This lets you get your idea in front of real users faster than ever before.
This guide will walk you through exactly how platforms like CatDoes make this a reality. We'll cover every step needed to take your vision and turn it into a published app. The journey from a simple idea to a live application has never been more straightforward.
Validating Your App Idea Before You Build
A brilliant app idea is just a starting point. The real difference between an app that takes off and one that quietly fades away often comes down to one crucial phase before you even think about building: validation.
This is the process of proving that your idea actually solves a real problem for a specific group of people, and that they're willing to use your solution. Jumping straight into development without this step is like building a house without a blueprint. You might end up with something, but it's probably not what anyone wanted.
The goal here is to shift your mindset from "I think this is a good idea" to "I know there's a real demand for this." This simple change saves you from wasting time and money on features nobody will ever use. Instead, you get to focus on creating something that directly answers a genuine need.
Pinpoint Your Target Audience
You can't build a successful app for "everyone." The first step in validation is getting laser-focused on who your ideal user is. Forget broad demographics; you need to create a detailed user persona.
A user persona is essentially a fictional character who represents your perfect customer. Give them a name, a job, some goals, and, most importantly, their pain points.
Who are they? Are they small business owners buried in paperwork, busy parents juggling schedules, or students trying to stay organized?
What are their goals? What are they trying to get done in their daily life or at work?
What frustrates them? What specific problems, hassles, or inefficiencies are they facing that your app is designed to fix?
For example, instead of targeting "people who want to be more organized," you might zero in on "freelance graphic designers who struggle to track project hours and client invoices." Getting this specific makes every decision that follows so much clearer.
The more deeply you understand your user's world, the better equipped you will be to build an app that feels indispensable to them. Your app shouldn't just be a tool; it should be their solution.
Define Your Minimum Viable Product
Once you know your user and their problems inside and out, it’s tempting to start brainstorming dozens of cool features. Resist that urge. Your next move is to define your Minimum Viable Product (MVP).
An MVP is the most stripped-down version of your app that solves the core problem for your target users and nothing more. It's about finding the smallest possible thing you can build that delivers real value.
This approach lets you get to market quickly, collect feedback from actual users, and make changes based on what people do, not what you think they'll do. For a closer look, our guide on what is a minimum viable product is a great resource for mastering this concept.
Focusing on an MVP is the smartest way to create an app without coding because it keeps your initial build lean and focused. Before you commit to anything, taking the time to validate your idea is essential. This excellent guide offers practical steps to validate your business idea and avoid common pitfalls. By confirming your idea and defining a sharp MVP, you're not just building an app; you're laying the foundation for a successful one.
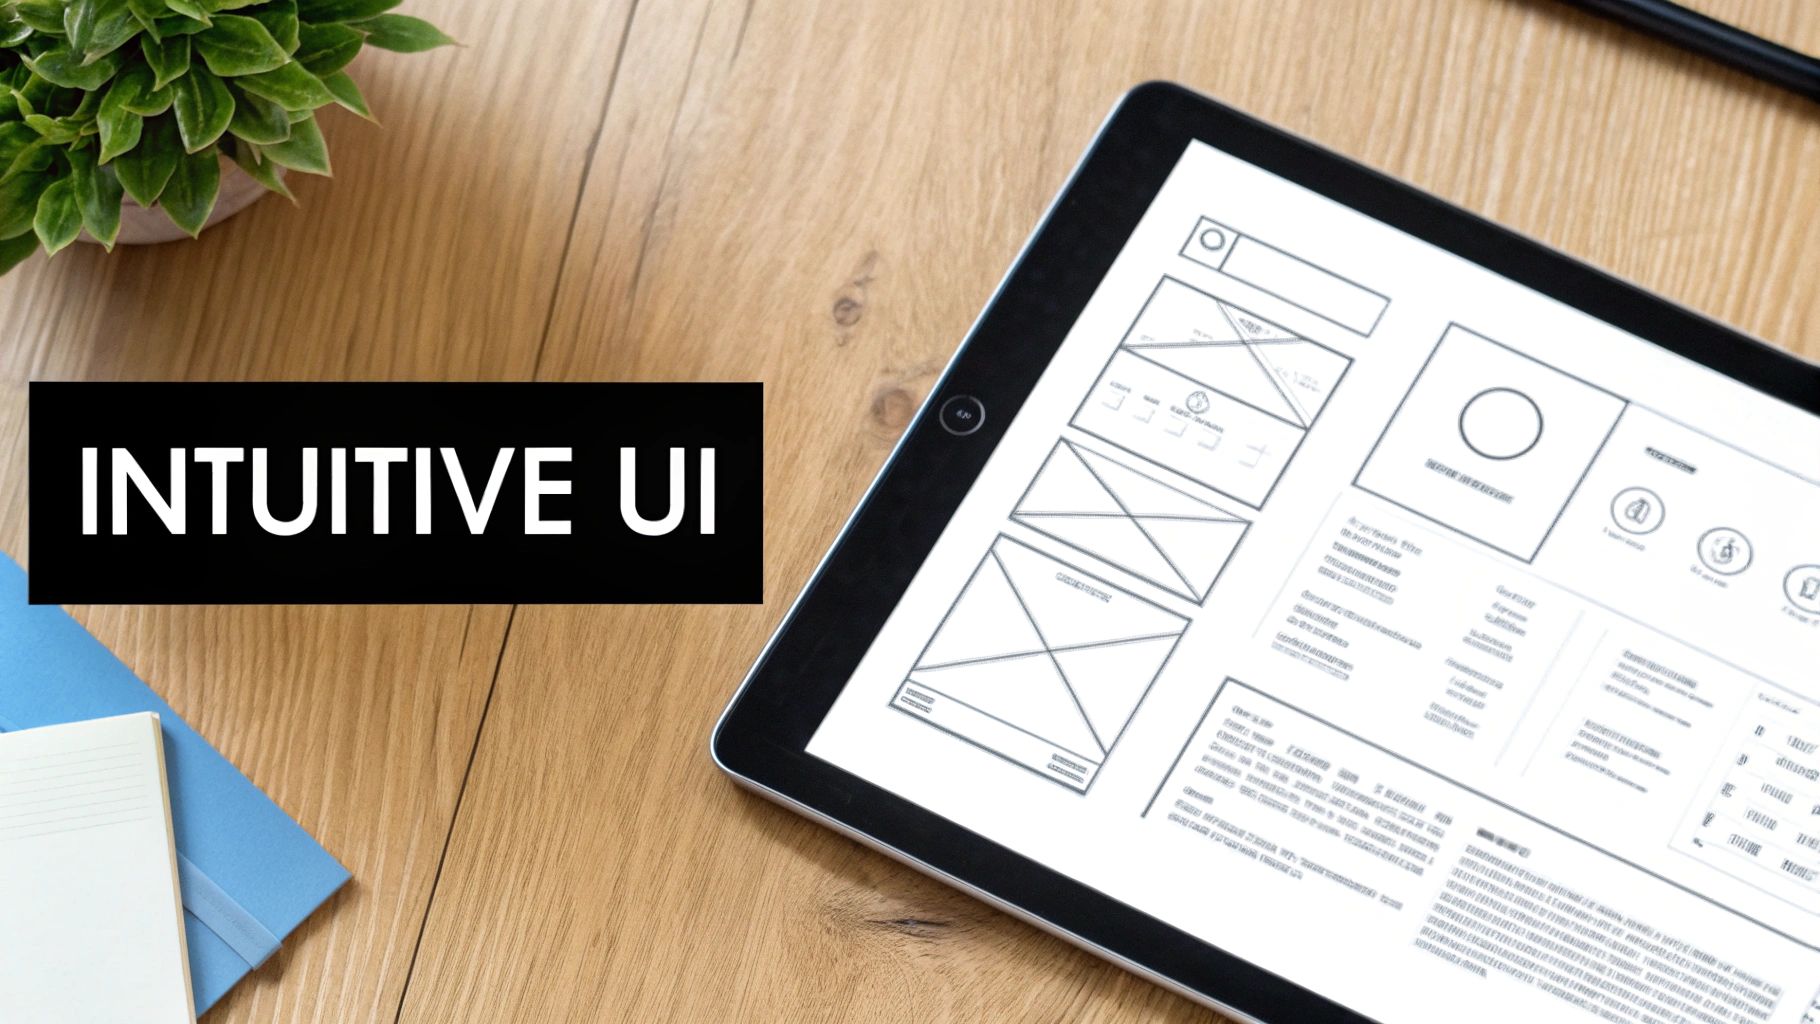
Designing an Intuitive User Interface

Great design is so much more than just making something look pretty. It’s the invisible hand that guides your users, making an app feel effortless, obvious, and even enjoyable. In the world of no-code, you have direct control over these visual elements, so getting a handle on the basics of User Interface (UI) and User Experience (UX) is a game-changer. This is where your validated idea starts to take on a real, tangible shape.
Your first move should always be a wireframe. Think of it as the architectural blueprint for your app, a simple, black-and-white sketch showing where everything goes. Buttons, text blocks, images, all the core components get placed on the screen.
The beauty of a wireframe is its simplicity. It forces you to focus entirely on structure and user flow without getting bogged down by colors or fonts. Can a new user easily find the sign-up button? Is the path to your app's main feature clear? A solid wireframe helps you answer these critical questions right from the start.
Crafting Your Visual Identity
With the app's skeleton in place, it’s time to bring it to life with visual design. When you create an app without coding, this is a make-or-break moment. The right visuals can dramatically shift how users feel about your app and how likely they are to stick around.
Your visual identity really comes down to two key ingredients:
Color Palette: Colors aren't just for decoration; they communicate feelings and direct the eye. A banking app might use blues and greens to build a sense of trust, while a food delivery app could go for warm reds and oranges to feel more inviting. A good rule of thumb is to stick to one primary color, one secondary color, and a neutral for accents.
Typography: The fonts you pick have a huge impact on readability and overall tone. For most apps, a clean sans-serif font like Roboto or Open Sans is a safe bet, as they stay clear and legible on any screen size. Try to use no more than two font families to keep the design feeling cohesive and uncluttered.
If you're looking to go deeper on this, our guide on app design best practices is packed with more detailed tips and examples to help you nail your visual style.
An intuitive interface is one where the user never has to stop and think about what to do next. Good design removes friction and makes the experience feel effortless, which is key to keeping users coming back.
This whole process is where a platform like CatDoes really shines. Instead of starting from a blank canvas, you get access to pre-designed templates and a library of drag-and-drop components. You can play around with different layouts, test color schemes, and swap out fonts in real-time, seeing exactly how your choices affect the final product. The goal is to build an interface that works so smoothly, your users don't even notice it's there.
Building Your App with a No-Code Platform
Okay, this is where the magic happens. All your planning and design work is about to become a real, functioning application. The building phase can sound intimidating, but with a no-code platform like CatDoes, it’s less about complex programming and more like assembling digital LEGOs. You’re simply translating your vision into reality using intuitive, visual tools.
This shift away from traditional coding isn't a small trend. By 2025, a staggering 65% of apps are being built without code, a testament to how effective these platforms have become. The numbers speak for themselves: no-code can deliver a 362% return on investment and cut launch times by as much as 90%. You can read more about the latest no-code market growth statistics to see just how big this movement is.
Setting Up Your App Database
Every app needs a brain, a place to store and manage information. This is your database, and setting it up correctly is the foundation for everything that follows. Forget about complicated servers; a no-code database is more like a super-powered spreadsheet you build visually.
This is where you'll define all the different types of data your app needs to handle. For a simple e-commerce app, this might include:
Users: A place to keep track of names, email addresses, and shipping details.
Products: This would hold everything from product names and images to prices and inventory counts.
Orders: This links a specific user to the products they bought, along with the date and total cost.
Platforms like CatDoes make this incredibly straightforward. You create a "table" for each data type (like "Users") and then add "fields" for each piece of information you need (like "Email"). Thinking this through early saves you from major headaches down the road.
A well-structured database is the backbone of a reliable app. Take the time to map out every piece of information your app will need to save, from user profiles to in-app messages. This initial effort pays off enormously as your app's complexity grows.
Constructing Workflows and App Logic
Once your data has a home, it's time to make your app actually do things. This is where you create the core logic using visual workflow builders. Instead of writing code, you string together sequences of actions that trigger based on what a user does.
Think of it as a simple set of "when this happens, do that" rules.
When a user taps the "Sign Up" button...
Then create a new entry in the "Users" table with the info they provided.
And take them to the main dashboard screen.
This visual approach demystifies what happens behind the scenes. You can build out complex processes, like a multi-step checkout flow or a service booking system, by just linking together predefined actions. If you're new to this, exploring a powerful no-code app builder is the best way to see these visual workflows in action. It transforms the challenge to create an app without coding into a process that's not just possible, but genuinely intuitive.
Testing and Launching Your Application
You've planned, designed, and built your app. The finish line is finally in sight, and it’s tempting to just hit "publish." But a successful launch is all about making a killer first impression. This is where you shift from builder to your app's first and toughest critic.
Thorough testing is what separates a professional app from a hobby project. It’s your last chance to hunt down those weird bugs, smooth out confusing workflows, and make sure everything is rock-solid before it lands in your users' hands. Trust me, skipping this step is one of the biggest mistakes you can make because a buggy first release is a fast track to one-star reviews.
Performing Comprehensive Testing
The first round of testing starts with you. Go through your app and do everything. Click every button, fill out every form, and try to break things. Think like a new user who has no idea how it's supposed to work.
A huge part of this is checking how your app looks and feels on different devices. It might be perfect on your new iPhone, but what about a smaller Android phone or an older tablet? This used to be a massive headache, but no-code platforms like CatDoes let you preview your app across various screen sizes right inside the builder.
Here’s a quick checklist for your personal audit:
Functionality Testing: Does every single feature work as advertised? If you've built an e-commerce app, place an order. Add an item, go to the cart, enter a fake credit card, and complete the checkout. Make sure the whole loop is closed.
Usability Testing: Is the app actually easy to use? This is where you need a fresh pair of eyes. Grab a friend who has never seen your app and ask them to complete a core task without any help from you. Their confusion is your roadmap for improvement.
Performance Testing: How fast does it feel? Sluggish loading times are a notorious app killer. Check that your images are optimized and that your app doesn't hang or stutter, especially on a weaker Wi-Fi connection.
The Power of Beta Testers
Once you’ve squashed the most obvious bugs, it’s time to bring in a small crew of beta testers. These shouldn't be random people; they should be the exact type of users you built the app for in the first place.
Give them access and just ask them to use it naturally. Encourage honest, even blunt, feedback. Every bug they find or confusing screen they point out is a gift.
Don't be afraid of critical feedback. Every bug caught by a beta tester is one less negative review you'll receive after launch. A fresh set of eyes will always see things you've overlooked.
Submitting to the App Stores
Okay, your app is now tested, polished, and ready for the world. The final step is submitting it to the big leagues: the Apple App Store and the Google Play Store.
Each marketplace has its own rulebook and review process. You’ll need to prep your marketing materials, things like screenshots, a compelling app description, the right keywords, and a privacy policy. This used to be a notoriously complex hurdle. Thankfully, platforms like CatDoes now automate huge chunks of the submission process, guiding you through what’s needed and handling the technical heavy lifting.
After you submit, a review team from Apple or Google will take a look to make sure your app meets their quality and safety standards. Once they give you the green light, your app will officially be live.
Frequently Asked Questions About No-Code
Diving into no-code can spark a lot of curiosity. Here, we tackle the questions I hear most often from entrepreneurs and makers aiming to create an app without coding. Let’s clear up the confusion so you can move forward confidently.
How Much Does It Cost To Create An App
Pricing depends on the platform and how complex your app gets. With CatDoes and most no-code tools, you’ll find:
Free Tier: Ideal for prototypes or tiny projects
Basic Paid Plans: More storage, extra features, and higher processing limits
Advanced Plans: Great for growing teams with heavy usage
Compare that to a traditional dev team, where even a simple MVP can run into tens of thousands of dollars. No-code subscriptions generally come in at a fraction of that, making it a far more accessible entry point.
Can I Build Complex Applications
Absolutely. No-code has moved well beyond the simple brochure app. Today’s platforms support:
Intricate Databases: Relate customers, orders, and inventory just like a custom backend
Secure User Authentication: Set up login flows, password resets, and profile management
Payment Processing: Connect to Stripe or PayPal for in-app purchases
API Integrations: Pull in data from external services or push updates elsewhere
“The real power of no-code is its ability to handle 95% of common app functionalities out of the box. This lets you focus your energy on your unique idea rather than reinventing the wheel on standard features.”
What Are The Main Limitations
No-code makes most ideas work, but it has trade-offs:
Platform Dependency: You’re tied to the features and integrations your chosen provider supports.
Customization Constraints: You can’t inject arbitrary code if the platform doesn’t allow it.
Scalability Challenges: Apps with millions of simultaneous users or highly specialized workloads may eventually need a custom backend.
For the vast majority of projects, especially early-stage ventures, these limits rarely slow you down.
Do I Own The App I Build
Yes, you own your app’s intellectual property:
Your Design & Branding: All the screens, logos, and custom content are yours.
Your User Data: You collect and control it.
Your Unique Logic: Any workflows or automations you configure.
Under the hood, however, the platform’s source code and infrastructure remain with the no-code provider. You’re effectively licensing their engine, which also means you benefit from continuous updates and security patches without hiring a dev team.
Ready to stop planning and start building? With CatDoes, you can turn your app idea into a functional, production-ready application using simple, natural language. Our AI agents handle the design, logic, and even the app store submission process for you.
Create your free app with CatDoes today and bring your vision to life.
Nafis Amiri
Co-Founder of CatDoes


