Blog
Tutorials
How to Build an iPhone App in 2026
Learn how to build an iPhone app from your initial idea to App Store launch. This 2026 guide covers planning, design, AI development, and post-launch growth.

Nafis Amiri
Co-Founder of CatDoes

You have an idea for an iPhone app — but what's the fastest way to actually build an iPhone app and get it live on the App Store?
It used to take months of coding and tens of thousands of dollars. That's no longer true. AI-powered platforms now let anyone build, test, and ship a real app without writing code.
I've watched first-time founders go from a rough idea to a published App Store listing in under a week using this workflow.
This guide walks you through the entire process: planning, designing, building with AI, testing, submitting to the App Store, and growing after launch.
Key Takeaways
You don't need coding skills or a big budget to build an iPhone app in 2026 — AI platforms handle the code, design, and backend for you.
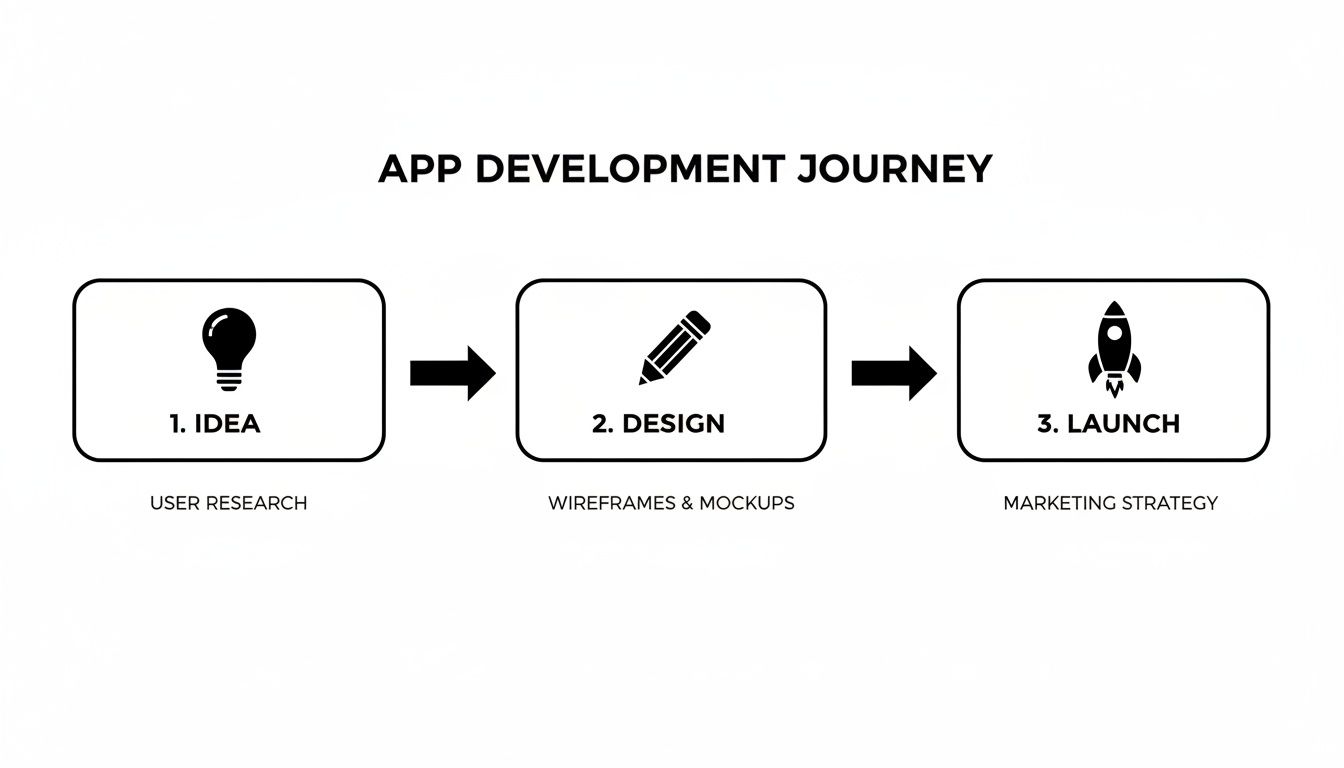
The process follows five clear steps: define your idea, design the UI, build with AI agents, test and submit to the App Store, then grow.
A working MVP can be ready in days instead of months, at a fraction of the traditional cost.
Table of Contents
The App Store Opportunity in 2026
Step 1 — Define Your App and Its Core Purpose
Step 2 — Design an Intuitive UI and UX for iOS
Step 3 — Build Your App with AI-Assisted Development
Step 4 — Test and Submit to the App Store
Step 5 — Grow After Launch
FAQ
The App Store Opportunity in 2026
The iOS ecosystem remains one of the most profitable platforms for app creators. The App Store launched in 2008 with just 500 apps. Today it hosts nearly 2 million apps, with roughly 1,600 new ones added every day.
iOS holds about 53% of the US mobile market and has historically captured around 75% of all global app spending. The audience is large, engaged, and willing to pay for good software.
What's changed is how you can reach that audience. Traditional app development required a team of developers, designers, and project managers — costing $50,000 to $250,000 and taking 6 to 12 months. AI-powered platforms have collapsed those barriers.
Traditional vs. AI-Powered Development
Aspect | Traditional Development | AI-Powered Platform (e.g., CatDoes) |
|---|---|---|
Expertise Needed | Team of developers, designers, project managers | Your idea described in plain English |
Typical Timeline | 6 to 12+ months | Days to weeks |
Upfront Cost | $50,000 to $250,000+ | Low monthly subscription |
Iteration Speed | Slow — changes require new dev cycles | Instant — refine with a conversation |
Financial Risk | High — huge investment before validation | Low — prove your concept before scaling |
The old barriers — time, money, and technical skill — have been almost entirely removed. If you want to explore your options, we put together a guide on the 12 best free app builders available right now.
Step 1 — Define Your App and Its Core Purpose
Every successful iPhone app starts with a clear plan, not code. Before building anything, you need to nail down what your app does and who it serves. Skipping this step is the fastest way to waste weeks building features nobody wants.
Start with a quick competitive scan. Search the App Store for apps similar to your idea. Download the top three and read their reviews.
Look for patterns in the complaints. Those gaps are where your opportunity lives.
This is how you find your unique value proposition (UVP) — the one thing your app does better than everything else on the market. It's the answer to: "Why should I download your app instead of the other ten that look just like it?"
Build a User Persona
Once you know what makes your app different, figure out who you're building it for. Create a quick user persona — a fictional sketch of your ideal customer.
For example, if you're building a meal-planning app, your persona might be:
Name: Busy Brian, 35, Project Manager
Goal: Cook healthy, quick meals for his family
Frustration: Wastes time deciding what to cook and writing grocery lists, then gives up and orders expensive takeout
Every feature you consider should pass one test: "Does this actually help Brian solve his problem?" If not, it doesn't belong in your first version.
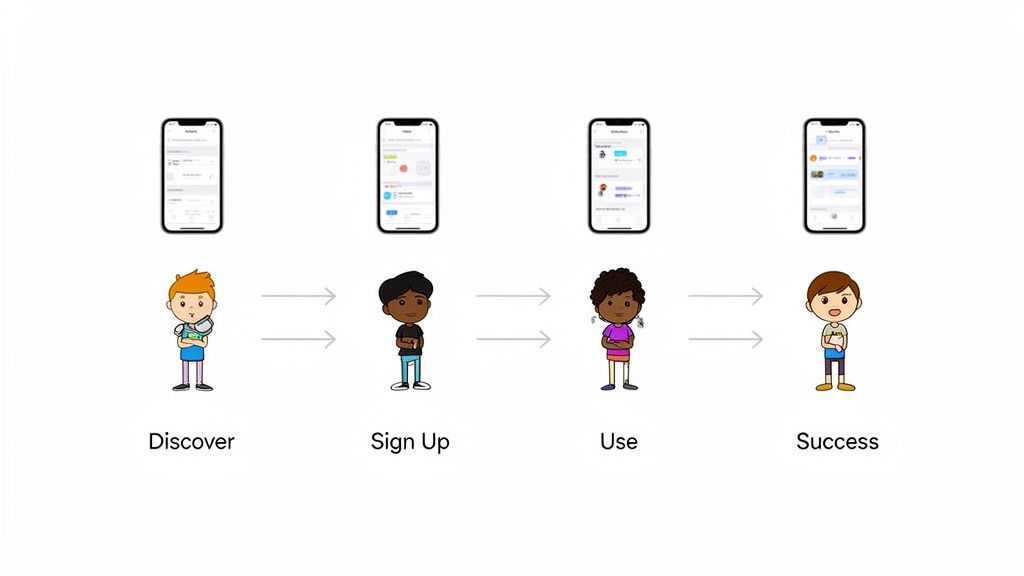
Map the User Journey
With your persona in hand, map the exact path a user takes through your app. For Brian, that might look like:
Onboarding: Signs up and sets dietary preferences
Discovery: Browses recipes, filtering for "under 30 minutes"
Action: Picks three meals for the week
Goal Completion: App generates a grocery list, sorted by aisle
Mapping this flow early helps you spot friction before anything is built. Is the signup too long? Are the filters hard to find?
Fixing these now saves costly redesigns later.
Use AI to Accelerate Planning
Traditionally, this planning phase takes weeks of brainstorming and messy documents. AI-powered platforms speed this up dramatically.
CatDoes, for example, has an AI Requirements agent that acts like an experienced product manager. It asks you targeted questions about your idea, your users, and your goals, then structures your answers into an actionable blueprint. When I tested this on a fitness app concept, it surfaced three requirements I'd completely missed — push notification preferences, offline mode for gym use, and rest-day scheduling.
Step 2 — Design an Intuitive UI and UX for iOS
The best features are useless if your app is painful to navigate. Users have zero patience for confusing interfaces, and an iPhone app that succeeds on the App Store needs to feel as good as it looks.
Think of UI as the visual layer — buttons, text, colors. UX is the overall journey — how logical and effortless it feels to move from one screen to the next.
Follow Apple's Human Interface Guidelines
Apple's Human Interface Guidelines (HIG) are more than a rulebook — they're a design philosophy. Following them makes your app feel instantly familiar to iPhone users, which drastically cuts the learning curve.
The HIG comes down to three core ideas:
Clarity: Every element has an obvious purpose. Text is readable, icons are self-explanatory.
Deference: The interface supports the content rather than competing with it.
Depth: Visual layers and subtle motion create hierarchy, helping users orient themselves without thinking.
When your app respects these principles, it feels like a natural extension of the iPhone. Users already know how to use it because it behaves like the apps they love.
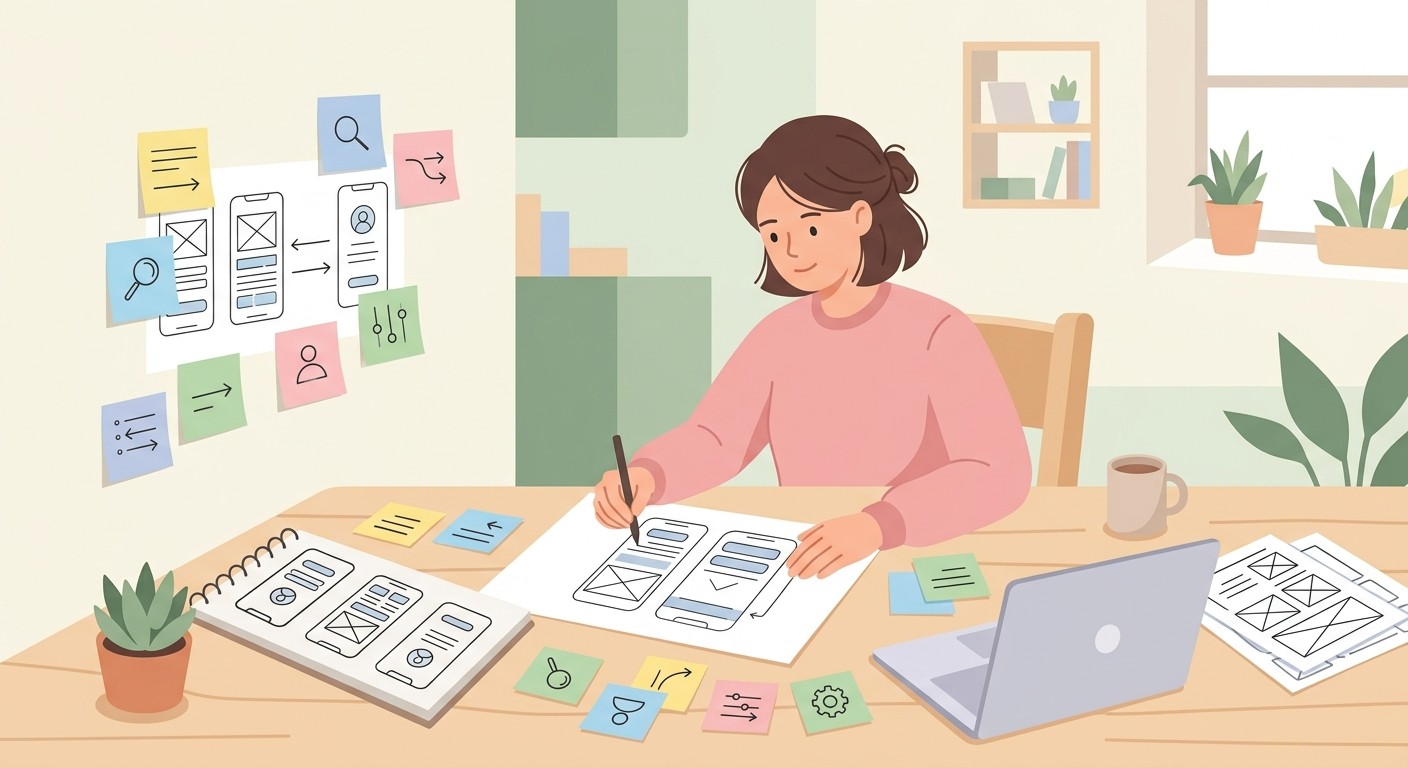
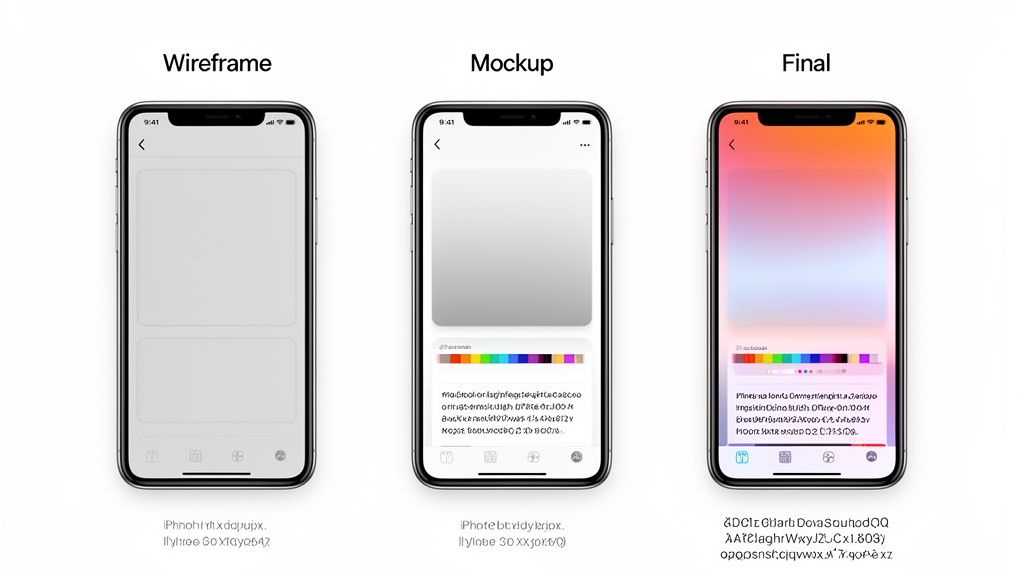
From Wireframes to Polished Mockups
Great design starts with wireframes — bare-bones, black-and-white layouts that map where elements go and how users flow through the app. No colors, no fonts, just structure.
Once the structure feels right, you move to mockups. This is where you bring your brand to life with a cohesive color palette, readable typography, and a clear visual hierarchy. The wireframe-to-mockup progression lets you solve structural problems first, get feedback, and then commit to visual polish.
AI-Powered Design Tools
Creating polished mockups used to require deep expertise in Figma or Sketch. AI has lowered that barrier significantly. In CatDoes, you can describe what you want in plain English — "Generate a calming, minimalist theme for a meditation app using shades of blue and green" — and the AI produces a cohesive design system with color palette, fonts, and component styles in minutes.
This lets you focus on the user flow and functionality while the AI handles visual execution. If you want a deeper dive, see our guide on how to design an app for iPhone.
Step 3 — Build Your App with AI-Assisted Development
This is where planning and design become a working product. The traditional approach — painstakingly coding every screen from scratch — is being replaced by a faster workflow that combines proven frameworks with AI automation.
Here's a quick look at what CatDoes can do:
Why React Native and Expo Work Well
For building an iPhone app without getting bogged down in technical complexity, React Native with Expo is a strong choice. The key advantage: you build for both iOS and Android from a single codebase.
For founders and small teams, this means one project instead of two — saving significant time and money. Expo handles the tricky configuration and build steps, so you can focus on features that matter to your users.
How AI Software Agents Build Your App
The real speed advantage in 2026 comes from AI-native platforms. Instead of using AI as a coding assistant that suggests snippets, platforms like CatDoes deploy specialized software agents that handle entire features end-to-end.
You describe what you want in plain English:
"Create a home screen that shows a list of upcoming tasks. Each task should have a title, a due date, and a checkbox. Let users tap a task to see more details."
The AI agent interprets this, generates the UI components, and implements the underlying logic. Your role shifts from coder to architect — you define the "what" and "why," and the AI handles the "how."
Backend Setup Without Backend Engineers
A great app needs more than a pretty frontend. It needs a backend for data, user accounts, and server-side logic. Traditionally, this meant hiring specialized engineers and adding significant complexity.
On CatDoes, AI agents configure a complete backend on CatDoes Cloud based on your instructions:
User Authentication: Secure sign-up and login with email, Google, or Apple
Database Setup: Tables created based on your data model (e.g., "users" and "tasks" for a to-do app)
Cloud Functions: Server-side logic like sending a welcome email on signup, without touching a server
This integrated approach eliminates the need to piece together separate cloud services. The AI sets up the backend so your frontend works seamlessly. For more on this approach, see our guide to the best AI app builders.
Step 4 — Test and Submit to the App Store
You've designed and built your app, but don't skip this step. Testing and submission are what turn a side project into a professional product people can actually download. A buggy launch can kill your app's reputation on day one.
Test Thoroughly Before Submitting
Testing means more than checking that your app doesn't crash. You need to verify the entire experience is smooth and polished from multiple angles:
Unit Tests: Automated checks on individual functions and components — making sure each brick is solid before building the wall.
End-to-End (E2E) Testing: Simulate complete user journeys — signing up, adding items, completing a purchase — to catch flow-level bugs.
Simulators work for quick checks during development, but they can't replicate real-world conditions like a weak cell signal, an incoming phone call, or the quirks of a specific iPhone model. Testing on a physical iPhone is non-negotiable before submission.
Prepare Your App Store Listing
Submitting to the App Store is more than uploading a file. You're creating a storefront that needs to convince people to tap "Get."
First, you'll need an Apple Developer Account ($99/year). Then prepare your listing:
App Name and Subtitle: Memorable name, subtitle that explains what your app does in a few words
Screenshots: Show your app in action, highlighting the best features and cleanest UI
App Preview Video: A short, punchy demo of your app's value — optional but highly effective
Description: Focus on the problem you solve, not just features
Navigate Apple's Review Process
After submission, Apple's review team downloads and tests your app for compliance with their quality, security, and content guidelines. Reviews typically take 24 to 48 hours but can take longer if they find issues.
Common rejection reasons include bugs, crashes, misleading descriptions, or guideline violations. A well-tested, polished app is your best defense.
Platforms like CatDoes can streamline this further with a build agent that generates proper builds and pushes directly to TestFlight — Apple's beta testing platform. Getting a small group of beta testers on TestFlight before your final submission is a reliable way to catch last-minute issues.
Step 5 — Grow After Launch
Getting onto the App Store is a milestone, not the finish line. Success in a crowded market depends on what you do after launch — tracking analytics, listening to users, and optimizing discoverability.
Track Analytics and Iterate
Start with Apple's built-in App Analytics. Track daily active users, session length, and which features people actually use. These numbers show you what's working and what's being ignored.
Then listen to your users directly. Read every App Store review, answer support emails, and engage on social media.
When you spot a popular feature request or a repeated frustration, act on it. With CatDoes, you can describe changes in plain English and ship improvements quickly.
Optimize for App Store Search
App Store Optimization (ASO) is SEO for the App Store. It's the art of optimizing your app's name, keywords, and description to rank higher in search results and drive organic downloads.
Small tweaks to keywords and screenshots can lead to significant spikes in visibility. This is an ongoing process — revisit your ASO strategy monthly as you learn which search terms actually drive installs.
Monetization matters too. iPhone app subscriptions represent a massive and growing revenue stream, and iOS users have historically driven the majority of global app spending. Features like App Clips — which let users access your app's functionality instantly — can give you an edge in both acquisition and conversion.
FAQ
How Much Does It Cost to Build an iPhone App in 2026?
Traditional development with an agency or freelance team typically costs $25,000 to $250,000+, depending on complexity. AI-native platforms have changed the economics — you can build and launch with a free tier or an affordable monthly subscription (CatDoes plans start at $20/month). The Apple Developer Account adds $99/year.
Do I Need to Know How to Code?
No. While building from scratch still requires languages like Swift or Kotlin, AI-powered platforms let you describe your app's features in plain English. Specialized AI agents generate the code, design, and backend configuration for you.
Coding knowledge helps if you want fine-grained control, but it's no longer a prerequisite.
How Long Does It Take to Get an App on the App Store?
Traditional development takes 4 to 9 months for a first version. With an AI-powered platform, you can build and test a working MVP in days to weeks.
Once submitted, Apple's review process typically takes 24 to 48 hours. The main cause of delays is bugs or guideline violations — using a platform with automated build tools helps ensure compliance from the start.
Ready to start building? With CatDoes, describe your app in plain English and let AI agents handle the design, code, and deployment. Start building your iPhone app for free today.
Nafis Amiri
Co-Founder of CatDoes


