Blog
Tutorials
How to Create a Web App from Idea to Launch
Learn how to create a web app with our end-to-end guide. Discover actionable steps for planning, designing, building, testing, and deploying your app.

Nafis Amiri
Co-Founder of CatDoes

Creating a web app doesn't require years of coding experience or a massive budget. With the right approach, you can go from a raw idea to a live, functional product in weeks. This guide walks you through every stage of how to create a web app: planning, designing, building, testing, and deploying.
TL;DR
To create a web app, start with a clear blueprint that defines your target users and core MVP features. Design the experience with wireframes and mockups, then build using a modern frontend framework and a Backend-as-a-Service provider. Test on real devices, deploy with an automated pipeline, and iterate based on user feedback. AI-assisted platforms like CatDoes can compress the entire process from months to weeks.
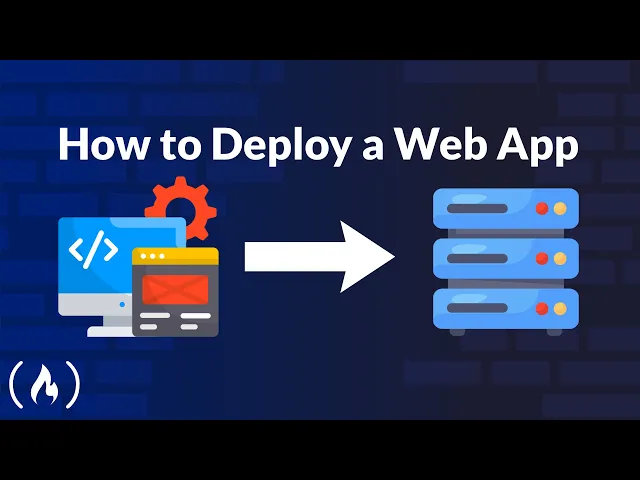
Video summary: How to Deploy a Web App (freeCodeCamp, 58 min)
0:00 Introduction to web app deployment methods with Kerollos Magdy, software engineer at Microsoft.
1:13 Deploying a full-stack app (Examzzz) on Render: setting up PostgreSQL, configuring a Node.js backend, and deploying a static frontend.
10:42 Deploying a second app using MongoDB Atlas for the database, Koyeb for the backend, and Cloudflare Pages for the frontend.
15:19 Setting up third-party services: Mailersend for email and Imagehippo for image uploads.
26:12 Full integration test: sign-up, email verification, login, and image upload across all deployed services.
28:39 Deploying a full-stack app on an Azure Virtual Machine: provisioning, SSH access, Node.js setup with FNM, and PM2 process management.
Table of Contents
Translating Your Idea into a Practical Blueprint
Designing an Intuitive User-Centric Experience
Building Your App with a Modern Tech Stack
Testing for a Flawless Launch
Deploying Your Web App
Common Questions About Creating a Web App
Translating Your Idea into a Practical Blueprint
Before you can even think about tech stacks or deployment, you need a solid blueprint. This initial stage is all about translating a raw thought into a structured, actionable plan. Get this right, and you're building something people might actually use.
First things first: who are you building this for, and what specific problem does it solve for them?
Getting clear on these questions saves you from the classic mistake of building a solution in search of a problem. Your user's pain points will guide every decision you make, from picking features to designing the interface. If you don't know who you're building for, you can't build a successful product. For a deeper dive, check out our guide on how to validate a business idea.
Defining Your Core Features
Once your problem-solution fit is clear, it's time to define the core features for your Minimum Viable Product (MVP). An MVP isn't a half-baked app. It's the simplest version of your product that solves the core problem for your first users, allowing you to gather real feedback for what to build next.
It's tempting to want to build everything at once. Resist that urge. Focus only on the essential functions that directly address the user's primary need. So many projects get bogged down by "feature creep," which bloats timelines, budgets, and complexity.
Your MVP should be a scalpel, not a Swiss Army knife. List every feature you can imagine, then be ruthless about cutting it down to the absolute must-haves for version one. This tight focus gets you to market faster, helps you learn from actual user behavior, and allows you to iterate based on data, not just assumptions.
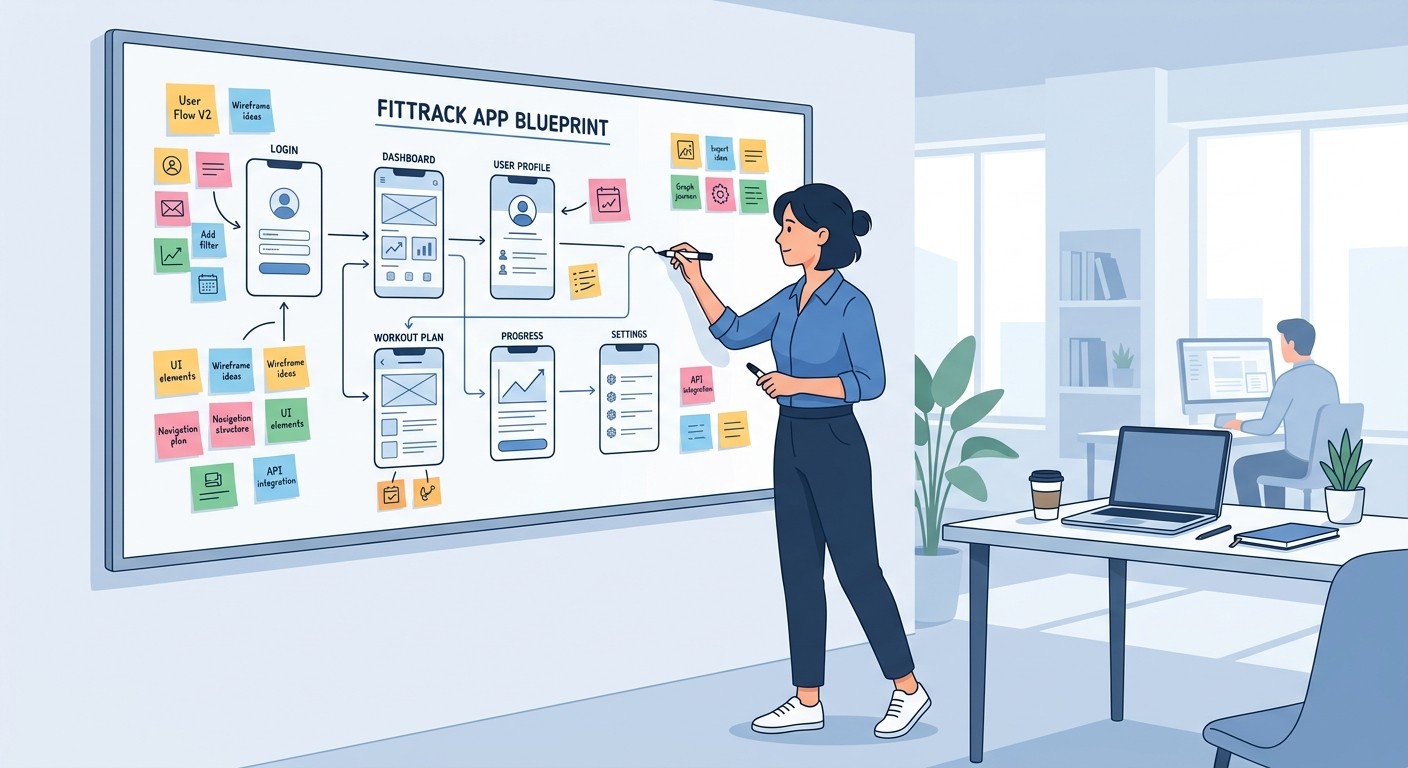
Mapping the User Journey
With your MVP features locked in, you can start mapping out user flows. A user flow is a simple, visual path a person takes through your app to get something done, from their first click to their final action.
For an e-commerce app, this might be the journey from searching for a product to completing the checkout. This exercise forces you to think from your user's perspective, making sure the entire experience feels logical and intuitive from start to finish.
This is also where you start to see how much time and effort your project will take. Traditionally, building even a simple web app was a multi-month affair. But that's changing fast.
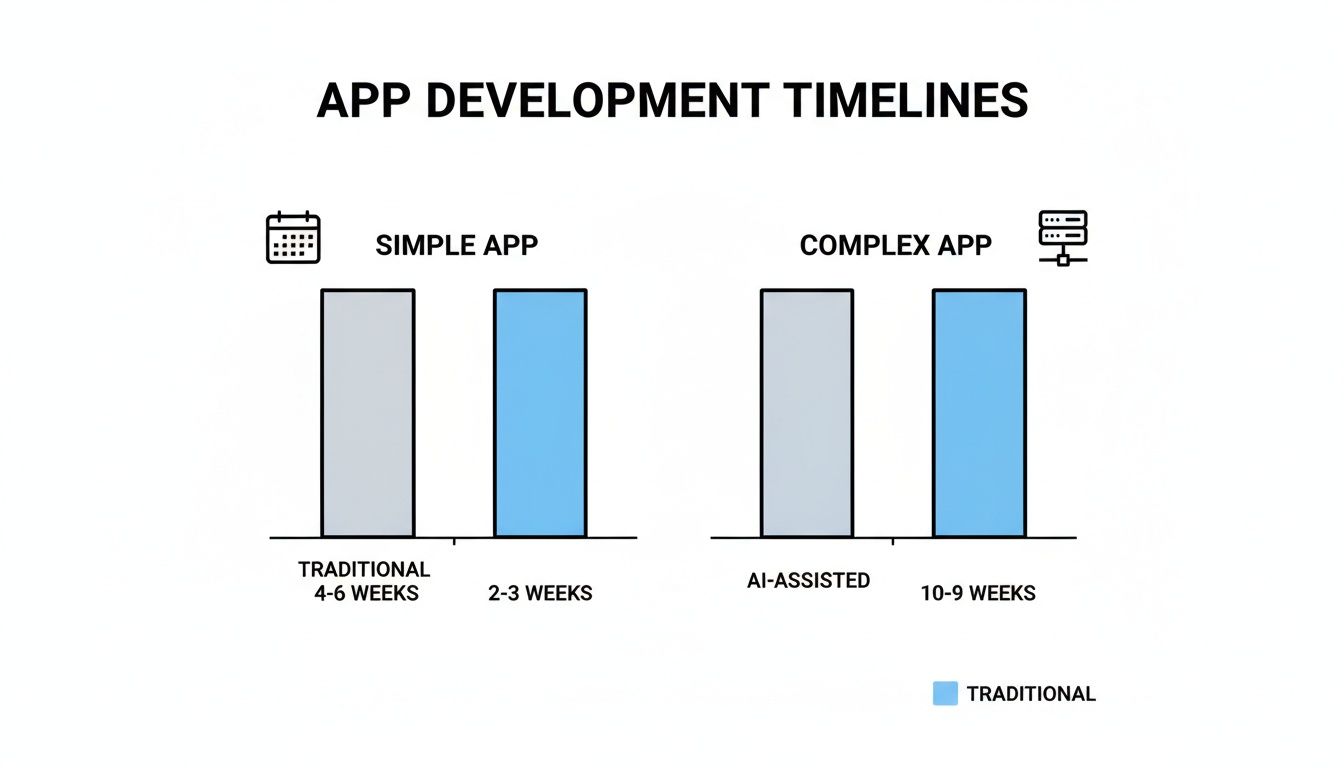
Traditional vs AI-Assisted Development Timelines
As you map out your app, it's helpful to get a realistic sense of timelines for creating a web app. Here's a look at how long it typically takes with the traditional approach versus using modern AI-assisted platforms like CatDoes.
App Complexity | Traditional Timeline | AI-Assisted Timeline |
|---|---|---|
Simple App (e.g., portfolio, basic CRUD) | 2-4 Months | 1-3 Weeks |
Medium App (e.g., e-commerce, social features) | 4-8 Months | 1-2 Months |
Complex App (e.g., custom marketplace, SaaS) | 8-12+ Months | 3-5 Months |
The takeaway is clear: AI-powered tools are dramatically shrinking the time it takes to get from a blueprint to a launched product, often cutting development cycles by more than half.
The market for web applications is projected to hit $167.1 billion by 2030, driven by the demand for faster, more efficient ways to build. While a traditional path can take 2-3 months for even a basic app, AI platforms are making it possible to launch in weeks.
Designing an Intuitive User-Centric Experience

With a solid plan in hand, it's time to move from abstract ideas to concrete visuals. This is where you design an experience that feels intuitive and engaging, defining how your web app will look, feel, and function.
A great user experience is what separates an app that gets used once from one that becomes a daily habit.
The journey starts with wireframes. These are simple, low-fidelity blueprints that focus on layout, hierarchy, and navigation, with no colors or fonts yet. Think of them as floor plans for your app. They help you answer key usability questions before you ever touch a pixel.
Crafting the Visual Identity
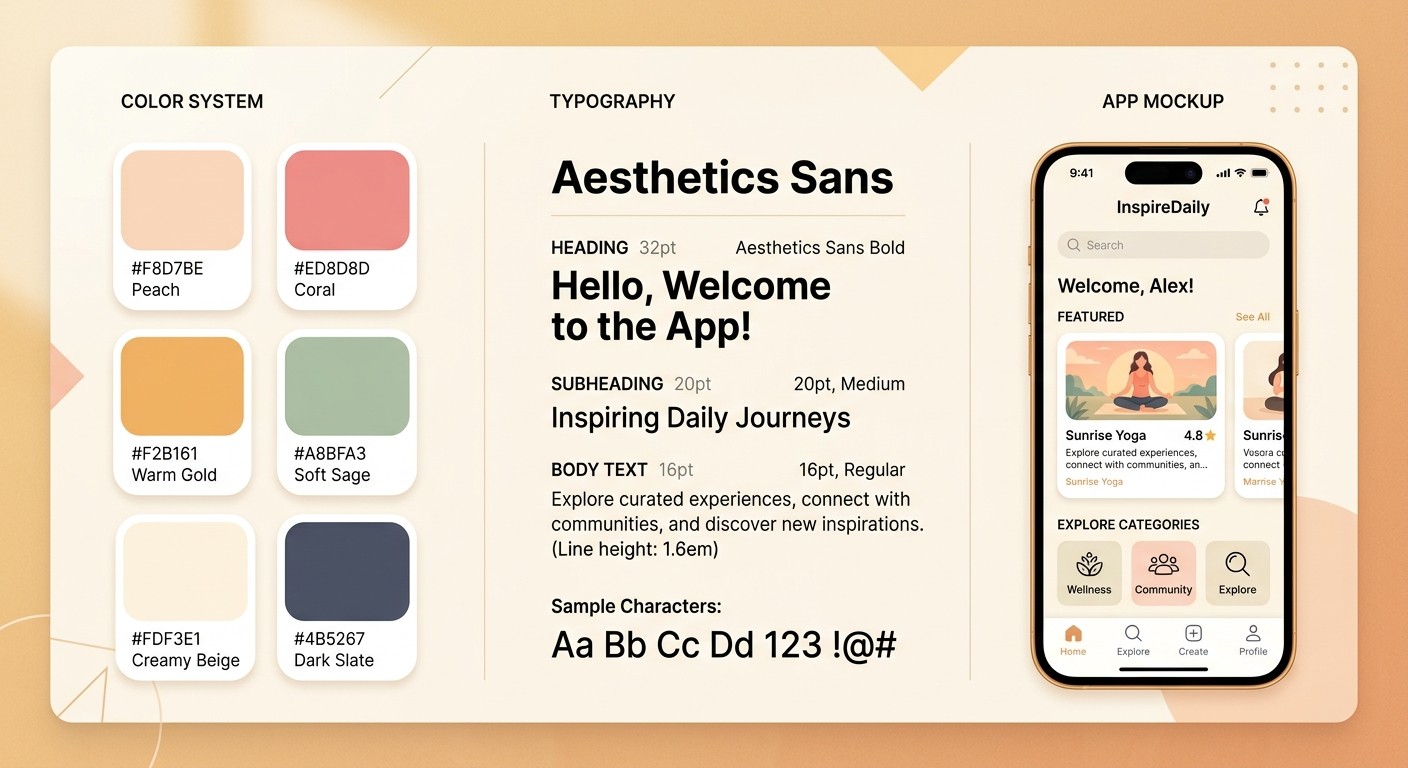
Once the wireframe provides a solid skeleton, you can start building the visual identity with UI mockups. This is where your app truly begins to show its personality. Mockups are high-fidelity designs that represent the final look of your application.
This stage involves defining the key visual elements that create a cohesive and memorable experience.
Color Palette: Choose colors that reflect your brand and evoke the right emotions. A finance app might use blues and greens to signal trust, while a creative tool might opt for a more vibrant palette.
Typography: Select fonts that are legible and align with your app's tone. The right typography makes content easy to consume and enhances the overall aesthetic.
Branding Elements: Integrate your logo and other brand assets consistently across every screen. This builds recognition and trust with your users.
To get a deeper understanding of this process, exploring some established app design best practices can give you valuable insights for creating a professional and polished interface.
Simulating the Experience with Prototypes
The final step before coding begins is prototyping. A prototype is an interactive simulation of your web app that lets you click through screens and test user flows just like a real user would. This is your best tool for gathering early, honest feedback.
Put a prototype in front of real users and watch what happens. You'll spot confusing navigation, awkward workflows, and unclear labels fast. This feedback loop is invaluable for refining the design before any code is written. The web design market is projected to hit $100 billion by 2031 because businesses know a polished experience is non-negotiable.
This workflow can feel daunting if you're not a designer. CatDoes can speed things up a lot. Its Designer agent builds full themes, color palettes, and interfaces from your brief. You focus on the big picture while the tool handles design software.
Building Your App with a Modern Tech Stack
You've got a solid plan and a design that feels right. Now it's time to bring your vision to life by translating it into a functional application. This is the development phase, where you build the two halves of your web app: the frontend and the backend.
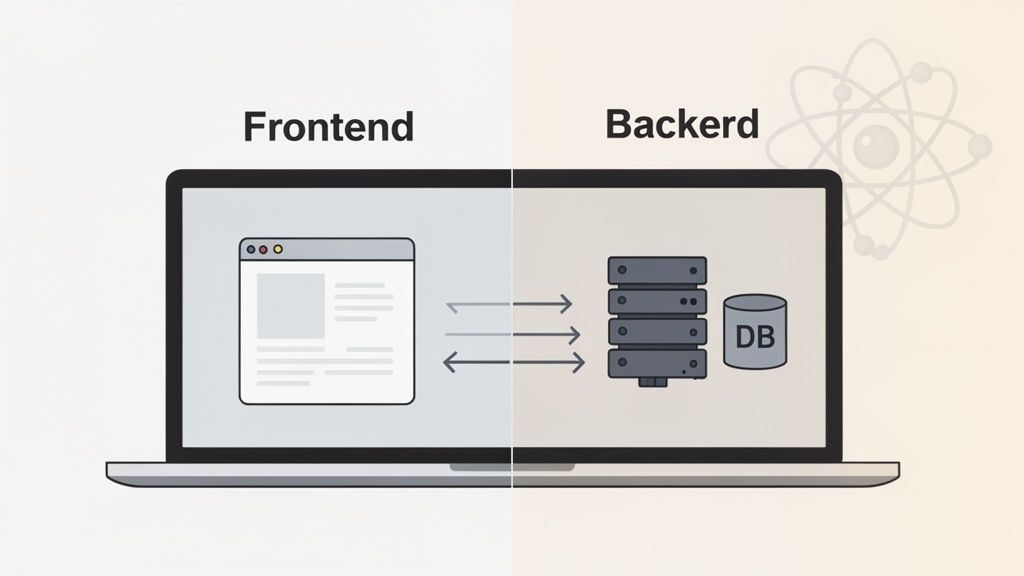
The frontend is everything your users see and touch in their browser. It's the visual layer built from your wireframes and mockups: the buttons they click, the forms they fill out, and the content they read.
The backend is the engine running under the hood. This includes the server, database, and all the application logic that makes the frontend work. When a user signs up or saves data, the backend processes and stores that information securely.
Assembling the Frontend

Building an engaging frontend means using technologies that can create dynamic, responsive interfaces. This is where modern JavaScript frameworks come in.
Today, React is the tool of choice for 43% of developers building dynamic websites. Its component-based architecture lets you build reusable UI elements, which makes development faster and more organized. Instead of coding a button from scratch every single time, you create one reusable button component and drop it in wherever you need it.
This approach doesn't just speed up the initial build. It also makes future updates simple. Need to change your brand colors? Just update a single component, and the change will ripple through your entire app.
Powering the Backend
The backend is where your app's core logic lives. Traditionally, this meant setting up a server, configuring a database from scratch, and writing endless code to handle everything from user authentication to data management. It's a complex and time-consuming process.
Modern solutions have simplified this dramatically. A Backend-as-a-Service (BaaS) provider handles all that server-side heavy lifting for you. Services like Supabase offer a whole suite of essential backend tools right out of the box.
Database: A ready-to-use, scalable database to store your application data.
Authentication: Pre-built functionality for user sign-up, login, and password management.
Serverless Functions: The ability to run backend code without ever thinking about managing a server.
Using a BaaS solution lets you focus on building features that are unique to your app instead of getting bogged down in server infrastructure. You can learn more about this approach by reading our guide on what is Backend as a Service.
Choosing the right tech stack isn't about finding the "best" technology. It's about finding the most efficient path to deliver value to your users. A modern stack prioritizes speed, scalability, and maintainability.
The AI-First Development Shift
The world of web app development is changing fast. The days of spending months on manual coding are being replaced by a much more efficient, AI-driven approach. AI tools are tripling developer productivity, making "AI-first development" the new standard for getting things done.
The low-code platform market, valued at $28.75 billion last year, is projected to reach $264 billion by 2032. This explosive growth shows just how much the industry is moving toward tools that handle the complexity for you. You can get more insights on these evolving web development trends.
This is where CatDoes fits in. Its AI agents handle the entire process from start to finish. Software agents build your business logic using React Native Expo, creating a cross-platform frontend from your brief. With optional Supabase integration, CatDoes generates a complete backend too: database, auth, and server functions, all set up for you.
Testing for a Flawless Launch
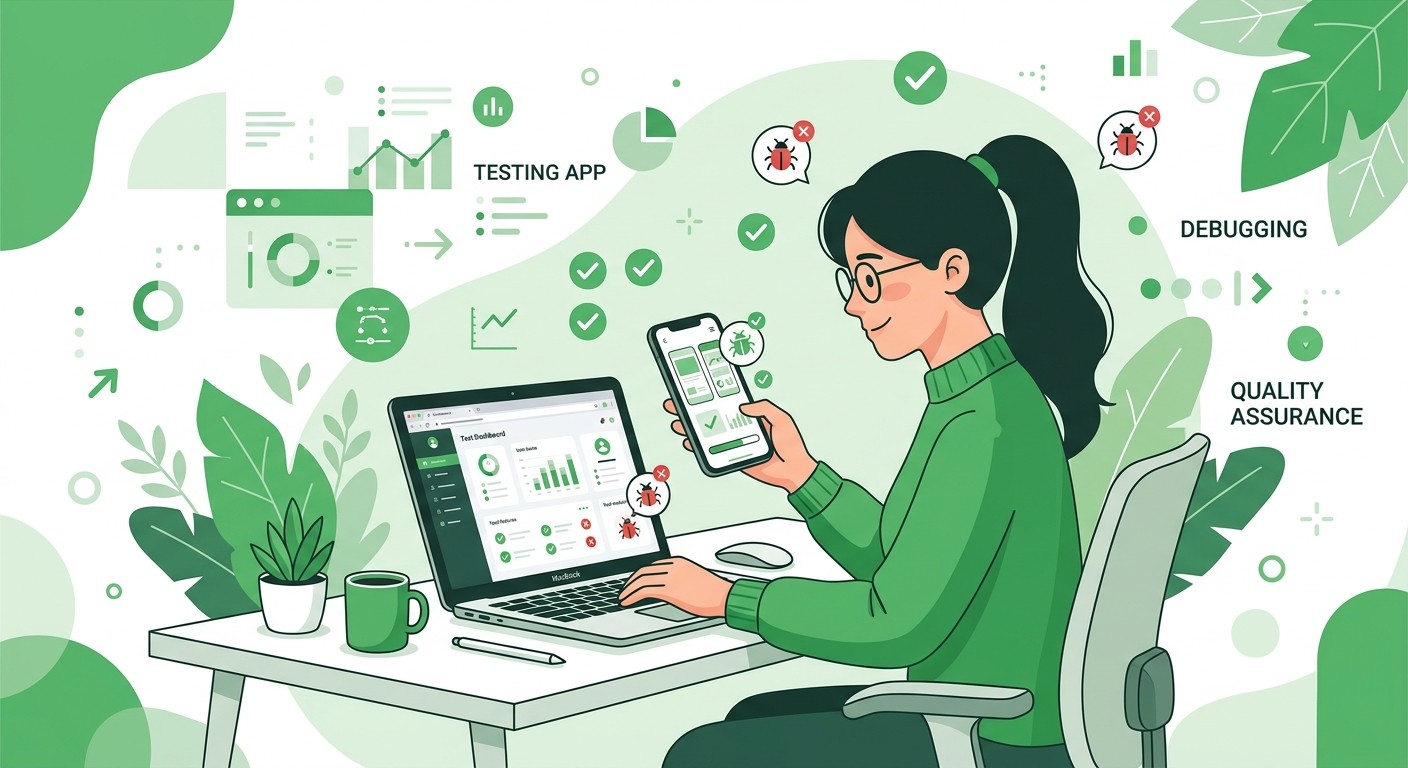
After all the planning, designing, and building, it's tempting to just hit "deploy" and cross the finish line. But this is the exact moment where great apps separate themselves from the rest. Thorough testing catches all the weird bugs and frustrating quirks before your users do.
Core Testing Strategies for Web Apps
To create a web app that's truly ready for users, you need to look at it from a few different angles. Each type of testing uncovers a unique set of problems, and together, they build a solid foundation.
Functionality Testing: Does everything actually work? Click every button, submit every form, and run through every conceivable user journey to make sure the app behaves exactly as designed.
Usability Testing: An app can be perfectly functional but completely unusable. Watch real people try to use your app. Do they get stuck signing up? Can they find that one key feature?
Performance Testing: How fast do your pages load? A study found that 47% of consumers expect a website to load in two seconds or less. If your app is sluggish, you're losing people.
Compatibility Testing: Your app needs to look and feel great on Chrome, Safari, Firefox, on a laptop, a tablet, and a phone. This ensures a consistent experience no matter how someone accesses it.
Real-World Device Testing
Browser developer tools and emulators are fantastic for day-to-day development, but they simply can't capture the experience of using your app on an actual device. Testing on real hardware is non-negotiable.
Things like network lag on a spotty mobile connection, the feel of touch interactions, and rendering bugs specific to certain phone models are often invisible in a simulation. Getting your app onto a real iPhone or Android device is the only way to get truly accurate feedback.
Testing isn't just about squashing bugs. It's about confirming you built the right thing for your users. A flawless launch is built on rigorous, user-centric testing.
Streamlining Previews with an Immediate Feedback Loop
Modern tools are completely changing the testing workflow. The goal is to close the gap between writing code and seeing it work, creating a super-tight feedback loop.
As you build your web app in CatDoes, you get a live preview right in your browser. Every change shows up instantly. Even better, CatDoes generates a QR code you can scan with your phone, loading your app preview instantly on your iPhone or Android with no complex setup required.
This single feature connects your development environment directly to the real world, letting you test where your app will actually be used. By catching issues faster and iterating more quickly, you can move to deployment with total confidence.
Deploying Your Web App

You've planned, designed, built, and tested your app. Now for the final, most exciting part: getting it live. Getting the launch right comes down to picking the right home for your app, setting up a solid process to push updates, and making sure everything is configured correctly.
Choosing a Hosting Environment
First, you need to decide where your app's files and database will be stored. This choice has a big impact on your app's speed, how easily it can grow, and how much work you'll have to do to keep it running.
Cloud Providers (AWS, GCP, Azure): The powerhouses, offering incredible scale for complex apps. The trade-off is a steep learning curve.
Platform as a Service (Heroku, Vercel): They handle all the server management headaches, letting you focus completely on your code. You can often deploy straight from a Git repository in minutes.
Virtual Private Servers (DigitalOcean, Linode): More control over the server environment than PaaS at a lower cost than the big cloud providers. A great middle ground if you have some server admin skills.
For most new projects, a PaaS provider hits the sweet spot. It gives you the power you need without drowning you in technical overhead right out of the gate.
Building a Deployment Pipeline
Manually dragging and dropping files onto a server is a recipe for disaster. A much better way to create a web app that's easy to maintain is to use a deployment pipeline, an automated process that takes your code from your development machine to the live server.
The whole thing usually starts with a version control system like Git and a remote repository on a platform like GitHub. When your code is ready, you push it to your repository. That push can trigger a CI/CD service (GitLab CI, Bitbucket Pipelines, or Jenkins) to automatically:
Grab the latest code from your repo.
Build the application, compiling assets and running all your tests.
Ship the built application to your hosting server.
This automated flow makes sure every single deployment is consistent, slashing the risk of human error when the pressure is on.
Automating Deployment with an Integrated Platform
While setting up a custom deployment pipeline is powerful, it can be a huge project in itself. If you'd rather spend your time building features than wrestling with CI/CD scripts and server configs, an integrated platform is the way to go.
CatDoes removes the manual setup entirely. Its build-and-release agent handles deployment from start to finish. It builds your app, packages it, and ships it live. No servers, no scripts. This makes the final step of creating a web app faster, simpler, and a lot less stressful.
Common Questions About Creating a Web App
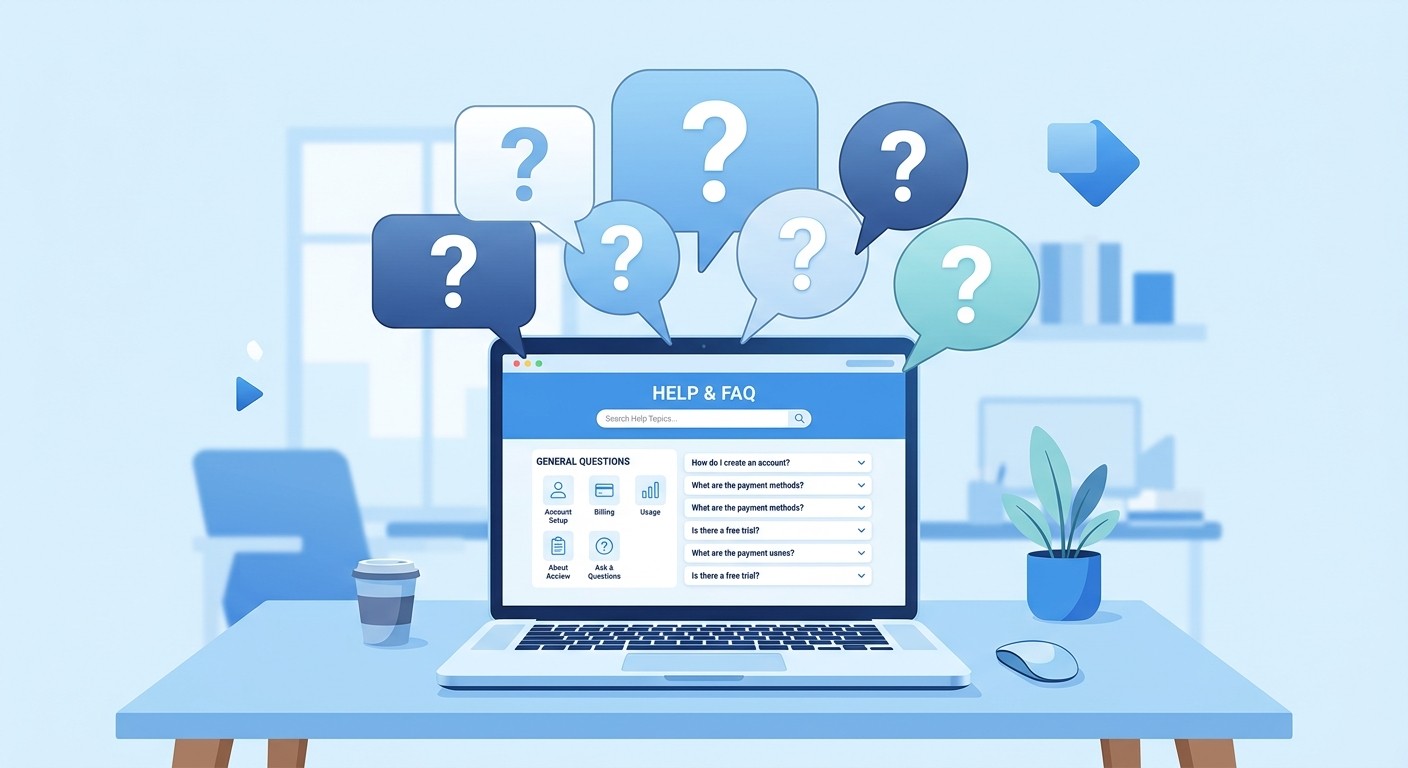
Jumping into web app development always kicks up a lot of questions about costs, timelines, and whether you have the right skills to get started. Let's clear up the most common ones.
How Much Does It Cost to Create a Web App?
There's no single price tag for a web app. The cost can swing wildly depending on what you're building. A simple MVP built by a traditional development agency might start in the low thousands, but a complex platform with custom integrations can easily soar past $100,000.
What drives that cost? It usually boils down to a few key things:
UI/UX Design: Crafting an intuitive, professional interface takes time and specialized talent.
Developer Hours: The rates for frontend and backend developers add up quickly, varying a lot by experience and location.
Ongoing Maintenance: Your budget doesn't stop at launch. You'll need to account for bug fixes, security patches, and server costs down the road.
AI-native platforms are rewriting the rules here. By automating huge chunks of the design and coding work, they're making app development drastically more affordable. CatDoes offers a free tier to get your first app off the ground and affordable plans for more complex projects.
What Is the Difference Between a Web App and a Website?
While they both open in a browser, the real difference is interactivity. A website is like reading a book; a web app is like using a tool.
A classic website is mostly for presenting information. Think of an online brochure or a blog. It's static. You're there to consume content, not really to do anything with it.
A web application, on the other hand, is built for engagement. It lets you perform tasks, manipulate data, and interact with the software. Your online banking portal is a web app. A project management board like Trello is a web app. They're powered by backend logic and databases to deliver a dynamic, personalized experience.
Do I Need to Know How to Code?
Not anymore. It used to be a non-negotiable prerequisite, but the game has completely changed. The rise of no-code and low-code platforms has opened the door for everyone.
Today, AI-native platforms like CatDoes empower people with zero technical background to build real, production-ready applications. You describe your idea in plain English, and a team of specialized AI agents takes it from there.
A Designer agent handles the entire user interface.
Software agents write all the frontend and backend code.
A build-and-release agent manages the deployment process for you.
This shift means your great idea is no longer blocked by a technical skill gap. For seasoned developers, it's a massive productivity boost, automating the grunt work so they can focus on bigger, more strategic challenges.
How Do I Maintain and Update My Web App After Launch?
Getting your app live is a huge win, but the journey doesn't end there. Post-launch maintenance is what ensures your app stays secure, relevant, and loved by your users.
Typically, this involves a few core activities:
Fixing Bugs: No app is perfect. Real users will always find issues you didn't anticipate.
Updating Software: You need to keep frameworks, libraries, and servers patched to stay secure.
Adding New Features: As you learn from your users, you'll want to evolve the app to better meet their needs.
With a traditionally built app, this means keeping a developer on retainer or bringing one in for every change. On CatDoes, you simply describe the bug fix or new feature you want. The AI agents implement the changes, let you test them, and then handle the redeployment.
Ready to stop wondering and start building? With CatDoes, you can turn your web app idea into a reality using the power of AI. Describe what you want to build, and let our agents handle the design, coding, and deployment.
Nafis Amiri
Co-Founder of CatDoes


