
Blog
Tutorials
How to build app without coding: A complete guide
Learn to build app without coding using no-code tools, templates, and proven steps to turn your idea into a live, functional app.

Nafis Amiri
Co-Founder of CatDoes

How to build app without coding: A complete guide
Of course you can. You absolutely can build an app without coding. Modern no-code platforms give you visual, drag-and-drop tools that let anyone with a great idea create a fully functional application, completely skipping the need for traditional programming. This change has made app creation more accessible and faster than ever before.
Your App Idea Is Possible Without Writing Code
The dream of creating an app is no longer just for software developers with years of technical training. The barrier to entry has come crashing down, opening the door for entrepreneurs, designers, and business owners to bring their visions to life. If you have a concept, you now have a direct path to building it.
This shift is powered by no-code platforms. Think of them as sophisticated construction kits for software. Instead of writing lines of code to create a button, you just drag a pre-built button element onto the screen. Instead of coding complex database queries, you use a visual interface to define how your data gets stored and retrieved.
The Rise of Visual Development
This move toward visual development isn't just some niche trend; it's a major evolution in how software gets made. The industry has seen a massive shift away from purely code-based solutions, all driven by the demand for speed and efficiency. By 2025, a stunning 70% of new applications are projected to be built using no-code or low-code technologies, a huge jump from less than 25% in 2020. This explosive growth just proves how powerful and viable these tools really are.
The core idea is simple: focus on what your app should do, not how to tell a computer to do it. This abstraction is what makes building an app without coding a reality for millions.
This approach takes all the mystery out of the creation process. It turns abstract ideas into tangible, interactive products through simple actions you're already familiar with, like clicking, dragging, and connecting visual blocks. While traditional coding involves languages like Swift for iOS or Kotlin for Android, and sometimes an understanding of how JavaScript for Mobile Apps Explained, no-code platforms handle all of that complexity behind the scenes for you.
Traditional Coding vs No-Code App Development
To really get a feel for the difference, it helps to see a side-by-side comparison of how each approach tackles the development process. It's a classic matchup between time and control.
Aspect | Traditional Coding | No-Code Platforms |
|---|---|---|
Required Skillset | Deep programming knowledge | Logic and problem-solving skills |
Development Speed | Weeks or months | Days or weeks |
Initial Cost | High (developer salaries) | Low (platform subscription) |
Flexibility | Nearly unlimited customization | High, but within platform limits |
Maintenance | Requires ongoing code updates | Managed by the platform provider |
In the end, choosing to build an app without writing code is all about gaining efficiency. It lets you pour your energy into what really matters, refining your idea, understanding your users, and marketing your product, instead of getting bogged down by technical hurdles.
Choosing the Right No-Code Platform
Picking the right tool to build your app is easily the most critical decision you'll make in this entire process. The platform you choose is literally the foundation of your project, and it will shape everything from design flexibility to how your app grows in the future. The market is getting crowded, which can feel overwhelming, but a little bit of structured thinking makes the choice much clearer.
The no-code world isn't a one-size-fits-all solution. Different platforms are built for very different jobs. Some are all-in-one powerhouses designed for complex web and mobile apps, while others are specialists, focusing on things like internal business tools, e-commerce stores, or simple landing pages.
This decision tree gives you a quick visual on the fundamental choice between the old way of coding and the new no-code path.
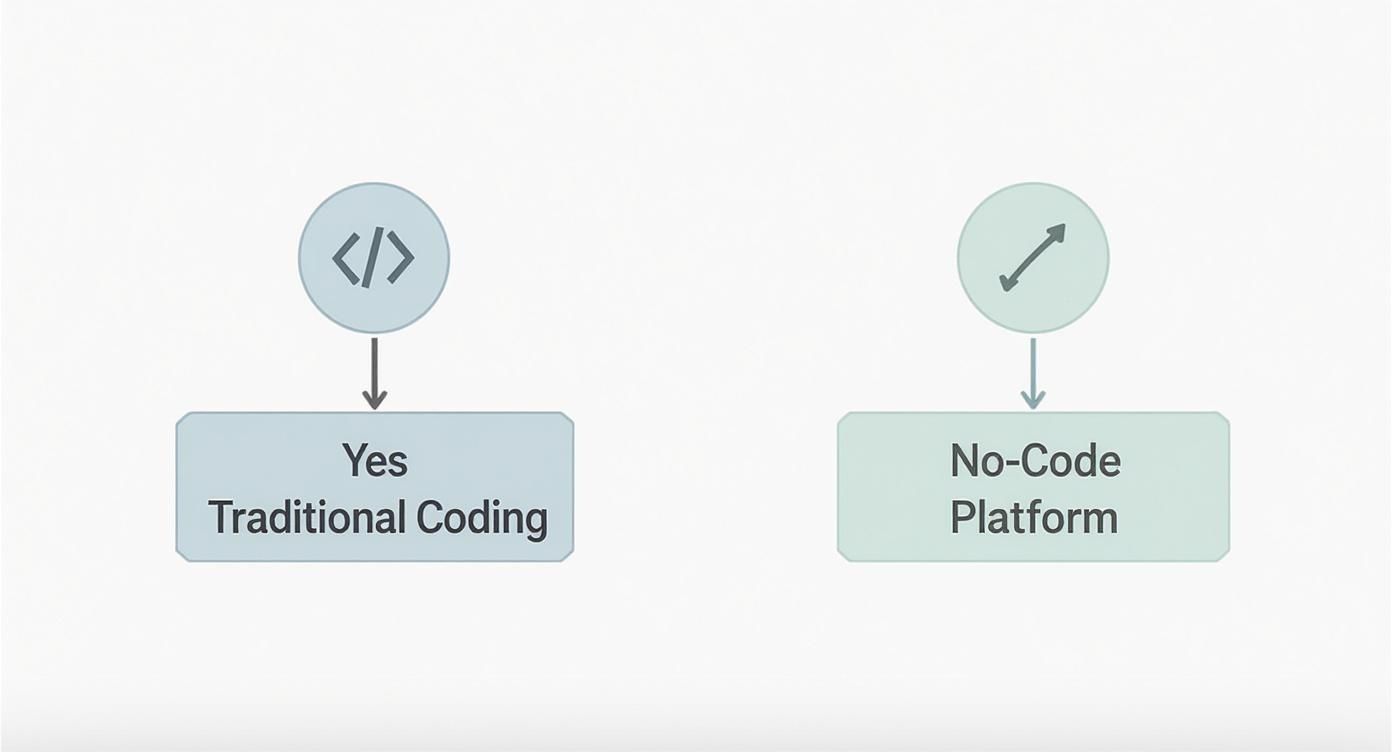
The big takeaway here is that committing to a no-code platform puts you on a track for much faster development and lower initial costs. For anyone trying to get an idea to market quickly, that's a huge advantage.
Evaluate Scalability and Future Growth
One of the very first questions to ask yourself is: where is this going long-term? A platform that’s perfect for a quick and simple prototype might completely fall apart when you have thousands of active users.
True scalability in the no-code world means the platform can handle more users, more complex features, and bigger databases without grinding to a halt.
For example, a local bakery just needs a simple app to manage its inventory. A tool focused on internal business apps would be a perfect fit. But a startup trying to build the next big social media app? They need a platform known for its robust database and ability to handle high traffic from day one.
Before you commit, dig into the platform's limitations. Look for case studies of apps built on it that have actually scaled up. That real-world proof tells you a lot more than any marketing page ever will.
Thinking about this upfront saves you from the painful and expensive process of having to rebuild your entire app on a new platform later on. It’s a classic mistake that many first-time builders make.
Assess Integration and Customization Capabilities
No app lives on an island. It almost always needs to talk to other services: payment gateways like Stripe, email marketing tools like Mailchimp, or custom data sources through APIs. The best platforms offer a ton of pre-built integrations and make it simple to connect to any external service that has an API.
This is a non-negotiable. Imagine building a beautiful e-commerce app, only to discover your platform doesn't support the main payment processor in your country. To get a better sense of what's out there, you can find great resources that break down different types of mobile app making software and what they can connect to.
On top of that, think about how much you can actually customize. No-code platforms give you building blocks, but your app still needs to feel unique. Check if you can:
Freely modify UI elements: Can you tweak the colors, fonts, and layouts to perfectly match your brand?
Implement custom logic: Does the workflow builder let you create complex "if this, then that" actions?
Add custom code (if you need it): Some platforms let you drop in small code snippets for very specific features, which is a great escape hatch if you ever hit a wall.
Compare Pricing Models and Community Support
No-code pricing can be tricky. A low monthly fee might catch your eye, but you have to read the fine print to see what’s actually included. Many platforms structure their plans around limits that you could outgrow in a hurry.
Pay close attention to these common limits:
Database Records: How many items (like users, products, or posts) can you actually store?
Monthly Active Users: Is there a cap on how many unique users can use your app each month?
Workflows: How many automated actions or processes can your app run?
Storage: How much space do you get for files and images?
Finally, never underestimate the power of a strong community. An active user forum, great documentation, and a library of tutorials from other users can be an absolute lifesaver when you get stuck. A platform with a vibrant community is usually a sign of a healthy, well-supported product that's only going to get better.
Turning Your Idea Into a Practical Blueprint
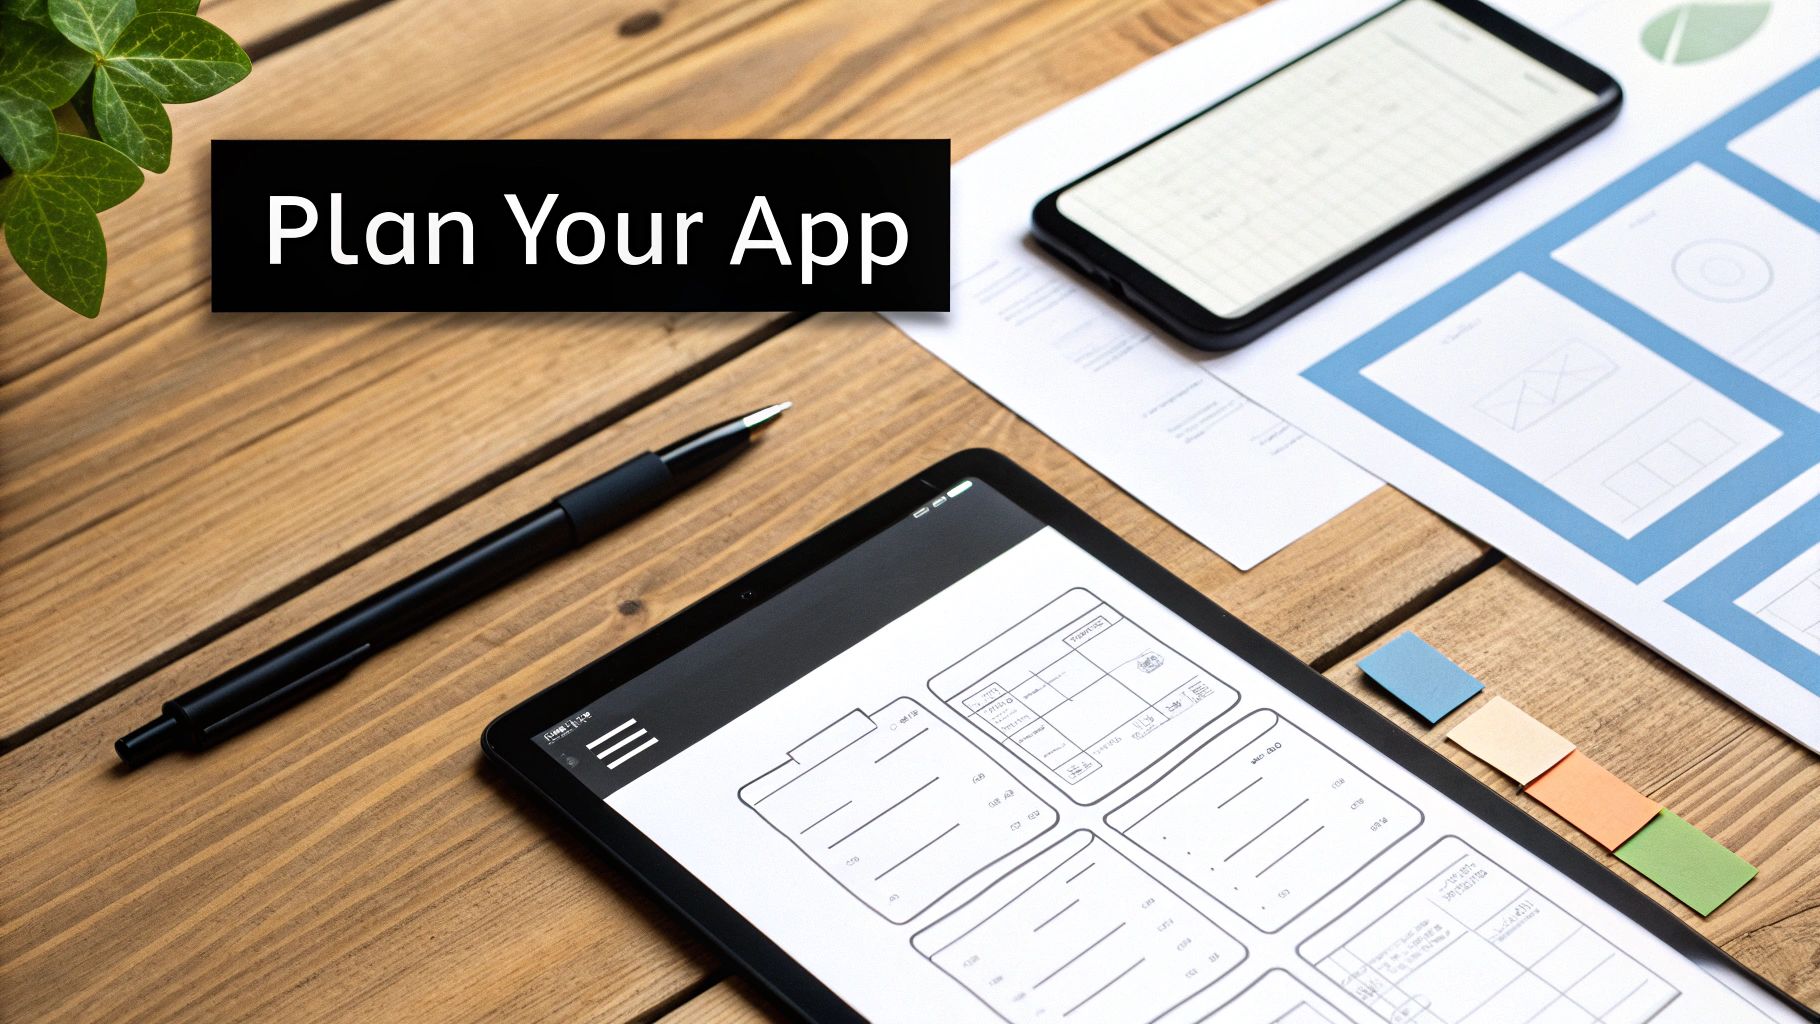
Jumping into a no-code platform without a plan is the fastest way to get lost. It's like starting a road trip without a map. A great idea is the spark, but a detailed blueprint is what ensures you actually build something that works and that people will use.
This planning phase is all about translating your big vision into a concrete set of instructions. Getting this right saves you countless hours of rework down the line. The first job is to boil your idea down to its absolute core purpose. What one problem are you solving, and for who? Being brutally honest here is your best defense against "feature creep," the classic trap of adding so many functions that you bloat the app and confuse your users.
Define Your Core Features and MVP
Once you know your app's main job, it's time to brainstorm. List every single feature you can imagine your app having. Now, take a red pen to that list and slash everything that isn't absolutely essential for solving that core problem.
What you're left with is your Minimum Viable Product (MVP).
An MVP isn't a cheap or incomplete version of your app; it's the smartest version. It’s the fastest way to get a real, working product into the hands of actual users to see what they think. To really dig into this strategy, check out our guide on what a Minimum Viable Product is and why it’s so critical.
Let’s say you're building a meal-planning app. Your MVP features might be just these four things:
User account creation (simple email and password).
A way to browse a list of recipes.
A function to add those recipes to a weekly calendar.
A basic grocery list generator based on the calendar.
That's it. Fancy features like social sharing, restaurant integrations, or advanced dietary filters can all wait. This tight focus ensures you build an app without coding that is genuinely useful from day one.
Map Out the User Journey
With your core features locked in, start thinking about how someone will actually use the app, screen by screen. This is called user flow mapping, and you don't need fancy software for it. A pen and paper or a simple whiteboard works perfectly.
Sketch out every screen and the buttons or actions that connect them. For each screen, ask yourself:
What's the main goal here?
What information does the user need to see?
What actions can they take (e.g., tap a button, fill a form)?
Where does each action take them next?
This simple visual map is incredibly powerful. It helps you spot confusing navigation, dead ends, or missing steps before you’ve built a single thing. It’s the foundation of an intuitive user experience.
A well-defined blueprint is the most valuable asset you have in the no-code process. It forces clarity and ensures the tool serves your vision, not the other way around.
To make sure your blueprint is rock-solid, learning to write effective product requirements is a crucial skill. This document becomes the source of truth for your entire project.
Structuring Your App Data
Finally, let's talk about data. Every app, no matter how simple, runs on data. Before building, you need a basic idea of what information your app will need to store and manage. This is often called data modeling, but it's simpler than it sounds.
Just think about the main "things" in your app. For our meal-planning example, the key data types would be Users, Recipes, and Grocery List Items. Then, list out the pieces of information (or attributes) each of those things needs.
Data Type | Attributes (Fields) |
|---|---|
User | Name, Email, Password |
Recipe | Title, Ingredients, Instructions, Cook Time |
Grocery List Item | Item Name, Quantity, Checked (Yes/No) |
Planning your data structure this way helps you see how different parts of your app connect. For instance, a "User" has their own list of saved "Recipes," and each "Recipe" is linked to multiple "Grocery List Items." Getting this right from the start is fundamental to building a no-code app that can grow with you.
Building Your App with Visual Editors
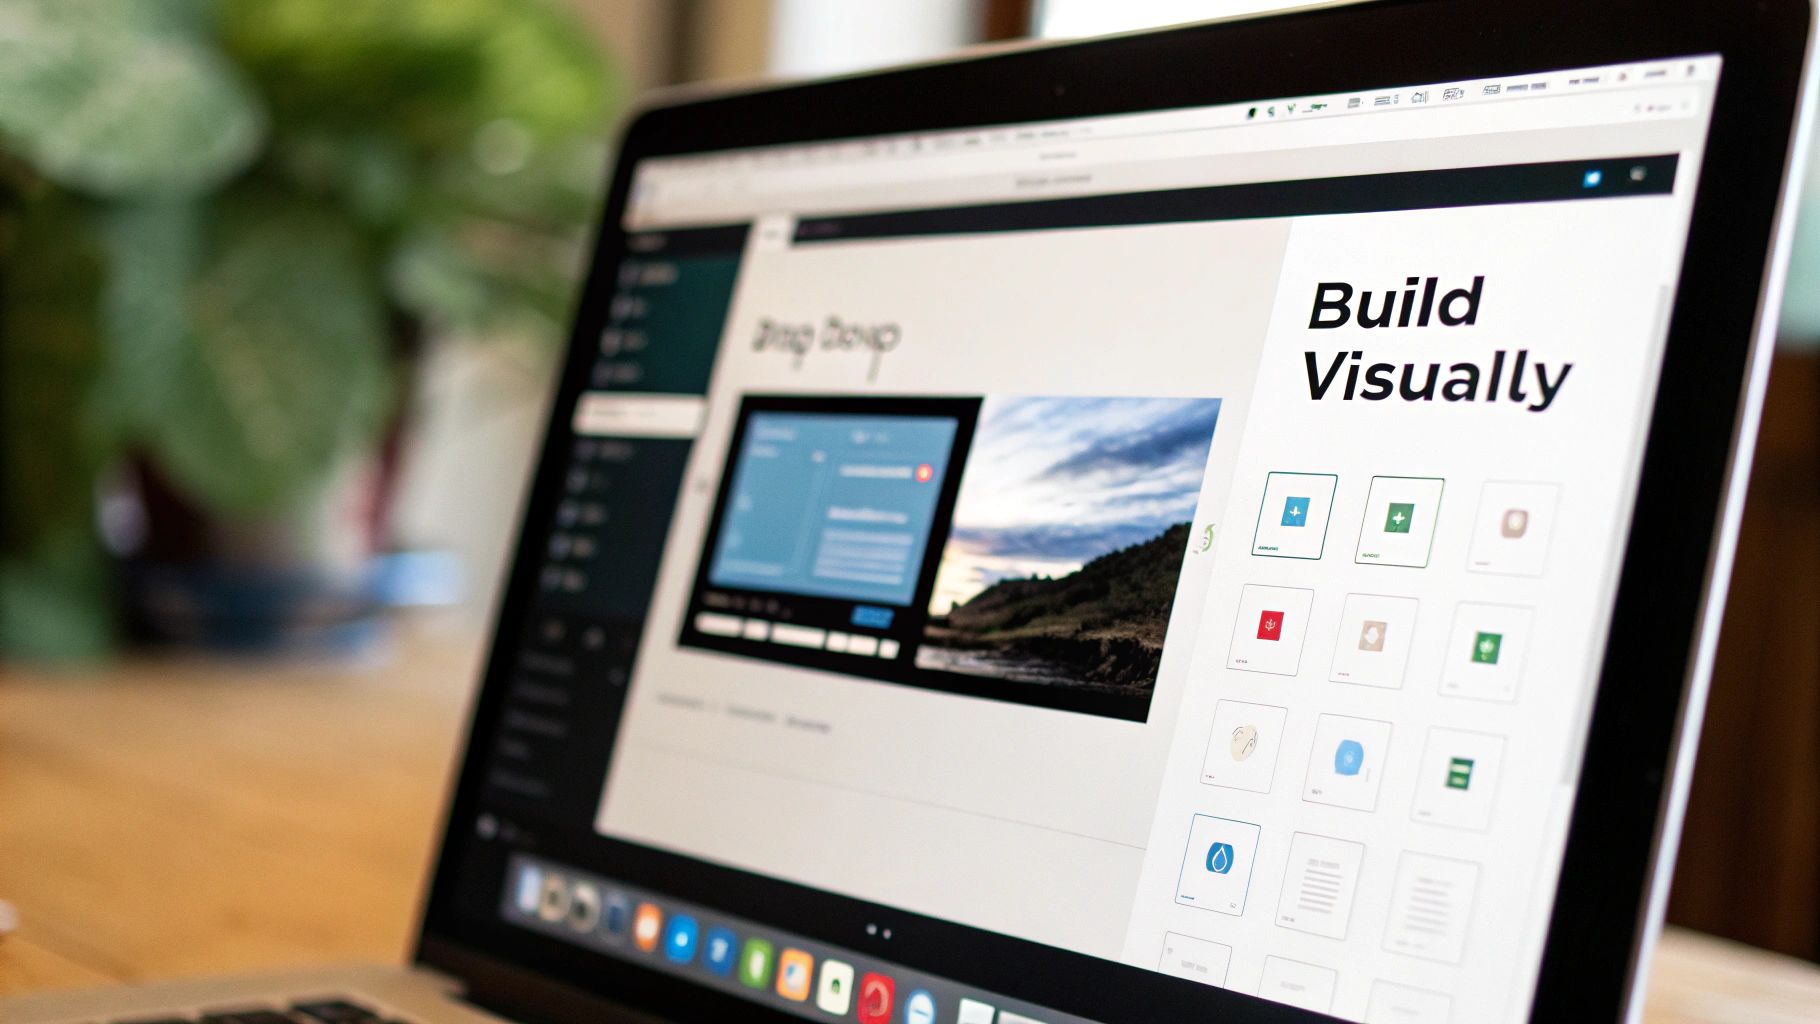
Alright, with your blueprint ready, we get to the fun part. This is where your idea stops being a sketch and starts becoming a real, interactive app you can actually click around in. The heart of any no-code platform is its visual editor, which turns the complex job of app development into a hands-on, intuitive process.
Instead of writing lines of code, you'll be using a drag-and-drop interface. Think of it like playing with digital Lego blocks. You get a whole library of pre-built pieces: buttons, text fields, images, forms. You just arrange them on a canvas to design your app's screens. It's a completely visual way to build, so you see exactly what you're making in real-time.
There's a reason this method is exploding in popularity. The no-code market empowers creators who aren't developers to build some seriously sophisticated software. By 2025, the no-code development market is projected to swell from $28.11 billion to $35.61 billion. That’s a massive signal of just how many people are choosing this path to bring their visions to life.
Crafting the User Interface
Your first job in the visual editor is to build the User Interface (UI). This is everything your users will see and touch, so it's all about arranging elements on each screen to create a layout that’s clean, functional, and looks good.
Let's jump back to our task management app example. For the main "My Tasks" screen, you'd probably need:
A header with your app logo and a title.
A list element (often called a "repeating group") to display all the tasks.
A simple "+" button for users to add a new task.
You literally just drag these components from the library onto your canvas and place them where they feel right. Most platforms give you fine-grained control over styling, letting you tweak colors, fonts, and spacing to match your brand. Sticking to solid design principles here is crucial; you can check out some great app design best practices to make sure your UI is both beautiful and dead simple to use.
A great user interface feels intuitive. Users shouldn't have to think about how to navigate your app; the path should be obvious. The visual editor gives you the power to experiment with layouts until you find what works best.
Getting the UI right is all about iteration. You can throw a screen together, preview it, and make changes on the fly. That rapid feedback loop is one of the biggest wins when you build an app without coding.
Defining Backend Logic with Visual Workflows
Once your app looks good, you need to make it smart. That’s where backend logic comes in. In the no-code world, we handle this with visual workflows, basically a series of "if this, then that" instructions that you build with visual blocks instead of code.
A workflow is just a sequence of actions that gets kicked off by a trigger, or an "event." The most common event is a user clicking a button, but it could also be something like the page finishing loading.
For our task manager, when a user clicks that "+" button, we need a workflow to tell the app what to do next. The logic would look something like this:
Event: User clicks the "Add Task" button.
Action 1: Show a pop-up with a text box for the new task and a "Save" button.
Action 2: When the "Save" button is clicked, grab the text from the input field.
Action 3: Create a new entry in the "Tasks" database table using that text.
Action 4: Close the pop-up.
Action 5: Refresh the task list on the main screen so the new task appears.
Each of these steps is a block you connect in a logical order within the workflow editor. You're programming the app's behavior without ever seeing a line of code.
Connecting to Databases and APIs
Most of your app's logic will need to interact with data. Visual workflows make it incredibly simple to perform the four core database operations, often called CRUD (Create, Read, Update, Delete).
Create: Adding that new task to your database.
Read: Showing the list of existing tasks when the app loads.
Update: Letting a user mark a task as "complete."
Delete: Giving users a way to remove a task.
But modern apps rarely live in a bubble; they need to talk to other services. This is done using APIs (Application Programming Interfaces). A good no-code platform will have a visual API connector that lets you plug into thousands of external services. You could connect to a weather API to show the local forecast or integrate with a payment gateway like Stripe to process purchases, all by configuring a few settings in a simple interface. This is what lets you build truly powerful, feature-rich apps.
Testing and Launching Your App
Getting your app built is a huge milestone, but the journey isn't quite over. Now comes the phase that separates a professional product from a hobby project: rigorous testing and a smart launch plan. This is where you make sure your creation is robust, bug-free, and ready for the world.
This process is all about transforming a functional app into a reliable one. You have to step outside your own perspective and see how it holds up in the hands of real people on different devices. Many founders who build an app without coding get so excited to finish that they rush this part, leading to bad first impressions and even worse reviews.
A Structured Approach to App Testing
Before anyone else lays eyes on your app, you need to be its toughest critic. Start by systematically going through every single feature and workflow you’ve built. Don't just check if a button works; try to break it.
This initial self-testing phase is your first line of defense against the most obvious bugs. The goal here is simple: find and squash issues before they ever reach a potential user.
A simple checklist can keep you honest:
Core Functionality: Does every button, link, and form do exactly what it’s supposed to? If you built a task manager, can you actually create, edit, complete, and delete a task without a hitch?
User Account Workflows: Run through the entire user lifecycle. Can a new user sign up easily? Does login work every time? What happens when they inevitably forget their password and need to reset it?
Data Integrity: Check that data is being saved and displayed correctly. When a user updates their profile picture, does that new picture show up everywhere it should?
Edge Cases: Think about weird scenarios. What happens if someone tries to submit a form with nothing filled out? Or uploads a file that's way too big or in the wrong format?
Once you’ve done your own exhaustive review, it’s time to bring in some fresh eyes.
Gathering Feedback from Beta Testers
You’re simply too close to your own project to spot all its flaws. That's where beta testers come in. This small, trusted group gets early access and provides the invaluable outside perspective you desperately need. They'll use your app in ways you never imagined and find issues you completely overlooked.
Try to pick a diverse group for your beta test. You want a mix of people who represent your ideal customer, but also include a few who are totally new to the concept. Give them clear instructions, but also encourage them to just explore and see what happens.
Your beta testers aren't there to tell you your idea is great; they're there to help you find its weaknesses. Embrace their critical feedback, even when it’s tough to hear. It's the fastest way to make your app better before the public sees it.
Collect their feedback in an organized way, maybe with a simple Google Form or a shared doc. Ask them to report on things like usability, performance, and, of course, any bugs they find. This feedback is pure gold: it gives you a concrete to-do list for improvements before you go live.
Preparing for a Successful Launch
With your app tested and the feedback implemented, you’re ready for the final pre-launch checklist. This is where you add the professional polish that builds trust and, if you're building a native app, get ready for the app stores.
First, think about your app's web presence. If it's a web app, setting up a custom domain is non-negotiable. It takes you from a generic platform URL to a branded address that just looks far more credible. Most no-code platforms make this a pretty straightforward process.
For native mobile apps, the final hurdle is the app store submission. This means creating developer accounts with Apple and Google, which come with annual and one-time fees, respectively. You'll need to get a few things ready:
App Store Listings: This is your sales pitch. Write compelling descriptions, choose smart keywords, and create high-quality screenshots and preview videos.
App Icons and Assets: Design a memorable app icon that will stand out on someone's home screen.
Privacy Policy: You absolutely need a clear privacy policy that explains how you handle user data. This is a requirement.
Platforms like CatDoes can automate a lot of the technical packaging for the stores, but you’ll still be responsible for managing the submission itself and making sure you follow each store's guidelines. Launching isn’t the end; it’s just the beginning of your app's real journey.
Still Have Questions About Building a No-Code App?
Even with a clear roadmap, jumping into the no-code world can feel a little uncertain. It's totally normal. Most people I talk to have questions about the real costs, what these tools can actually do, and the nitty-gritty of getting an app into the wild.
Let's clear the air and tackle the most common questions head-on. These are the concerns that usually pop up right before someone decides to go for it, and getting them answered will give you the confidence to move forward.
How Much Does It Really Cost to Build an App Without Code?
Here's the straight answer: it’s dramatically cheaper than traditional development, but it's not free. Your final cost really boils down to two things: the platform you choose and how complex your app is.
Most no-code platforms have a free tier, which is fantastic for getting your feet wet and building out a first version. But once you're ready to launch to the public or need more horsepower, you'll need a paid plan. These typically start around $25 a month and can go up to several hundred for really demanding applications.
So what drives the price up? Usually, it's a few key things:
Database Size: How many records you need to store. Think users, products, or listings. More data usually means a higher-tier plan.
Monthly Active Users: Some platforms will charge you based on how many people are actively using your app each month.
Premium Features: Things like backend workflows, connecting a custom domain, or the ability to publish a native mobile app are often reserved for paid plans.
While you get to skip the massive six-figure check you'd write to a development agency, remember to budget for those ongoing subscription fees. You should also keep an eye out for potential costs from third-party services you might want to plug in, like a specialized payment gateway or a fancy mapping API.
Can I Actually Build Something Complex, Like an Uber or Airbnb?
Yes, you absolutely can build incredibly complex, scalable apps with the right no-code tools. Platforms like Bubble or Adalo are more than capable of handling the core logic you'd find in an app like Uber or Airbnb. But, and this is a big "but," just because it's possible doesn't mean it's easy.
Building a sophisticated app from scratch requires a really solid grasp of database design, logical workflows, and user experience. To pull off something like Uber, you'd need to architect systems for:
Real-time GPS tracking for both drivers and riders.
A matching system to connect the two.
Complex payment integrations that can handle splits and fees.
A two-sided marketplace where drivers and riders have completely different experiences.
No-code gives you the building blocks for all of this without needing to be a programmer. But you still have to be the architect. It demands a ton of planning, a logical mind, and the patience to learn the platform inside and out. You're basically becoming a visual developer, and that's a skill that takes time to hone.
The platform gives you the tools, but you’re still the architect. The real challenge in building a complex app isn’t technical anymore; it's your ability to design and execute a sophisticated system visually.
What Are the Main Downsides of No-Code?
Look, no-code is powerful, but it's not magic. It's smart to go in with your eyes open to its limitations. They generally fall into three buckets.
First up is platform lock-in. When you build on a no-code platform, your app lives in that platform's ecosystem. You can't just pack it up and move it to another server. This means you're trusting that company's stability, pricing model, and future updates.
Second, you can hit performance ceilings. Modern platforms are getting incredibly fast, but an app with a truly massive number of simultaneous users or super-complex database queries might start to feel sluggish. For 99% of startups and small businesses, you won't hit this wall until you've achieved a level of success most people only dream of.
Finally, there are customization limits. Sooner or later, you might dream up a very specific feature or a niche integration that the platform just doesn't support natively. The best platforms know this and offer an "escape hatch" by letting you inject custom code snippets or connect to almost any external service through an API.
How Do I Get My App into the App Stores?
So you've built a killer native mobile app. Awesome. The final hurdle is getting it published on the Apple App Store and Google Play Store. Mobile-first no-code platforms like Adalo or Glide were born for this moment.
These tools have built-in features that handle all the technical heavy lifting. They'll package your app into the specific file formats required for submission: an .ipa file for iOS and an .aab file for Android.
But the submission process itself is still on you. Here’s what that involves:
Get Your Developer Accounts: You'll need to register for your own developer accounts with both Apple ($99 per year) and Google ($25 one-time fee). This is non-negotiable.
Craft Your Store Listing: This is your app's storefront. You'll need to write a compelling description, upload eye-catching screenshots, and fill out all the required metadata.
Submit for Review: Once your listing is ready, you'll upload your app files through the developer portals and submit them for review. Both Apple and Google have review teams that will check your app to make sure it meets their guidelines.
The no-code platform automates the technical build, but you're in charge of the business and administrative side of the launch.
Ready to stop wondering and start building? With CatDoes, you can turn your app idea into a production-ready mobile app using simple, natural language. Our AI agents handle the design, development, and even the release process, making it faster and easier than ever to launch your vision. Start building your app for free today at CatDoes
Nafis Amiri
Co-Founder of CatDoes