Blog
Tutorials
How to Build an App Without Coding (2026)
Ready to build an app without coding? This guide walks you through planning, designing, building, and launching a real app with no-code tools in 2026.

Nafis Amiri
Co-Founder of CatDoes

Ever sketched out an app idea on a napkin, only to hit the wall of, "but I can't code"? That used to be a dealbreaker. Not anymore. The ability to build an app without coding has gone from a niche trick to a full-blown movement. The tools available in 2026 are good enough for real, production-ready apps.
TL;DR: You can build a fully working mobile app without writing a single line of code. This guide covers the full process: planning your idea, choosing a no-code platform, designing the user experience, wiring up logic with visual workflows, and launching to the App Store and Google Play. Platforms like CatDoes make the whole journey possible through AI-powered conversation.
Table of Contents
Yes, You Can Build an App Without Coding
Designing an Engaging User Experience
Building Core Functionality with Visual Workflows
Testing and Launching Your Application
Common Questions About Building an App Without Code
Yes, You Can Build an App Without Coding

The road from a simple concept to a working app used to mean steep learning curves and huge invoices. Today, that path is wide open for anyone with a good idea. Drag-and-drop interfaces and pre-built logic blocks are powerful enough to build real mobile apps. You don't need to become a programmer to ship something professional.
Instead of sinking years into learning complex languages, you can pour that energy directly into your vision and get it into users' hands in a fraction of the time and cost.
Why No-Code Is Taking Over

This isn't just a trend for hobbyists. It's a real shift in how software gets made, especially inside larger companies.
According to Gartner's forecast, 70% of new applications built by organizations will use no-code or low-code tools, up from less than 25% in 2020. The reason is simple: it's faster and lets more people help build what the business needs.
The best modern platforms push this even further with artificial intelligence. You can generate app screens, business logic, and entire user flows just by describing what you want in plain English. We put together a full guide on how you can build a mobile app using AI that shows this in action.
This AI-driven approach makes the process feel less like engineering and more like a creative chat with a smart partner. "Citizen developers" (people who build apps but aren't programmers) now outnumber professional developers 4 to 1, according to recent industry analysis.
From Vague Idea to Sharp Blueprint
A great app idea is just the start. The real work begins when you turn that spark into a clear, practical plan. Before you touch a single tool, get crystal clear on two things:
Who is this for?
What specific problem am I solving for them?
For instance, a "fitness app" is too broad. A much stronger plan: "an app for busy professionals who need quick, 15-minute home workouts without any equipment." That one sentence tells you which features matter and which are just noise.
Next, define your Minimum Viable Product (MVP). An MVP isn't a cheap or broken version of your app. It's the most focused version, with only the features needed to solve that one core problem for your first users.
Must-Haves: The non-negotiable features. For our fitness app, that's a workout library and a simple timer. Nothing more.
Nice-to-Haves: Things like calorie tracking, social sharing, or workout history. These can wait for the next version.
Launch with your must-haves, get real feedback, and then add the nice-to-haves based on what users actually ask for.
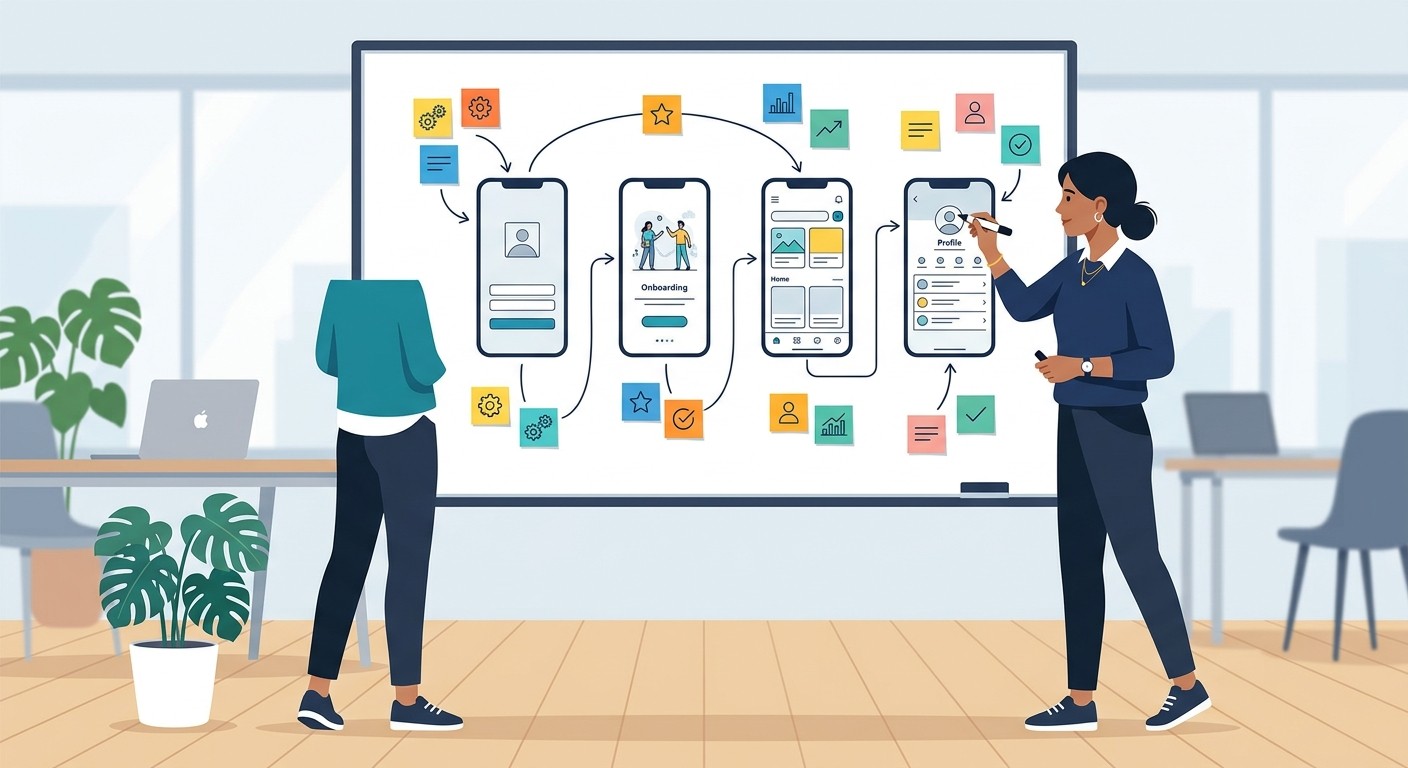
Finally, map out a user flow: the exact steps someone takes to do something in your app. A signup flow might look like: open app, tap "Get Started," enter email, land on the dashboard. Sketching this out helps you catch confusing steps or dead ends before you've built anything.
Finding the Right No-Code Platform
Choosing the right tool matters as much as having a strong plan. The no-code market has a lot of powerful options, but each one is built for a different job. Some are great for web apps, while others focus on native mobile.
Here's a quick side-by-side to help you pick:
Platform | Best For | Key Features | Pricing |
|---|---|---|---|
Native mobile apps (iOS & Android) | AI-driven development, live preview, automated backend, guided App Store submission | Subscription | |
Bubble | Complex web apps and platforms | Visual drag-and-drop editor, plugin library, built-in database | Subscription, usage-based |
Adalo | Simple mobile & web apps | Component-based building, easy database setup, app store publishing | Subscription |
FlutterFlow | Cross-platform Flutter apps | Visual Flutter builder, clean code export, Firebase integration | Subscription, free tier |
Glide | Data-driven apps from spreadsheets | Turns Google Sheets into apps, templates, simple interface | Subscription, free tier |
If you're building a web marketplace, Bubble is a strong choice. But if your goal is a native mobile app for iOS and Android, a tool like CatDoes gives you a faster, more direct path to the App Stores.
Designing an Engaging User Experience

With your plan in hand, it's time to give your app its personality. A clean interface (UI) paired with smooth navigation (UX) is what turns a forgettable tool into an app people enjoy using. When you build an app without coding, platforms like CatDoes come with component libraries and style guides that do a lot of the work for you.
Laying the Foundation for Great Design
Consistency is your best friend. A cohesive look makes your app feel polished and trustworthy. Start by locking in a simple visual identity:
Color Palette: Pick two or three main colors. One for buttons and actions, one for backgrounds, and an accent for highlights.
Typography: Choose one or two clean, readable fonts. Just using different weights (bold, regular) can create a clear visual order.
Branding: Place your logo in the same spot on every key screen, like the loading screen or navigation bar.
This basic framework keeps every screen feeling like part of the same product. It also stops things from getting messy as you add more features down the road.
Crafting Intuitive Navigation
Great UX is invisible. The goal is to make the user's path so smooth they never have to stop and think about what to do next. Are buttons labeled with clear actions like "Add to Cart" instead of a vague "Submit"? Is the main menu always one tap away?
Studying established design pattern guidelines from Nielsen Norman Group is a great shortcut. These are tested solutions to common interface problems, so you don't have to guess.
No-code platforms come packed with ready-made parts: buttons, forms, carousels, and navigation bars. These parts follow iOS and Android design rules, so your app feels native right away. For more on how tools differ here, check out our comparison of CatDoes vs. Adalo.
Building Core Functionality with Visual Workflows
Design is done. Now it's time to make your app actually do things. When you build an app without coding, you use visual workflows to define behavior. Think of them as the brains of your app: a chain of logical steps you set up like building blocks.
Crafting Logic with Triggers and Actions
The whole idea boils down to: "When this happens, do that." Let's say you're making a project tracker. Adding a new task would work like this:
Trigger: The user taps "Add New Task."
Action 1: A form pops up for the task details.
Action 2: On save, a new row is added to the "Tasks" database.
Action 3: The task list refreshes to show the new item.
Each step is a visual block you connect in the editor. You're literally drawing the logic of your app, which makes it easy to see what's happening and fix anything that breaks. This approach is a big reason no-code projects launch up to 90% faster than traditional coding.
Managing Data and Connecting Services
Every useful app needs a place to store info. No-code tools give you a simple, spreadsheet-style interface to set up tables, define column types (text, numbers, images), and link tables together. No database queries needed. For our project tracker, you'd have a "Projects" table and a "Tasks" table, with each task linked back to its project.
You'll also want to connect your app to outside services through APIs. Processing payments with Stripe, sending emails through SendGrid, pulling in maps from Google Maps. Instead of writing connection code, you just paste in API keys and use a visual mapper to send data back and forth.

This lets you add powerful features in minutes instead of weeks. For a closer look at how different platforms handle data, see our guide on CatDoes or Bubble.
Testing and Launching Your Application

You've designed the screens and wired up the logic. Now it's time to make sure everything works before you share it with the world. The great thing about using a modern platform to build an app without coding is that testing happens in real time. CatDoes gives you preview tools right in your browser, so you can see how your app looks on any device instantly.
Gathering Real-World Feedback

Previews are great for catching your own mistakes, but they won't tell you if the app makes sense to someone else. For that, you need real testers.
Don't wait until you think it's perfect. Most no-code platforms let you generate a shareable link or QR code so friends, family, or early users can try a test version on their phones. Give them a simple task ("try to sign up and add an item to your cart") and then just watch. Don't help. Their pauses and confused faces are pure gold, showing you exactly where the experience needs work.
Pre-Launch Checklist and Deployment
Before you hit publish, run through this quick check:
App Store Assets: App icon, screenshots, and a punchy description are ready.
Database Readiness: All test data is cleared so new users start fresh.
Final Workflow Review: Every key user journey works, especially payments.
Privacy Policy: A clear privacy policy link is ready for the store listing.
In the past, getting your app into the Apple App Store and Google Play meant wrestling with certificates, provisioning profiles, and confusing build settings. That's all gone now. Modern platforms handle the packaging, signing, and submission for you. With CatDoes, it's as simple as clicking a button.
Common Questions About Building an App Without Code

Can I Really Build Something as Big as Uber or Airbnb?
You can build an app with similar features: user profiles, maps, booking systems, and payments. But fully cloning those giants is a different story. Apps like Uber are the product of thousands of engineers and hundreds of millions of dollars over many years. No-code is built to get your unique idea to market fast, not to replicate a global corporation.
What Are the Real Ongoing Costs?
This is where no-code shines. Instead of paying for servers, databases, and a developer on standby, your costs roll into one monthly subscription. That fee covers hosting, security patches, and platform updates. It turns wild, hard-to-predict tech bills into one simple, flat cost.
How Is My Intellectual Property Protected?
Any solid platform is clear on this: you own the IP of your app. Your idea, brand, user data, and design are all yours. You don't own the platform itself. Think of it like a store in a rented space: everything inside is yours, but the building isn't. Check the platform's terms of service for the details.
Ready to stop planning and start building? With CatDoes, you can turn your app idea into reality using simple conversation. Our AI-powered platform handles the design, logic, and app store submission for you.
Nafis Amiri
Co-Founder of CatDoes