Blog
Tutorials
Mobile App Development: Beginner Guide (2026)
Learn mobile app development from idea to launch. Compare beginner paths, costs, timelines, tools, and the best beginner route to build your first app today.

Nafis Amiri
Co-Founder of CatDoes

Quick answer: Mobile app development is the process of planning, designing, building, testing, and publishing software for phones and tablets. Beginners can build mobile apps through native code, cross-platform tools, no-code platforms, or AI app builders. The right choice depends on budget, timeline, and technical comfort.
If you are new to mobile app development, the hard part is not learning every tool at once. The hard part is choosing the right first path. Then you need to build a small version of your idea without getting stuck in planning, code, or app store setup.
This guide walks through mobile app development for beginners from idea to launch. You will learn what app development means, which build path fits your skill level, how the process works, what costs to expect, how timelines change by approach, and the cleanest beginner route for your first app.
TL;DR: Start with one clear user problem. Define a small MVP, choose the fastest path that can test the idea, and launch before adding advanced features. For most beginners, that means using an AI app builder or no-code tool first. Move into React Native, Flutter, Swift, or Kotlin only when the app needs deeper control.
Table of Contents
What Is Mobile App Development?
Mobile App Development Paths Compared
The Mobile App Development Process
How to Validate and Plan Your App Idea
How Much Does Mobile App Development Cost?
How Long Does Mobile App Development Take?
Best Mobile App Development Tools for Beginners
Designing an Intuitive User Experience
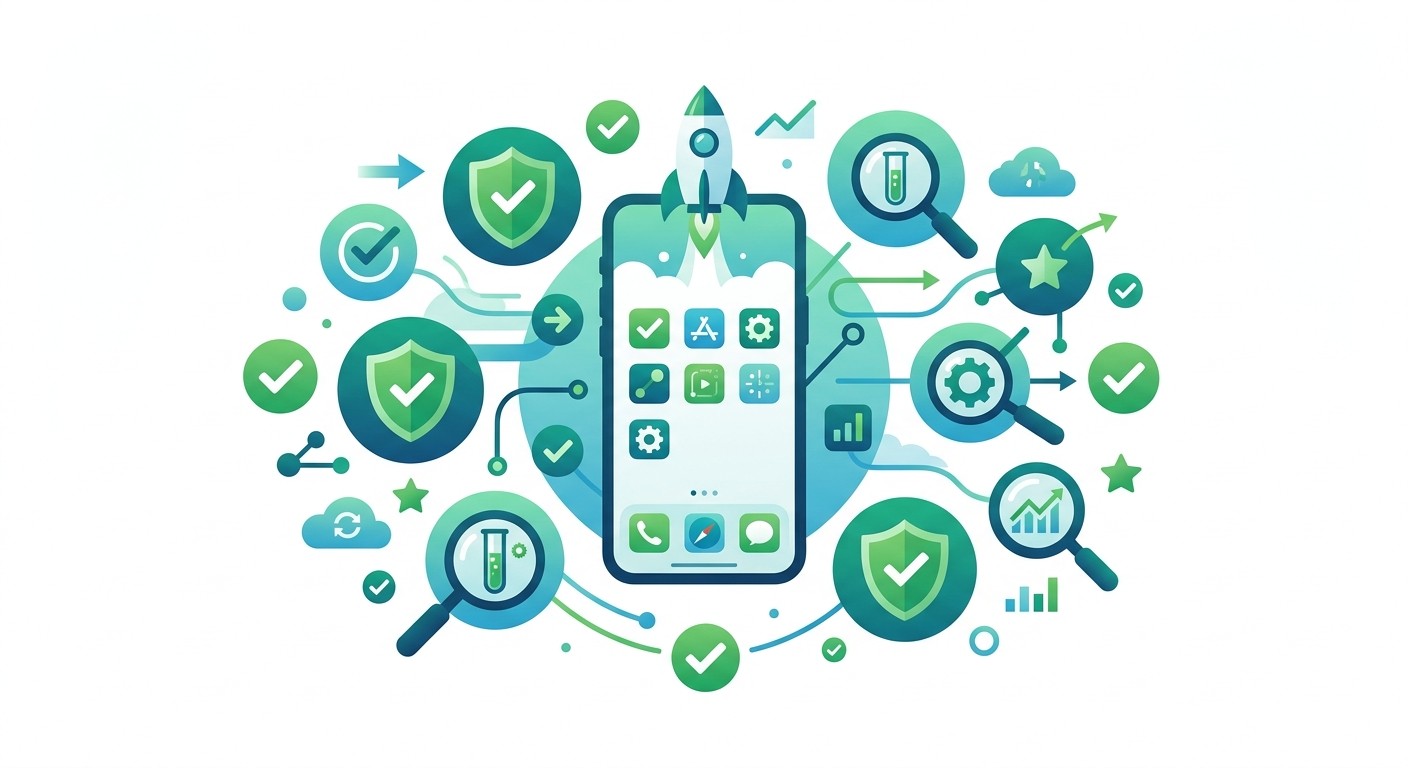
Building, Testing, and Launching Your App
The Best Beginner Path to Build Your First App
Frequently Asked Questions
What Is Mobile App Development?

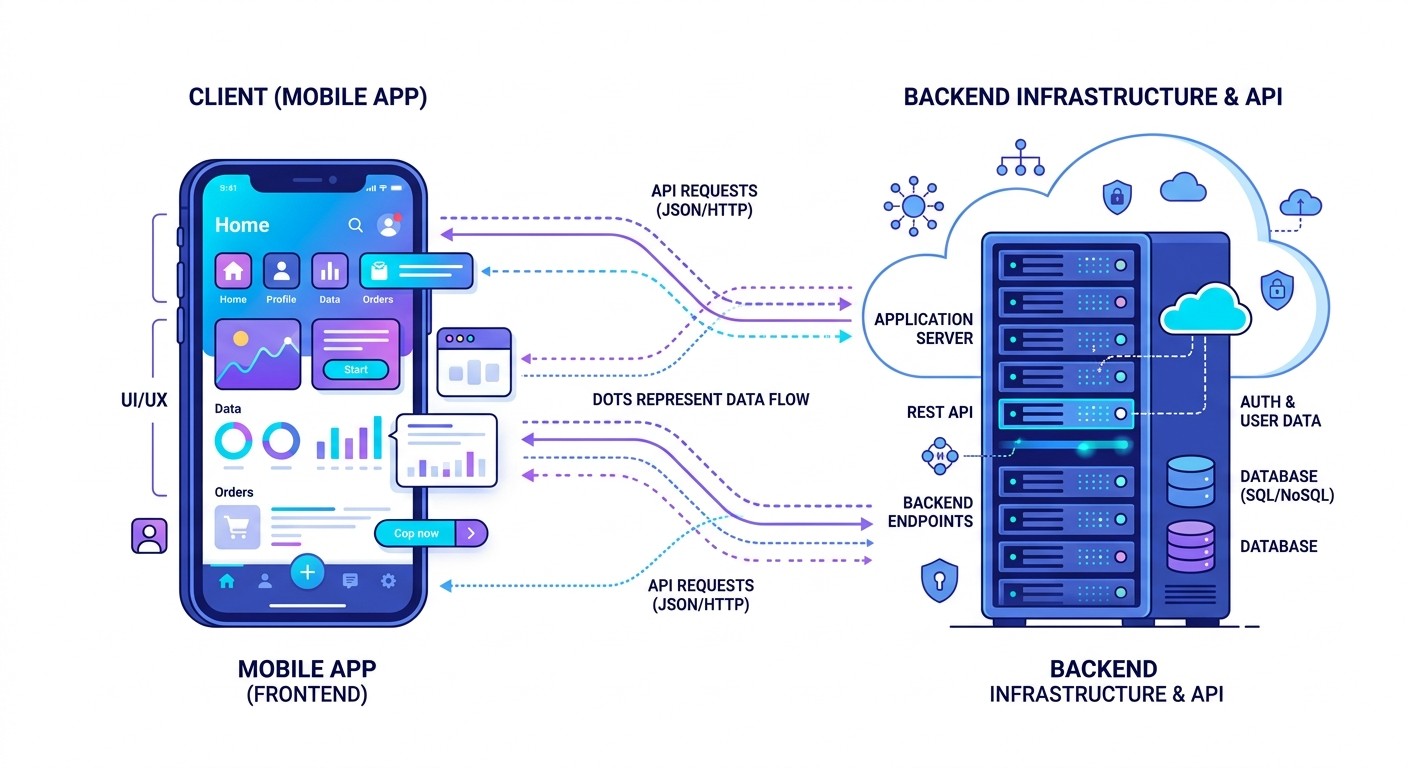
Mobile app development is the full process of turning an app idea into software that runs on iOS, Android, or both. It includes product planning, interface design, frontend development, backend setup, testing, publishing, and ongoing updates.
Every app has two broad parts. The frontend is what users see and touch: screens, buttons, text, images, forms, navigation, and animations. The backend is the system behind the app: user accounts, databases, file storage, payments, notifications, server logic, and admin tools.
A simple app might only need a few screens and local data. A real product usually needs accounts, saved data, permissions, analytics, and updates that do not break the app for existing users.
That is why mobile app development is bigger than writing code. A good app solves a specific user problem, feels natural on a phone, works under messy real-world conditions, and gives people a reason to come back.
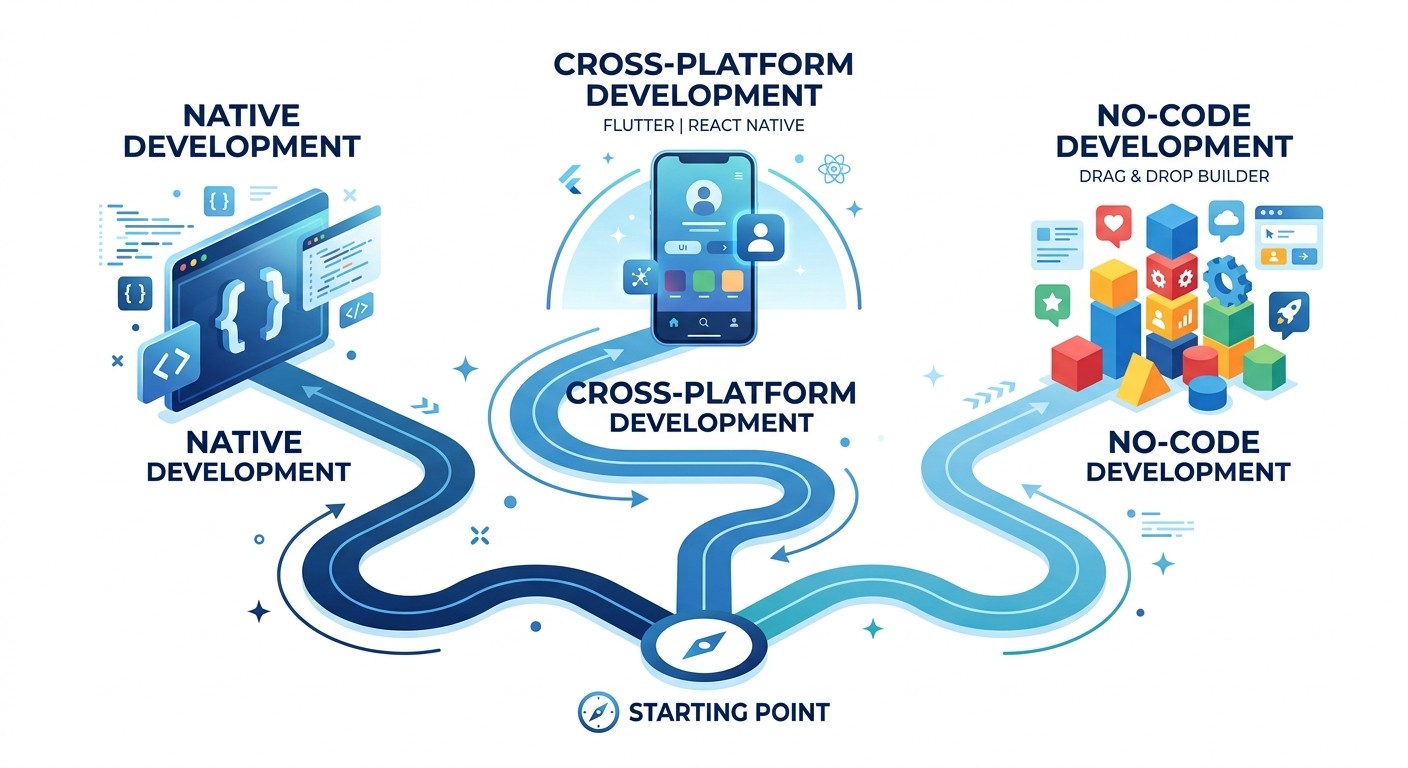
Mobile App Development Paths Compared
Beginners have four realistic paths: native development, cross-platform development, no-code development, and AI app development. The best path is the one that gets your idea into users' hands with the least unnecessary complexity.
Path | Best For | Coding Needed | Main Tradeoff |
|---|---|---|---|
Native development | High-performance apps, deep iOS or Android features | High | You usually build and maintain separate iOS and Android codebases |
Cross-platform development | Startups, MVPs, and apps that need iOS plus Android | Medium | One shared codebase, but some native edge cases still need platform work |
No-code or low-code | Simple MVPs, internal tools, forms, dashboards | Low | Fast to start, but platform limits can appear later |
AI app development | Beginners who want to describe an app in plain English | Low | You need clear prompts and careful review of the result |
Native Development
Native development means building directly for one platform. iOS apps are commonly built with Swift and Apple's tools. Android apps are commonly built with Kotlin and Android Studio.
This gives you the most direct access to platform features, speed, and polish. It also creates the steepest learning curve for a beginner, especially if you want both iOS and Android.
Cross-Platform Development
Cross-platform development lets you build one codebase that runs on both iOS and Android. React Native and Flutter are the most common beginner-friendly choices in this category.
This path is often the best technical route for startups because it balances speed and control. If you are choosing between the two, our Flutter vs React Native comparison explains the practical tradeoffs.
No-Code and Low-Code Development
No-code and low-code tools let you design screens, manage data, and create workflows through visual editors. They are useful when the app is simple, the budget is tight, and you need a working MVP quickly.
The tradeoff is long-term flexibility. If your app needs custom native features, complex offline behavior, unusual speed requirements, or deep integrations, you may outgrow a visual builder.
AI App Development
AI app development is the newest path for beginners. Instead of dragging every component by hand or writing every line of code, you describe the product you want and an AI agent builds the app, backend, and deployment workflow.
This works best when you can explain the app clearly: who it is for, what screens it needs, what data it stores, and what should happen when users take action. Clear briefs lead to better first versions.
The Mobile App Development Process
The mobile app development process has a simple shape: define the problem, design the user flow, build the smallest useful version, test it on real devices, publish it, and improve it from user feedback.
Stage | What You Do | Beginner Goal |
|---|---|---|
1. Idea | Write the problem, audience, and core promise | One sentence that explains why the app should exist |
2. Validation | Talk to potential users and study alternatives | Proof that people care about the problem |
3. User flow | Map the screens and main actions | A path from opening the app to getting value |
4. MVP | Pick only the features needed for the first test | A small app that does one useful job well |
5. Build | Create the frontend, backend, and app logic | A working version you can install or share |
6. Test | Use the app on real devices and fix broken flows | A stable build that handles common mistakes |
7. Launch | Prepare store assets, submit, and collect feedback | Real users trying the app outside your own device |
Do not skip steps one through four. Most beginner projects fail because the builder starts with screens before they understand the user, the problem, or the smallest version worth building.
A clear process also makes AI tools more useful. If you know the user flow and MVP, you can give the builder better instructions instead of asking it to guess the product for you.
How to Validate and Plan Your App Idea

Validation means checking whether real people have the problem your app is supposed to solve. It does not require a finished product. It requires clear questions and honest feedback.
Start by naming the target user. "Everyone who wants to be more productive" is too broad. "Freelance designers who need to track client feedback across projects" is specific enough to guide features, design, pricing, and launch channels.
Define the User and Problem
Write a short user persona before you build. Give the person a role, a goal, a frustrating current workaround, and a reason they would open your app more than once.
For example, a meal-planning app for busy parents should not start with social sharing or a feed. It should start with quick meal plans, grocery lists, dietary preferences, and a way to reuse meals that worked.
Map the User Flow
A user flow is the path someone takes through the app. For a booking app, that might be: open app, choose service, pick time, enter details, pay deposit, receive confirmation.
Mapping the flow before building helps you spot missing screens, confusing steps, and dead ends. A simple sketch on paper is enough for the first version.
Choose the MVP
A Minimum Viable Product is the smallest useful version of the app. It should solve the core problem without every feature you eventually want.
For a deeper framework, read our guide to what a Minimum Viable Product is. The short version: build the smallest version that proves the user wants the outcome, then expand from evidence.
How Much Does Mobile App Development Cost?
Mobile app development cost depends on the build path. The lowest cash-cost route is usually learning or using a free starter tool yourself. The highest cash-cost route is hiring a developer or agency to plan, design, build, test, and launch the app for you.
There are also store-account costs if you want to publish publicly. The Apple Developer Program is required for App Store distribution and is listed by Apple at 99 USD per membership year. Google says Play Console has a US$25 one-time registration fee.
Cost Area | What to Expect | How Beginners Should Think About It |
|---|---|---|
Learning to code | Low cash cost, high time cost | Best if your goal is to become a developer |
No-code tools | Subscription cost plus platform limits | Best for simple MVPs and internal tools |
AI app builders | Subscription cost plus review and iteration time | Best when you want a working app without learning a full stack first |
Freelancers or agencies | Project quote based on scope, design, backend, and launch needs | Best when the app is validated and requirements are clear |
Store accounts | Apple annual membership plus Google one-time registration | Budget for these before you plan a public app store launch |
The biggest beginner cost is usually not the tool. It is rebuilding the same app because the first version was too broad. A narrow MVP keeps cost down because every screen, database table, and edge case has to justify itself.
How Long Does Mobile App Development Take?
Mobile app development timelines vary by scope and build path. A simple prototype can come together quickly, while a polished consumer app with accounts, payments, notifications, offline behavior, and store approval takes longer.
Build Path | Relative Timeline | Why |
|---|---|---|
AI app builder | Fastest for a first working version | The agent can generate screens, code, backend, and deployment from a clear brief |
No-code builder | Fast for simple workflows | You assemble screens and logic visually, but complex behavior can slow down |
Cross-platform code | Moderate | One shared codebase saves time, but you still manage code, testing, and release |
Native iOS and Android | Longest for two-platform launches | You are building, testing, and maintaining platform-specific work |
The fastest way to shorten the timeline is to reduce the first version. Do not launch with messaging, payments, analytics, onboarding, admin tools, and social sharing unless the core problem requires them.
A good first app should feel almost too small. If users still care about it, you have earned the right to add the next layer.
Best Mobile App Development Tools for Beginners
The best beginner tools depend on whether you want to learn coding, build an MVP, or launch a product quickly. Do not choose a tool because it is popular. Choose it because it fits the next step in your app.
Useful categories include:
Design: Figma, Canva, or paper sketches for wireframes and early mockups.
Native development: Xcode and Swift for iOS, Android Studio and Kotlin for Android.
Cross-platform development: React Native or Flutter for one codebase across iOS and Android.
No-code development: Visual builders for simple apps, forms, workflows, and internal tools.
AI app development: Tools like CatDoes that let you describe the app in plain English and have an agent build the app, backend, and deployment flow.
If you are comparing platforms, our guide to the best software for creating mobile apps breaks down the wider tool landscape. For this beginner guide, the rule is simpler: pick the tool that gets a useful first version into real hands fastest.
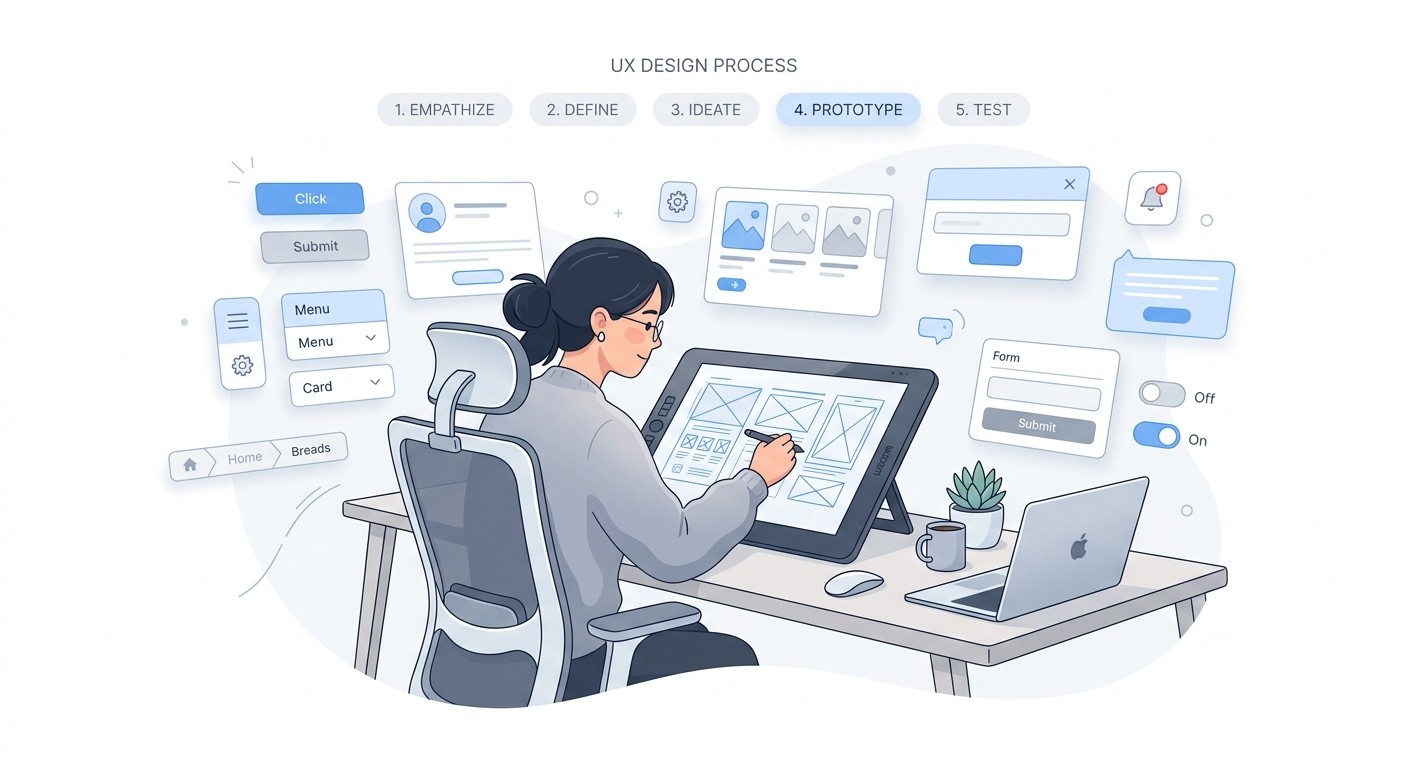
Designing an Intuitive User Experience
A mobile app succeeds when the next action feels obvious. Beginners often focus on colors and logos too early, but user experience starts with structure: what screen comes first, what action matters most, and what users should never have to hunt for.
Start with wireframes. A wireframe is a simple sketch of each screen, usually without color or detailed visuals. It helps you decide what belongs on the screen before design polish distracts you.
Keep Each Screen Focused
Every screen should have one main job. A login screen gets people in. A booking screen helps them choose a time. A checkout screen completes payment. If a screen has three competing jobs, users slow down.
Use clear labels, familiar navigation, strong contrast, and enough spacing for thumbs. Mobile users are often distracted, moving, or working on small screens, so clarity beats cleverness.
Design for Real Phone Behavior
Phones are not tiny desktops. People use them with one hand, lose connection, switch apps, mistype forms, and expect fast feedback when they tap a button.
For more detailed design rules, use our app design best practices checklist before you polish your first release.
Building, Testing, and Launching Your App
Building is not one giant step. It is a loop: build one feature, test it, fix what breaks, and repeat. This keeps the app understandable and prevents a long list of half-working features from piling up.
Test on real devices as early as possible. Simulators are useful, but real phones reveal issues with screen size, touch targets, network changes, camera permissions, keyboard behavior, and performance.

Test the Unhappy Paths
Do not only test the perfect user journey. Try bad passwords, empty forms, weak connections, duplicate submissions, denied permissions, and interrupted uploads.
A beginner app becomes much more trustworthy when it handles ordinary mistakes gracefully. Good error messages are part of product quality, not a finishing detail.
Prepare for App Store Review
Before launch, prepare your app name, icon, screenshots, description, privacy policy, support URL, and test account if reviewers need to log in. Store review is easier when your app does exactly what the listing promises.
Google also has extra testing requirements for newly created personal developer accounts. Google says these accounts must run a closed test with at least 12 opted-in testers for 14 continuous days before applying for production access.
Plan for launch as part of development, not as a final admin task. The app, the store listing, and the first user feedback loop all need to work together.
The Best Beginner Path to Build Your First App
The best beginner path is not always the most technically impressive path. It is the path that helps you learn whether the app should exist.
Use this decision rule:
If you want to become a mobile developer, learn the fundamentals with Swift, Kotlin, React Native, or Flutter.
If you want to validate a business idea, use the fastest path that can create a working MVP.
If you are non-technical, start with no-code or AI app development before committing to a custom build.
If users start asking for advanced features, then invest in a deeper technical stack.
For many first-time builders, the cleanest route is to describe the app in plain English, let an AI agent produce the first version, test it with real users, then decide whether the idea deserves more engineering work.
That is the workflow CatDoes is built for. You describe the mobile app or website you want, the agent builds it, sets up the backend, and helps you ship to the web, the App Store, or Google Play.
Frequently Asked Questions
What is mobile app development?
Mobile app development is the process of planning, designing, building, testing, publishing, and maintaining apps for smartphones and tablets. It covers both the user-facing app and the backend systems that store data, manage accounts, and power app behavior.
How do I start mobile app development as a beginner?
Start by choosing one user problem, mapping the simplest user flow, and defining an MVP. Then choose a build path: native code if you want to become a developer, cross-platform if you want one codebase, no-code for simple MVPs, or AI app development if you want to build from plain English.
How much does it cost to build a mobile app?
The cost depends on whether you build it yourself, use a no-code or AI tool, or hire a team. Beginners should budget for the build tool, backend or hosting needs, and store-account fees if they want to publish on the App Store or Google Play.
How long does it take to develop a mobile app?
The timeline depends on scope. A small MVP can be much faster than a polished production app with accounts, payments, notifications, admin tools, and two app store launches. The fastest way to reduce time is to launch a smaller first version.
Which programming language should I learn first?
Learn Swift if you only care about iOS, Kotlin if you only care about Android, and JavaScript or TypeScript if you want to use React Native. If your goal is to launch an idea rather than become a developer, start with no-code or AI app development first.
Can I build a mobile app without coding?
Yes. No-code tools and AI app builders can help beginners create working apps without writing code manually. You still need to define the product clearly, test the output, and make sure the app solves a real user problem.
What is the best mobile app development path for beginners?
For most beginners, the best path is to build a small MVP with the fastest tool that can test the idea. If the app gets real interest, you can improve it, export or extend the code, or rebuild parts of it with a deeper technical stack.
Ready to build your first app instead of only planning it? Start with CatDoes, describe what you want in plain English, and let the agent build the first version for you.
Nafis Amiri
Co-Founder of CatDoes


