Blog
Tutorials
How to Build a Mobile App in 2026
Build a mobile app from idea to App Store in 2026. Step-by-step guide covering validation, design, development, testing, and launch. Start free with CatDoes.

Nafis Amiri
Co-Founder of CatDoes

Building a mobile app can feel overwhelming. Between market research, design, development, testing, and app store submissions, there's a lot of ground to cover. But thousands of people build a mobile app every month, and the process is more accessible than it used to be.
This guide walks you through the entire journey, from validating your idea to launching on the Apple App Store and Google Play. Whether you're a non-technical founder or an experienced developer, you'll find a clear path forward.
Key Takeaways
To build a mobile app, start by validating your idea with real users, then design an intuitive experience with wireframes and prototypes. Choose a development path (native, cross-platform, or no-code) based on your budget and timeline. Build and test continuously, optimize your app store listing before launch, and plan for regular post-launch updates.
Table of Contents
Validating Your App Idea
Designing an Intuitive User Experience
Choosing the Right Development Path
Building and Testing Your App
Launching on the App Stores
Frequently Asked Questions
Validating Your App Idea

Before you jump into designing screens or thinking about code, there's one step that matters more than anything else: making sure people will actually use your app.
It's easy to fall in love with your own idea. But a concept that sounds brilliant in your head doesn't always survive contact with the real world. Validation is the hard work of proving there's a genuine need for what you want to build. You need evidence that real people face a problem your app can solve, and that they'd be willing to download and maybe even pay for your solution.
Understanding the Market Landscape
The app market is booming, which is both a huge opportunity and a serious challenge. The global mobile app market was valued at roughly $281 billion in 2024, and projections estimate it could generate over $2 trillion in revenue by 2030.
But a growing market means more noise and fiercer competition. Your job isn't to compete with everyone. It's to carve out a specific niche where your app becomes indispensable. The best app ideas solve a specific, painful problem for a clearly defined group of people. Instead of trying to build an app for everyone, focus on creating something one audience can't live without.
Identifying User Pain Points
At its core, a great app is just a great problem-solver. To figure out what problem to solve, you have to find your users' pain points — the frustrations and inefficiencies they deal with every day.
Start by having real conversations with people you think might use your app. Keep it informal. Ask open-ended questions about the challenges they face in that specific area of their lives. For instance, if you're thinking about a productivity app, you could ask:
What's the most frustrating part of managing your to-do list right now?
Have you tried other apps for this? What did you love or hate about them?
If you could wave a magic wand, what would your perfect task manager do?
The answers you get will point you toward the features that matter most and help you avoid building things nobody wants. This early research guides you toward building a focused first version. For more on this, check out our guide on what a minimum viable product (MVP) is and why it matters.
Designing an Intuitive User Experience
Once your app idea feels solid, the next big job is turning that concept into something people can see and use. A brilliant idea can die a quick death if the app is confusing, clunky, or frustrating to navigate.
This is where user experience (UX) and user interface (UI) design come in. Think of it as creating the architectural blueprint for your app before any development begins. Your goal is an experience so natural that using your app feels like second nature.
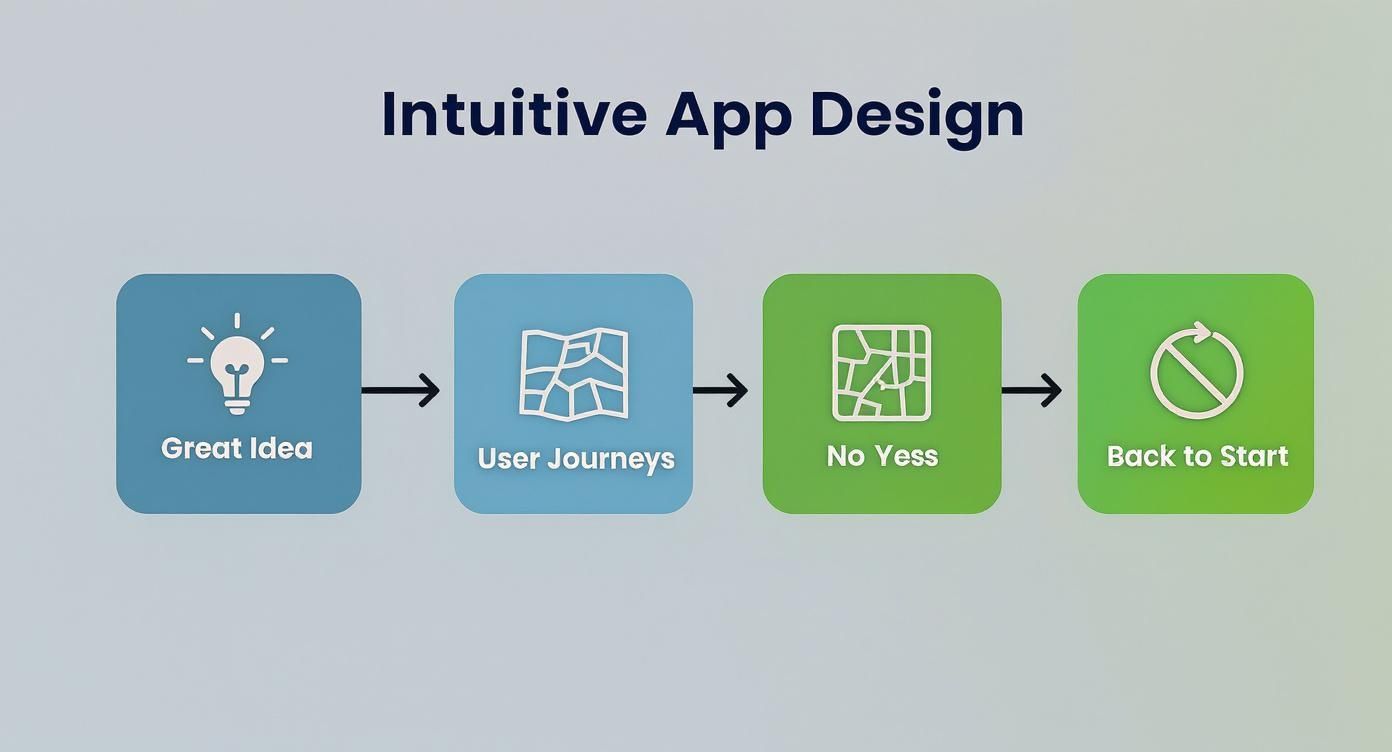
Mapping the User Journey
Before you think about colors or fonts, map out how someone will actually move through your app. This is called user journey mapping — the process of outlining every step a person takes from opening the app to completing their goal.
For example, imagine you're building a loyalty app for a local coffee shop. A typical user journey might look like this:
A customer opens the app to find the nearest location.
They tap on the map to pull up directions.
After buying their coffee, they scan a QR code to collect loyalty points.
Later, they check their points balance to see how close they are to a free drink.
Mapping these paths helps you spot potential roadblocks and friction points early on, ensuring the flow is logical and gets people to their goal without any fuss.
From Wireframes to Prototypes
With your user journeys defined, it's time to start sketching wireframes. These are simple, black-and-white layouts that act as the skeleton for your app. Wireframes focus entirely on structure and element placement, deliberately ignoring visual details like colors and graphics.
Once the wireframes feel right, build an interactive prototype. This is a clickable, high-fidelity mockup that looks and feels like the real app. Prototypes let you test the entire user experience with actual people before you commit to development, helping you catch design flaws when they're still cheap to fix.
For a deeper dive, check out our guide on app design best practices. Gathering feedback at this stage saves a massive amount of time and money down the road.
The app market is incredibly crowded, and user engagement is everything. As of 2025, the average smartphone user interacts with about 10 different apps every day. Categories like AI chatbot apps have seen a 112% year-over-year increase, proving that innovative, well-designed features can capture attention and drive serious engagement.
Choosing the Right Development Path
You've got your designs locked in. Now comes the big technical crossroad: deciding how you're actually going to build this thing.
This choice is one of the most critical you'll make. It directly impacts your budget, timeline, app performance, and long-term maintenance. You have three main paths: native development, cross-platform frameworks, or a no-code builder.
Native App Development
Going native means building two separate apps from the ground up — one for each platform. For iOS, developers use Swift. For Android, they use Kotlin.
This is the gold standard for performance. You're speaking the device's native language, which gives you unrestricted access to hardware features like the camera, GPS, and accelerometer. The result is the smoothest possible user experience.
The trade-off is cost and complexity. You're maintaining two completely separate codebases, which means more time, a bigger budget, and specialized developers for each platform. Native makes the most sense for apps where performance is a deal-breaker — high-end mobile games, video editors, or sophisticated photo-editing software.
Cross-Platform Development
What if you want to reach users on both iOS and Android without doubling your work? That's where cross-platform development comes in.
Frameworks like React Native (from Meta) and Flutter (from Google) let developers write code once and deploy it on both platforms. A single team can manage one codebase, which makes shipping features and fixing bugs dramatically faster and more affordable.
Performance might not be quite as flawless as native, and tapping into very specific device features can sometimes require extra work. But for the vast majority of business apps — from e-commerce stores to social networks — this approach hits the sweet spot. We've broken down the key differences in our Flutter vs. React Native in 2026 comparison.
No-Code and Low-Code Platforms
In the last few years, a third path has opened up, especially for founders without a technical background or anyone who needs to launch fast.
No-code platforms, like CatDoes, let you build a fully functional app using visual drag-and-drop interfaces or by describing what you want in plain English. These tools are the fastest and most cost-effective way to get an app into the market. They handle the heavy technical lifting so you can focus on the user experience and features.
While you might not get the same level of granular customization as with code, no-code tools are perfect for a huge range of standard app types, internal business tools, and prototypes. They're ideal for building a minimum viable product to test a concept quickly before investing in custom development.
Development Approaches Compared
To help you decide, here's a side-by-side comparison. Think about your app's core requirements — whether that's raw performance, speed to market, or budget — and see which approach fits best.
Approach | Best For | Pros | Cons |
|---|---|---|---|
Native | High-performance apps, complex games, deep hardware integration. | Unmatched performance and speed. Full access to device features. Smoothest user experience. | Highest cost and longest timeline. Requires separate codebases. Needs specialized developers. |
Cross-Platform | Most business apps, e-commerce, social media, content apps. | Faster development and lower cost. Single codebase for both platforms. Easier maintenance. | Performance can be slightly less optimized. Some native features require workarounds. |
No-Code | MVPs, prototypes, internal tools, non-technical founders. | Extremely fast and affordable. No coding knowledge required. Lowers barrier to market entry. | Limited customization. May not scale for highly complex apps. Dependent on platform features. |
There's no single best way to build an app — only the best way for your specific project. By understanding these trade-offs, you can make an informed decision from day one.
Building and Testing Your App

Your designs are locked in and you know your technical path. Now for the exciting part: turning those static screens into a real, working product.
Don't try to tackle everything at once. Break it into two parallel tracks: building features and trying to break them. Start with the backend first — this is your app's engine room. It handles user accounts, stores data, and creates the APIs that let the front-end talk to the server. Once that foundation is solid, building the user interface on top becomes much smoother.
Continuous Testing
Building features is fun. Testing is what makes sure that progress isn't an illusion. It is far cheaper to squash a bug in development than it is after your app is on a thousand phones.
A solid testing plan covers three key areas:
Functionality Testing: Does every button, link, and form field do exactly what you expect? No exceptions.
Usability Testing: Watch real people use your app and see where they get stuck or confused. Their confusion is your to-do list.
Performance Testing: Check speed, responsiveness, and battery drain. A sluggish, power-hungry app gets deleted fast.
Beta Testing with Real Users
Before a public launch, get the app into the hands of a small, trusted group of users who aren't on your team. You've been staring at this thing for months — you're blind to its flaws. They aren't.
The feedback from beta testers helps you catch last-minute bugs, smooth out the user journey, and add the final polish that separates a good app from a great one.
This cycle of building, testing, and refining is critical. The mobile app market is projected to grow from $243 billion in 2025 to nearly $481 billion by 2030. That's a massive opportunity, but only for apps that are well-built and properly tested.
Launching on the App Stores
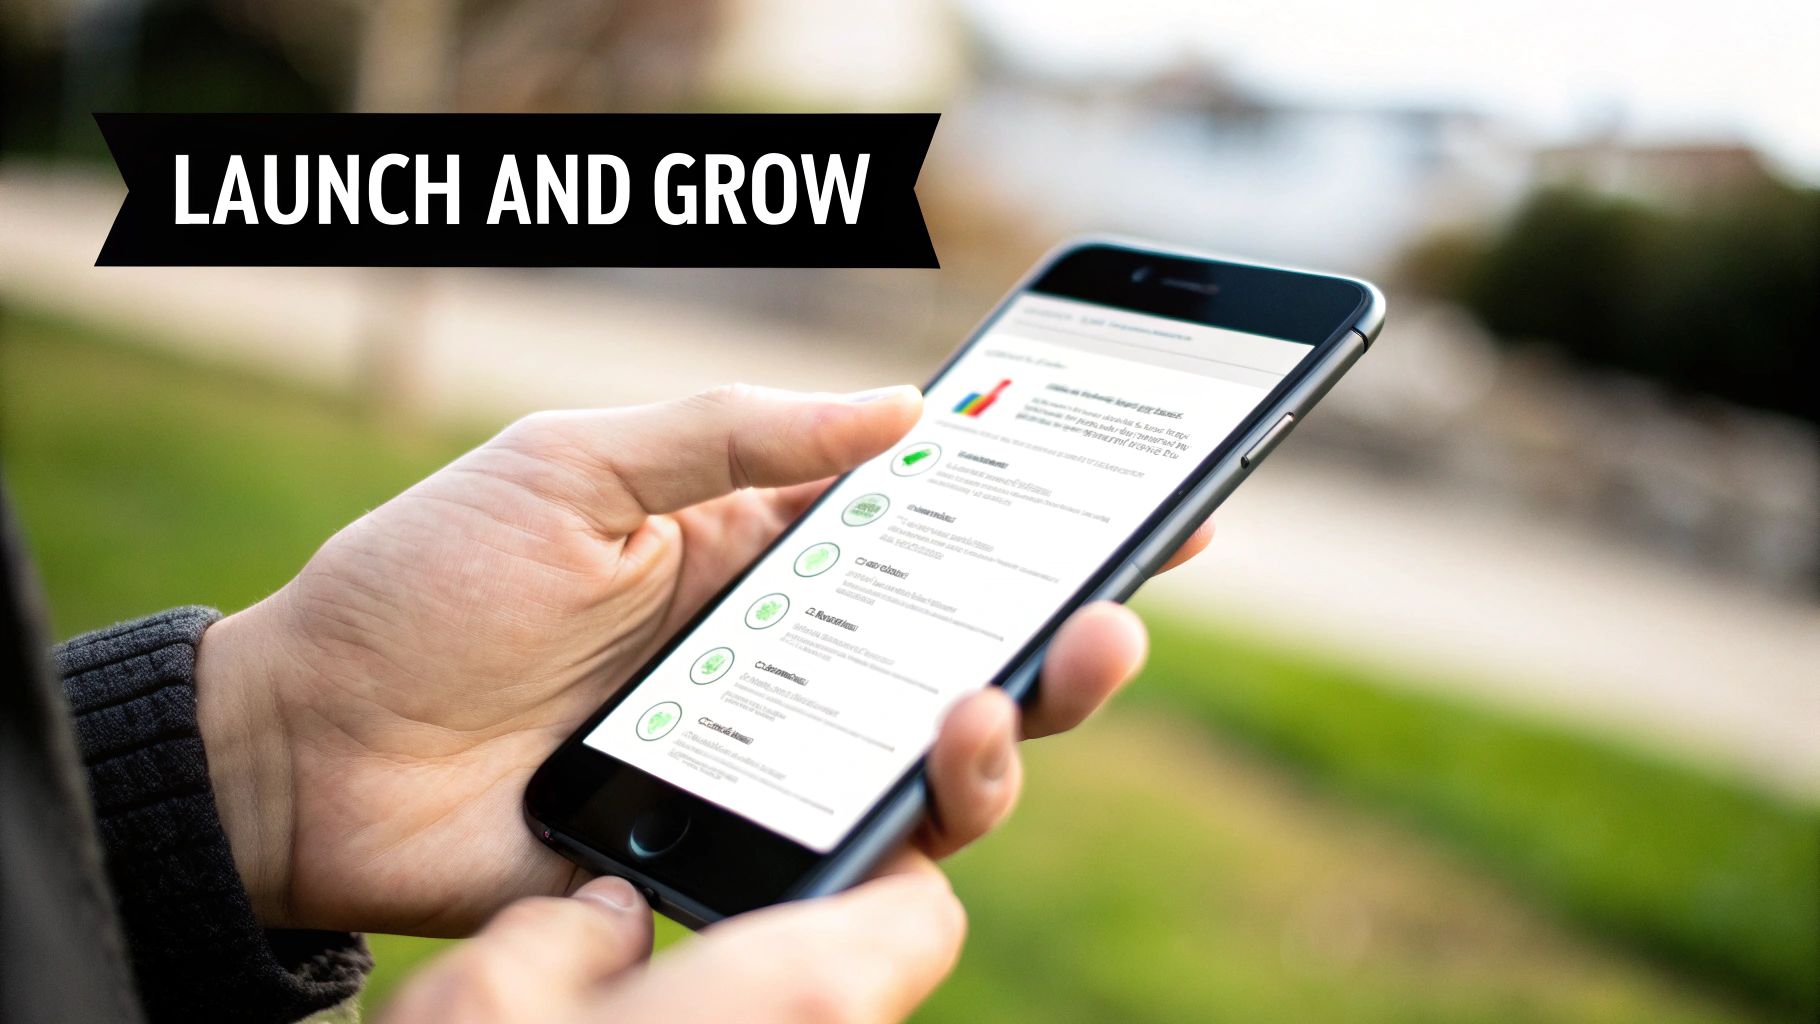
You've built and tested your app — a huge milestone. Now comes the final hurdle: getting it into the Apple App Store and Google Play.
Both platforms have their own rules, review processes, and requirements. But with some prep work and a clear checklist, you can get published and set up for a strong start.
Preparing for Submission
First, get your developer accounts in order. Apple requires a $99 annual fee for its Developer Program, while Google has a one-time $25 fee. Make sure the account owner matches the app's content owner to avoid compliance issues.
With your accounts active, gather your assets:
App Metadata: Your app's name, a detailed description, and keywords. The description is your primary sales pitch — make it compelling and clear.
Visual Assets: High-quality screenshots and a polished app icon. These create the first impression and communicate what your app does in a split second.
Privacy Policy: Both stores require a clear, accessible privacy policy that explains how you handle user data.
App Store Optimization (ASO)
Just hitting publish won't bring the crowds. You need to make your app discoverable through App Store Optimization (ASO) — essentially SEO for app stores.
The keywords you choose are the foundation. Your app title and description should naturally include terms your ideal users would type into the search bar. For instance, a hiking app should include keywords like "hiking tracker," "trail maps," and "outdoor adventure."
Effective ASO directly impacts your download numbers and is a critical part of any successful launch.
Post-Launch Monitoring and Iteration
Your job doesn't end when the app goes live. In many ways, it's just beginning.
Keep a close eye on performance. Analytics tools built into both app stores provide data on downloads, user engagement, and retention rates. Even more valuable are user reviews and ratings — direct, unfiltered feedback about what works and what needs fixing. Make a point to respond to reviews, both positive and negative.
Plan to ship regular updates. The most successful apps release updates 3 to 4 times a year to fix bugs, add features, and adapt to new OS versions. This cycle of continuous improvement is the key to keeping your app relevant long after the initial launch buzz fades.
Frequently Asked Questions
How Much Does It Cost to Build an App?
Costs vary widely. You could spend a few thousand dollars or well over $250,000. The final number depends on three factors:
Complexity: A simple app with one or two core features costs far less than one with custom animations, third-party integrations, and real-time data.
Development path: Hiring a traditional agency is the most expensive option. Using a no-code platform like CatDoes brings that cost way down by removing the need for a dedicated engineering team.
Platform coverage: Building separate native apps for iOS and Android means two codebases and often double the cost. Cross-platform or no-code solutions are more budget-friendly.
How Long Does It Take to Make an App?
Timelines range from weeks to months. A simple MVP built with a no-code tool can be ready in a few weeks. A feature-rich app built from scratch typically takes 4 to 6 months, covering ideation, design, development, testing, and app store prep.
The key is breaking the project into smaller, manageable milestones. And remember — launch day is just the starting line. The best apps grow through continuous iteration based on user feedback.
What's the Best Way to Monetize an App?
The right monetization strategy depends on your app and your audience. Here are the most common models:
Model | Best For | How It Works |
|---|---|---|
In-App Purchases | Gaming, content, and service apps | Users buy digital items, unlock features, or access content inside the app. |
Subscriptions | Streaming, productivity tools | Users pay a monthly or yearly fee for ongoing access or premium features. |
Freemium | Most app categories | The basic app is free. Users pay to remove ads or unlock advanced features. |
Paid Apps | Niche utilities, high-value tools | Users pay a one-time fee to download from the store. |
Many successful apps use a hybrid approach — combining freemium with in-app purchases to open up multiple revenue streams.
Do I Need to Maintain My App After Launch?
Absolutely. Launching an app is like buying a car — you can't just drive it off the lot and never think about it again. Here's what ongoing maintenance looks like:
OS compatibility: Apple and Google release major OS updates every year. Your app needs to stay compatible and take advantage of new capabilities.
Bug fixes: As more people use your app, they'll find bugs you never knew existed. Fix them quickly to keep users happy.
New features: User needs evolve and the market changes. Adding valuable new features keeps your app from feeling stale.
Neglecting maintenance leads to bad reviews, security vulnerabilities, and eventually removal from the app stores. Budget for ongoing updates from the start.
Ready to turn your idea into reality without the high costs and long timelines of traditional development? CatDoes uses AI to build, test, and deploy your mobile app from a simple description. Start building for free today.
Nafis Amiri
Co-Founder of CatDoes


