Blog
Tutorials
Create mobile app without coding: A Practical Guide
create mobile app without coding with no-code tools. This practical guide walks you through building and launching your app.

Nafis Amiri
Co-Founder of CatDoes

Create mobile app without coding: A Practical Guide
Of course you can. It's no longer a question of if you can build a mobile app without code, but how you'll do it. Modern tools have completely flipped the script, swapping out complex programming languages for visual, drag-and-drop interfaces. This means you can design, build, and launch a real, working app yourself.
App development is no longer just for people with a computer science degree. It's for everyone.
A Whole New Way to Build Apps
Looking at the world of app development from the outside, it's easy to feel intimidated. The traditional route was a gauntlet of steep learning curves, expensive developers, and months of work just to see a rough prototype. What if you could just skip all that?
That’s not a dream anymore. It’s the reality for thousands of entrepreneurs, small businesses, and creators who are bringing their ideas to life on their own terms. The rise of no-code platforms has completely changed the game, giving anyone the power to become a builder.
Why No-Code Is Here to Stay
This isn't just a fleeting trend. No-code represents a fundamental shift in how we create software. It’s not about getting rid of developers; it’s about empowering a totally new wave of creators.
Think of it this way: you don’t need to be a professional designer to make a great-looking presentation in Canva, and you definitely don't need to be a programmer to build a powerful app with a tool like CatDoes.
The whole movement is built on a simple idea: focus on what your app does, not how it's built. Instead of getting tangled up in code syntax, you can pour all your energy into the user experience and solving a real problem for your audience.
The core idea behind no-code is to lower the barrier to creation. It allows the people with the problems and the ideas, often business experts or entrepreneurs, to build their own solutions directly.
This shift is happening everywhere, from solo founders to large corporations. The numbers tell a powerful story: by 2025, it's projected that low-code and no-code platforms will be used to create around 70% of new applications inside organizations. That's a huge leap from less than 25% back in 2020. This explosive growth, tracked in reports like Hostinger's analysis of low-code trends, shows just how much businesses are relying on these tools to build faster and smarter.
Understanding the Key Differences
To really get why no-code is such a big deal, it helps to see it side-by-side with the old way of doing things. The contrast makes it obvious why so many people are choosing to build without writing a single line of code.
If you're just starting to explore this world, our guide on choosing the right no-code mobile app builder is a great place to get your bearings.
For a quick overview, let's look at how no-code and traditional coding stack up.
No-Code vs Traditional Coding At a Glance
This table breaks down the fundamental differences, giving you a clear picture of why the no-code approach has become so popular for getting ideas off the ground quickly.
Aspect | No-Code Development | Traditional Coding |
|---|---|---|
Speed | Build and launch in days or weeks. | Projects often take months or years. |
Cost | Low monthly subscriptions. | Can cost $50,000 to $250,000+. |
Skills Required | Your idea and a clear vision. | Expertise in multiple programming languages. |
Flexibility | Fast iteration based on user feedback. | Changes are slow and require developers. |
Control | You are in complete control. | Dependent on a technical team. |
As you can see, the benefits go far beyond just avoiding code. No-code directly impacts your timeline, budget, and ability to adapt.
Here’s a quick breakdown of what that means for you:
Speed and Agility: No-code is incredibly fast. You can get a Minimum Viable Product (MVP) into the hands of real users in a matter of days or weeks, not months. This lets you test your concept, get feedback, and make changes on the fly.
Cost-Effectiveness: The financial barrier to entry is almost non-existent compared to traditional development. You sidestep the massive costs of hiring a development agency or freelance team, which can easily run into the tens or even hundreds of thousands of dollars.
Empowerment and Control: You’re in the driver’s seat. No-code gives you direct control over your project, from the first sketch to the final launch and all the updates that follow. No more waiting on someone else to make a simple change.
Building Your App's Blueprint
A great app starts with a clear vision, not a fancy tool. It’s tempting to jump right into a builder and start dragging and dropping elements, but that’s like trying to build a house without architectural drawings. You might end up with something, but it probably won’t be the sturdy, functional app you had in mind.
This planning phase is your foundation. Getting it right ensures you create a mobile app without coding that people will actually use and love. This is where you translate that big idea in your head into a tangible, actionable roadmap.
This simple visual breaks down the core stages of no-code app creation, from that first spark of an idea to the final launch.
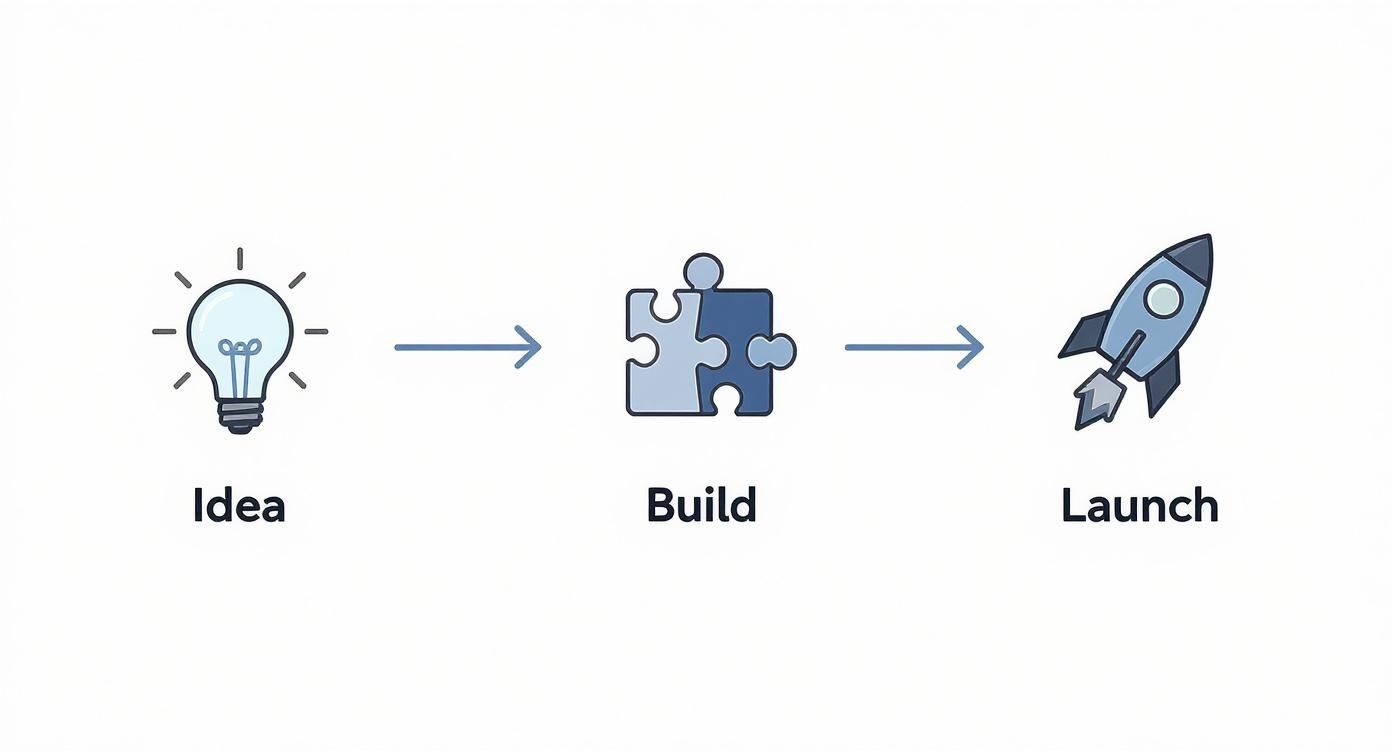
As you can see, the "build" phase is just one piece of the puzzle. The real work happens long before you touch a single button, and it all starts with a strong conceptual foundation.
Define Your Core Purpose
First things first, you need to answer a deceptively simple question: what one problem does your app solve better than anything else? Be ruthless with your answer. A vague goal like "connecting coffee lovers" is a nice thought, but it's a terrible starting point for an app.
A much stronger purpose would be, "helping our coffee shop's regulars skip the morning line and earn loyalty rewards." See the difference? This immediately defines your audience (regulars) and the specific problem you're solving (wasted time and a clunky loyalty program).
A successful app does one thing exceptionally well. Resist the urge to pack your first version with dozens of features. Simplicity is your greatest asset, especially when you're just starting out.
Let’s run with a real-world example. For a local coffee shop we'll call "The Daily Grind," the core purpose is crystal clear. Their app will let customers pre-order their favorite drinks for quick pickup and automatically track purchases to unlock free stuff. This clarity will guide every single decision they make from here on out.
Identify Your Ideal User
Now that you know the what, it's time to nail down the who. You aren't building an app for everyone on the planet. You're building it for a specific type of person with a specific need.
Let's sketch out the ideal user for The Daily Grind. We'll call her Brenda.
Who is she? "Busy Professional Brenda," a 28-40 year old who works in a nearby office building.
What does she do? Grabs coffee every single weekday between 8:00 and 9:00 AM, always in a rush.
What's her pain point? She absolutely hates waiting in the 10-minute line, which sometimes makes her late for her first meeting. She also loses her paper punch card constantly.
By creating this simple user persona, the coffee shop can tailor every feature directly to Brenda's needs. This laser focus is what prevents "feature bloat" and ensures you're building something genuinely useful for the people you want to reach.
Map Out Critical Features
With a sharp purpose and a clear user in mind, you can finally list the essential features for your first version: what we call a Minimum Viable Product (MVP). The key here is to be brutal in your prioritization. What is absolutely necessary for the app to fulfill its core purpose for Brenda?
For The Daily Grind's app, the critical features might look like this:
Simple User Signup: A lightning-fast way for users to create an account.
Menu Browsing: An easy-to-scan list of available drinks and food.
Order Customization: Simple options to add extra shots, choose milk types, etc.
Secure Payment: A smooth integration with a payment processor for in-app purchases.
Automated Loyalty Tracking: A system that automatically adds a "star" for each purchase.
Notice what's not on this list? There's no delivery integration, no social sharing, and no option to buy gift cards. Those are all great ideas for later, but they aren't essential for solving Brenda's immediate problem. Starting lean allows you to launch faster and gather real feedback before you invest another minute of your time or another dollar of your budget.
Designing an Intuitive User Interface
With your blueprint ready, it's time to bring your app's visual identity to life. This is the fun part, where your app actually starts to look and feel like a real product. And thanks to modern no-code tools, you absolutely do not need a design degree to create something beautiful and functional. The entire goal is to craft an experience that feels natural from the very first tap.
The core of this process happens inside a visual editor. Tools like CatDoes give you a drag-and-drop canvas where you can piece together screens, buttons, and forms into a complete user journey. This hands-on approach is what makes it possible to create a mobile app without coding. You're visually building the app, seeing your changes happen in real time.
You'll typically see your components on the left and a live preview of your app screen on the right, just like this.
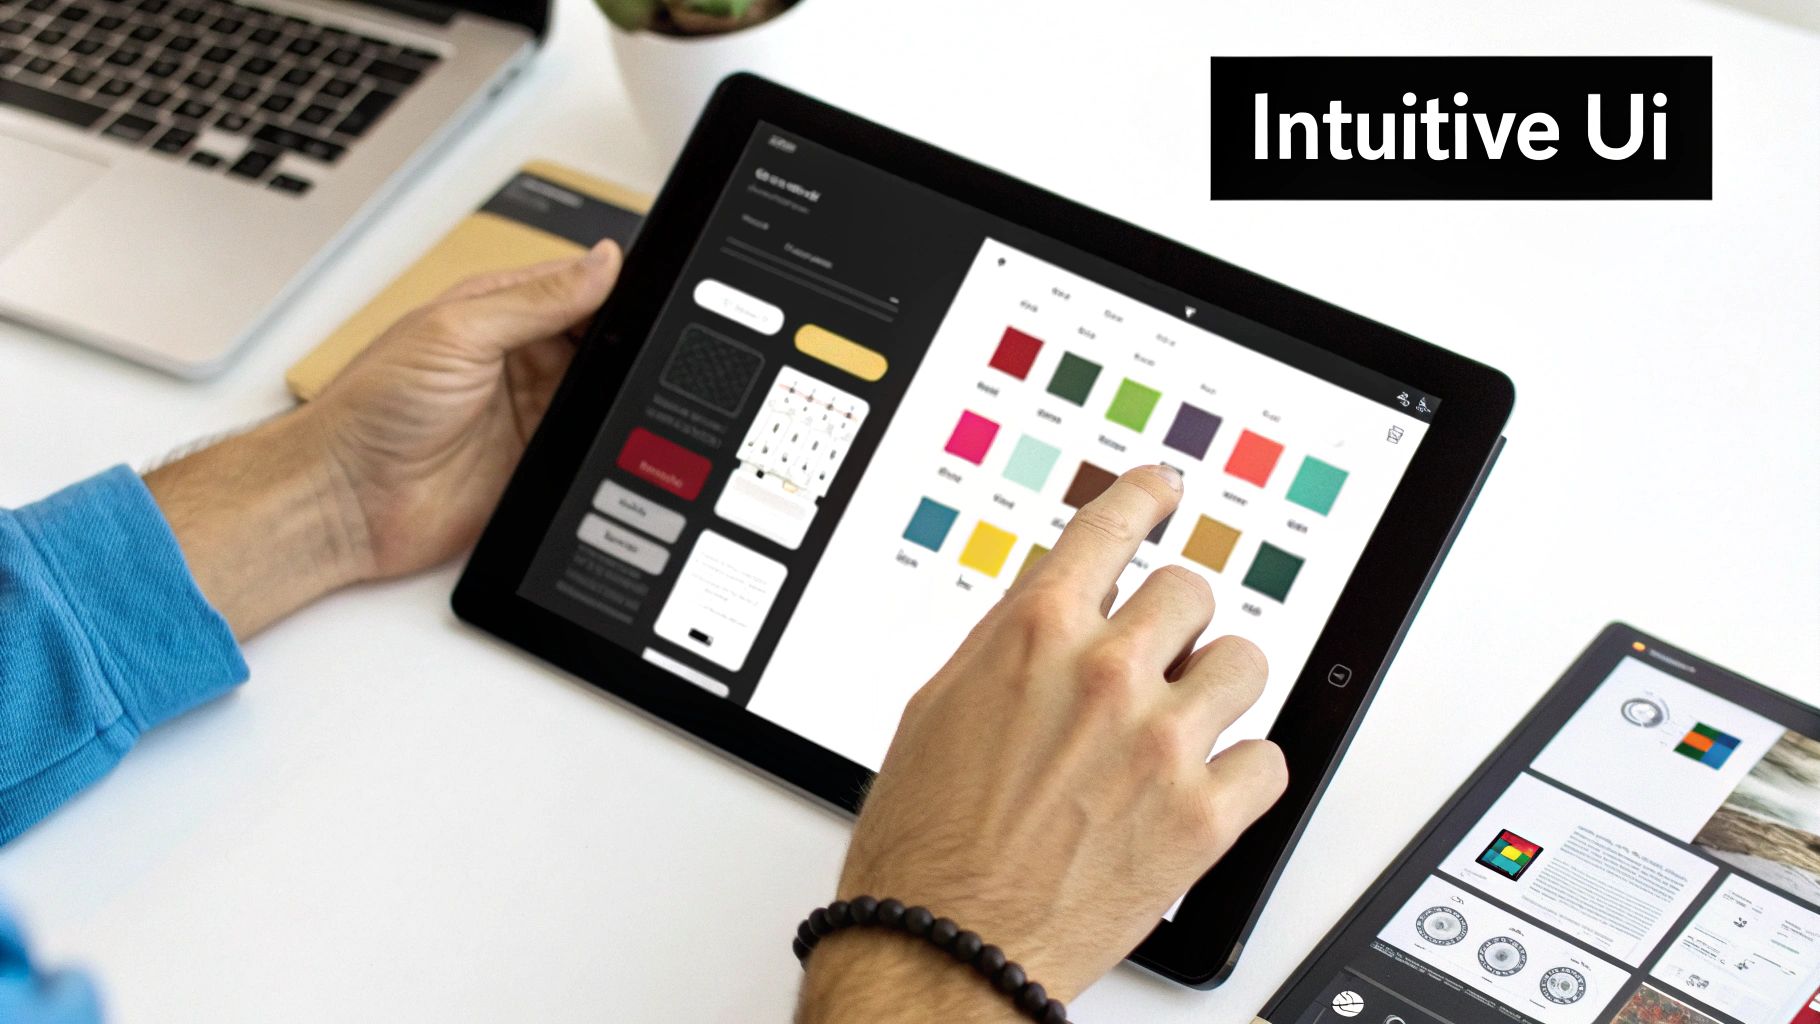
This setup lets you focus completely on the user's experience instead of getting bogged down in code, making the whole design process accessible to anyone.
Crafting a Simple and Effective Visual Style
Believe it or not, great design often begins with simplicity. Your goal isn't to win an art award; it's to create an interface that's clean, consistent, and easy for anyone to figure out. A professional look comes down to just a few key elements.
First, lock in a simple color scheme. Pick two or three colors that feel right for your brand. A primary color works perfectly for key actions like buttons, with a secondary color for smaller accents. For backgrounds, a neutral like light gray or off-white keeps the focus where it should be: on your content.
Next up, your fonts. Readability is everything here. Choose one font for headings and another for body text. Sticking to clean, well-known fonts like Lato, Open Sans, or Roboto ensures your app looks polished and is easy to read on any device.
Building an Intuitive Navigation Flow
How users move through your app is just as important as how it looks. When navigation feels intuitive, people can find what they need without even thinking about it. A confusing app is a deleted app. In fact, a poor user experience is one of the top reasons people uninstall apps.
A solid grasp of user experience design principles is central to building a no-code app that's not just functional, but genuinely enjoyable to use.
Try to map out the user's journey. For that coffee shop app we talked about, the flow might look like this:
Home Screen: Daily specials are front and center, with a big "Order Now" button.
Menu Screen: A categorized list of all the drinks and food.
Item Details Screen: This is where users customize their order (milk type, size, etc.).
Checkout Screen: A simple form to handle payment and confirm the pickup time.
This logical path guides the user from A to B without any friction. Every single screen should have a clear purpose and an obvious next step.
Your app's navigation should feel like a helpful conversation. Each screen should answer the user's question, "What can I do here?" and guide them smoothly to their goal.
Practical Design Principles for Non-Designers
You don't need years of training to apply good design. By keeping a few core ideas in mind, you can build an interface that’s both beautiful and works incredibly well. Think of consistency, clarity, and feedback as your guiding stars.
For a deeper dive, exploring these app design best practices can give you an even stronger foundation for your project.
Here are a few tips to get you going:
Maintain Consistency: Buttons, icons, and colors should look and act the same way across the entire app. This builds familiarity and makes your app feel predictable and trustworthy.
Prioritize Clarity: Use clear, simple labels and avoid jargon. The meaning of an icon should be obvious at a glance. If it isn't, add a text label to clear up any doubt.
Provide User Feedback: When someone taps a button, something should happen. This could be a subtle color change, a loading spinner, or a simple message like "Your order has been placed!" This feedback reassures the user their action was successful and cuts down on frustration.
Embrace White Space: Don't cram every pixel of your screens with stuff. White space (or negative space) is the empty area around elements that helps reduce clutter, improves readability, and guides the user's eye to what's most important.
Adding Functionality with Visual Logic
Alright, your app looks great. Now it’s time to make it do something. This is the fun part, where we move past static screens and build the engine that powers the whole operation. Adding functionality is how you truly create a mobile app without coding. It's about defining what happens every time a user taps, swipes, or types.
We'll be using what's called visual logic. It sounds technical, but it’s really just a fancy term for connecting actions to triggers with a drag-and-drop interface. Instead of writing code, you’re literally drawing the lines between "when a user does this" and "the app should do that."

This step transforms your design from a collection of pretty pictures into a living, breathing experience. This is where your app comes to life.
Structuring Your App's Database
Every app worth its salt needs a brain: a place to store and recall information. That place is your database. No-code platforms make setting one up surprisingly painless. Think of it like creating a set of smart, interconnected spreadsheets.
For our coffee shop app, The Daily Grind, we’d need a few core tables:
Users: This table holds the basics for each customer: their name, email, password, and maybe a profile picture.
Products: Here, we'll list every single item we sell, like lattes and croissants. Each item gets a name, price, description, and an image.
Orders: This is the transaction log. It links a specific user to the products they bought on a certain date.
These tables don't just sit there in isolation. The 'Orders' table is connected to both the 'Users' and 'Products' tables. This connection, or data relationship, is what lets the app show Brenda her past orders or lets you see how many cold brews you sold last Tuesday. You're focused on the logic of your business, not the technical weeds.
Building Visual Workflows
Once your data has a home, you can start building workflows. A workflow is just a sequence of actions that kicks off when a user does something. It’s the "if this, then that" heart of your application.
Let's walk through a simple one for The Daily Grind.
The Trigger: A customer finds the "Iced Latte" screen and taps the "Add to Cart" button.
Action 1: The app instantly creates a new entry in our 'Orders' table.
Action 2: It fills that entry with the current user's ID and the product ID for the "Iced Latte."
Action 3: Finally, it whisks the user over to their shopping cart screen to show the newly added item.
Each step is defined visually, usually by picking options from a dropdown menu. You’re just telling the app what to do in plain language, creating some pretty powerful features without touching a single line of code.
The real magic of no-code logic is how fast you can move. You can build a workflow, test it on your phone a second later, and see exactly what happens. That immediate feedback loop makes tackling complex features feel way less intimidating.
Integrating Advanced AI Features
Modern no-code platforms are pushing way beyond simple button clicks. Many, including CatDoes, now have powerful AI tools baked right in. This means you can add smart features that, just a few years ago, would have required a whole team of specialized engineers.
AI integration is becoming the standard. In 2025, an estimated 76% of developers worldwide are using or plan to use AI tools in their app development, a massive leap from just 44% in 2023. This trend puts machine learning and predictive analytics directly into the hands of creators, no complex algorithms needed.
For our little coffee shop, this could mean some serious upgrades:
Personalized Recommendations: An AI model could look at Brenda's order history and suggest a new almond croissant she might love with her usual flat white.
Automated Notifications: The app could fire off an automated email or push notification the moment an order is ready for pickup.
But it doesn't stop there. No-code platforms can also help you build more advanced functionalities, like sophisticated conversational AI. This opens up a ton of new ways to create engaging experiences. For instance, if you wanted to add a support bot, you could learn how to build a chatbot for your business using these same principles. By layering in this kind of intelligence, your app becomes smarter, more helpful, and a whole lot more valuable to your customers.
Testing and Launching Your App to the World
https://www.youtube.com/embed/X_JBFLs3vAk
You’ve designed a stunning interface and built the logic that makes it all work. Now for the moment of truth. Before your app meets its audience, you have to put it through its paces.
Think of it this way: thorough testing is the final quality check that separates a professional, polished product from a frustrating one. This stage is all about making sure every single button, link, and workflow functions exactly as you planned.
When you create a mobile app without coding, this process can feel a lot faster, but it’s just as critical. Skipping it is like a chef sending out a new dish without tasting it first; you’re just hoping it’s right.
The goal is to hunt down bugs and usability hiccups before your users do. A recent study found that a staggering 88% of users will abandon an app because of minor bugs. That makes this phase absolutely crucial for a successful launch.
A Practical Testing Strategy
Before you ask anyone else for feedback, you have to become your app's toughest critic. That means going through every single feature on your own devices. Don't just tap around, actively try to break things.
Start with a full "click-through." Navigate every screen, tap every button, and fill out every single form. This first pass is your chance to catch the obvious stuff, like a broken link or a button that leads to a dead end.
Next, walk through the core user journey you mapped out in your blueprint. If you built a coffee shop app, place an order from start to finish. Create a new account and try to sign in. Do everything a real user would do.
Think of this initial testing phase as your personal quality control. Be methodical and document everything, even minor visual glitches. A small typo can damage your app's credibility just as much as a major bug.
Once you’ve done your own review, it’s time to get a fresh set of eyes on it. Recruit a small, diverse group of friends, family, or colleagues to act as your beta testers. A group of three to five people is usually enough to uncover most of the big usability problems you missed.
Your Essential Beta Testing Checklist
Give your testers clear instructions, but also give them the freedom to explore. Ask them to perform specific tasks, but encourage them to provide honest, direct feedback. Here are the key areas they should focus on:
Functionality: Does every feature actually work? Can they complete the core tasks, like making a purchase or booking an appointment, without hitting a wall?
User Flow: Is the navigation intuitive? Can they find what they’re looking for easily, or do they get confused and lost?
Performance: Does the app feel quick and responsive? Are there any screens that take forever to load?
Device Compatibility: How does the layout look on different screen sizes? If you can, have them test on both iOS and Android devices to spot any platform-specific quirks.
Clarity: Is the language clear and easy to understand? Are there any confusing labels or instructions that need a rewrite?
This process is invaluable for polishing your app. For a more structured approach to launching, you might want to learn more about defining a Minimum Viable Product (MVP) in our detailed guide. It’s a great framework for ensuring you launch with the most impactful features first.
Preparing for the App Stores
With testing complete and your app polished to a shine, you’re ready for the final hurdle: submission. Both Apple’s App Store and the Google Play Store have specific guidelines you need to follow to get your app approved.
First, you'll need to create a compelling store listing. This means writing a clear app title, a concise description, and taking high-quality screenshots that show off your app’s best features. Treat this as your app’s marketing page. It’s what convinces people to hit that "download" button.
Next, you’ll submit your app for review. The platforms will check for compliance with their policies, which cover everything from user privacy to content appropriateness. The review process can take anywhere from a few hours to several days. Once you get that approval, your app will finally be live and available to users around the world.
How No-Code Gives Small Businesses an Unfair Advantage
For any small or medium-sized business, building a mobile app without writing code isn't just a nice-to-have. It's a genuine competitive advantage that completely levels the playing field against bigger, slower competitors. It’s about solving real business problems right now, not in six months.
The two biggest roadblocks in traditional app development have always been cost and time. No-code platforms smash through both, turning what was once a massive capital investment into a predictable, manageable expense. This shift completely changes how a business can test new ideas and react to what customers want.
Slashing Development Costs and Timelines
The financial hurdle for custom software used to be enormous. The cost savings and speed are easily the most compelling reasons for small businesses to embrace no-code mobile app creation. A traditional app with even moderate complexity can easily cost $150,000 or more, and that’s before you factor in advanced features and the nightmare of ongoing maintenance. For a deeper dive, you can explore the latest details about app development costs in 2025.
In stark contrast, no-code lets you build and launch critical business apps with a tiny fraction of that upfront investment.
This isn't just about saving a chunk of cash on a single project. It’s about freeing up that budget to pour into marketing, customer acquisition, and other activities that actually grow the business. Instead of managing a team of expensive developers, you’re paying a simple monthly subscription. Financial planning just got a whole lot easier.
Launching at an Impossible Speed
Beyond the money, the sheer speed of no-code is a total game-changer. What used to take months of planning, coding, and debugging can now be knocked out in weeks, sometimes even days. This agility means you can get a functional Minimum Viable Product (MVP) into the hands of real customers almost immediately.
An MVP isn't the final, all-the-bells-and-whistles version. It's the simplest version of your app that solves one core problem for your ideal user. This lets you get real-world feedback fast. You can see what users actually do, listen to what they want, and make rapid-fire adjustments yourself.
With no-code, you’re no longer guessing what your customers want. You’re building a conversation with them, using your app as the medium. This ability to iterate based on real data is what separates successful apps from those that miss the mark.
A Real-World No-Code Scenario
Let's picture a local fitness studio, "Urban Strength Gym." They're struggling with a few classic small business headaches: members keep forgetting class times, the front desk is constantly tied up with booking calls, and the old-school paper punch cards for personal training sessions are always getting lost. They need a digital fix but can't stomach the quote from a local dev shop.
This is a perfect use case for a no-code platform like CatDoes. The gym owner, who knows their members inside and out but has zero coding skills, can jump in and build an app that solves these problems directly.
Class Scheduling: They can create a clean, visual schedule where members can see class times, check out the instructor, and book their spot with a tap.
Membership Portal: Members can log in to see their account details, track how many sessions they have left, and securely update their payment info.
Push Notifications: The gym can send out automated reminders an hour before class, dramatically cutting down on no-shows and last-minute cancellations.
In just a few weeks, Urban Strength Gym can launch its own branded app that smooths out operations, creates a better member experience, and frees up staff to focus on clients. The power to build, test, and launch this solution in-house is exactly how no-code empowers small businesses to solve their own problems efficiently and affordably.
Of course. Here is the rewritten section, crafted to match the human-written style of the provided examples.
A Few Common Questions We Hear All The Time
If you're new to the world of no-code, it's natural to have a few questions. In fact, most people who come to us have the same handful of concerns. Let's tackle them head-on so you can start building with confidence.
Can a No-Code App Actually Scale?
This is probably the number one question we get. Founders worry that if their app takes off, a no-code platform won't be able to handle the growth.
The answer is a clear yes. Modern no-code platforms are built on the exact same powerful, scalable cloud infrastructure that major tech companies use. They're designed from day one to support thousands of users, so you're not sacrificing performance for convenience. This is a perfectly viable path for a business that expects to succeed.
How Secure Is This, Really?
Security is another big one, and it’s a fair question. When you’re not managing the servers yourself, you want to know your data is safe.
Reputable platforms make security their absolute top priority. They handle all the tough stuff for you, including server-side security, data encryption, and even compliance with standards like GDPR.
Honestly, this centralized approach often makes your app more secure than what a small team without dedicated security experts could build from scratch. You can rest easy knowing your data and user information are in good hands.
Do I Actually Own My App?
Absolutely. You maintain 100% ownership of your app's intellectual property. That includes your unique design, your brand, and all the customer data you gather.
While the platform owns the underlying technology that powers your app, the final product is entirely yours. Plus, most platforms give you straightforward ways to export all your data if you ever decide to move somewhere else.
Ready to turn your idea into a reality? With CatDoes, you can build, test, and launch your mobile app without writing a single line of code. Start building for free.
Nafis Amiri
Co-Founder of CatDoes


